

What you’ll achieve
A portal where partners sign in with the methods you chose, and where access is granted the way you want, to specific invited people, or automatically to anyone from a trusted partner’s email domain. Sign-in is verified, so only the right people get in.Before you start
1
Confirm admin access
You need admin access to portal settings to change login methods, and access to a partner record to set how that partner’s team joins.
2
Unlock the portal
Partners can only sign in once the portal is unlocked with a subdomain or a verified custom domain. See Connect a custom domain.
Watch it
- Video
- Click through
Steps
Choose login methods
1
Open portal access settings
Go to Portal settings and find the access settings. These apply to the whole portal and decide which sign-in options appear on the login screen.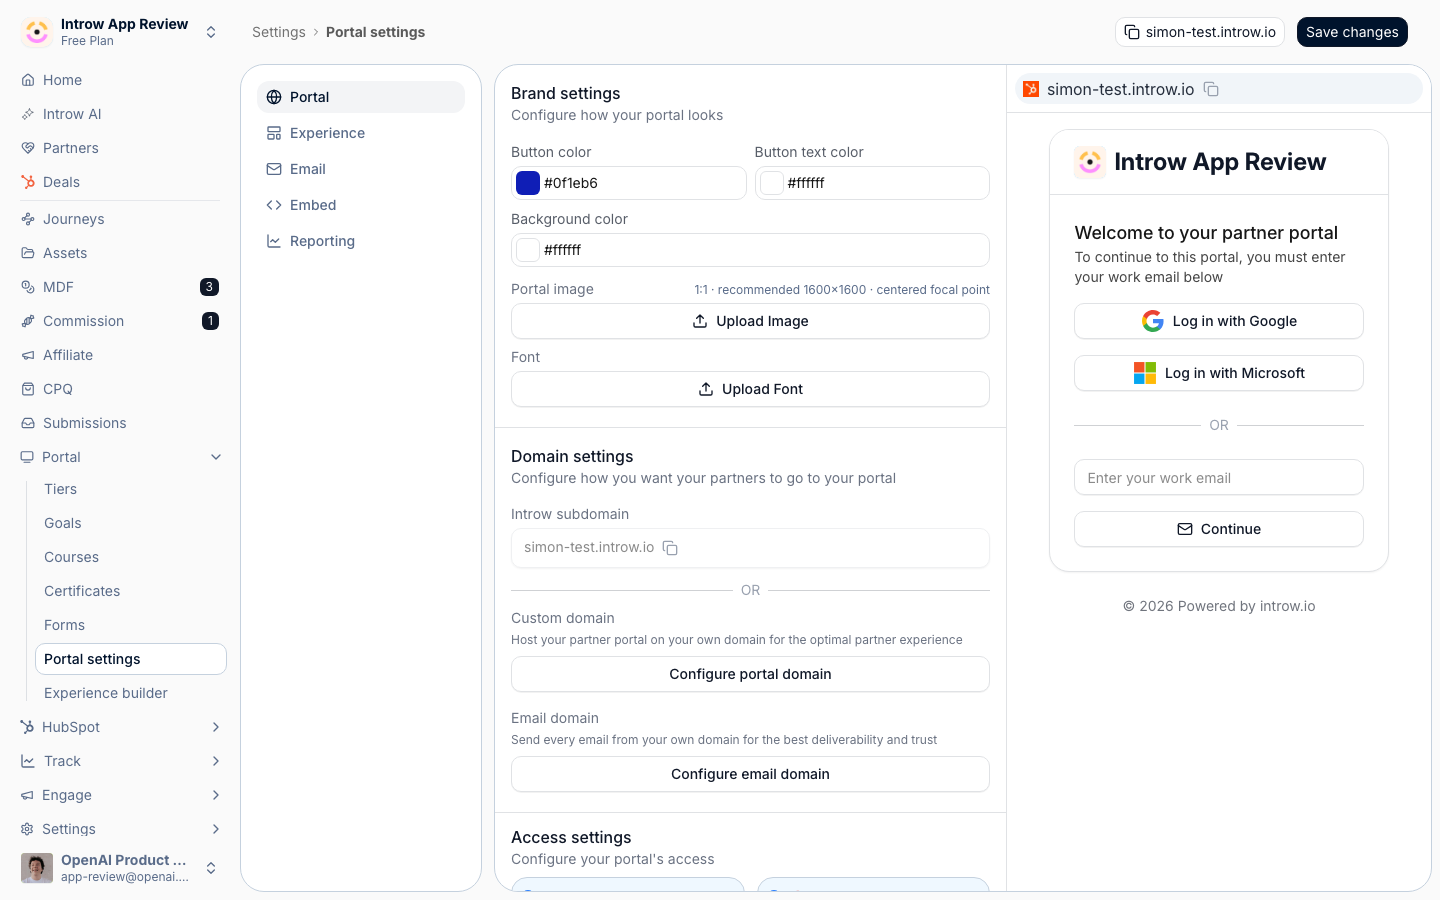
2
Enable the sign-in methods partners should use
Turn on the methods that match how your partners prefer to log in: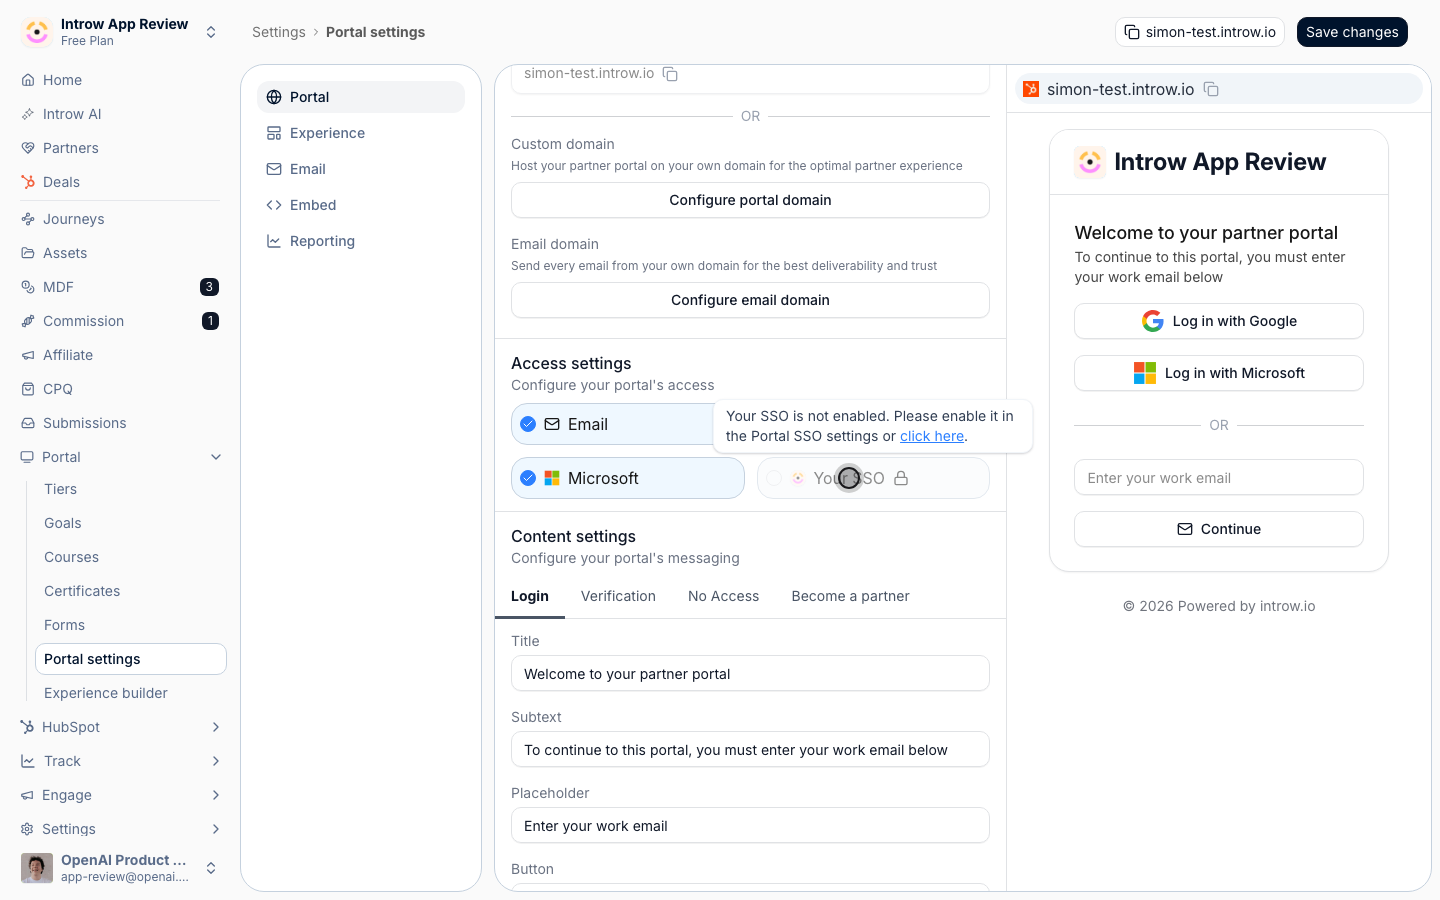
- Email - a one-time 6-digit code sent to the partner’s email, with no password to set or reset. This is the lowest-friction option and works for any partner without setup.
- Google - sign-in with a Google account, for partners who use Google Workspace.
- Microsoft - sign-in with a Microsoft account, for partners on Microsoft 365. Some partners’ IT teams have to approve it once first. See Allow Microsoft sign-in for a partner’s organization.
- Your SSO - sign-in through your own single sign-on. This is a paid add-on and, when enabled, becomes the only login method so access is fully governed by your identity provider. Configure the connection under SSO.
Decide who is allowed in
1
Open a partner's portal access
Go to Partners and open a partner. Their portal access controls who from that partner organisation can get in.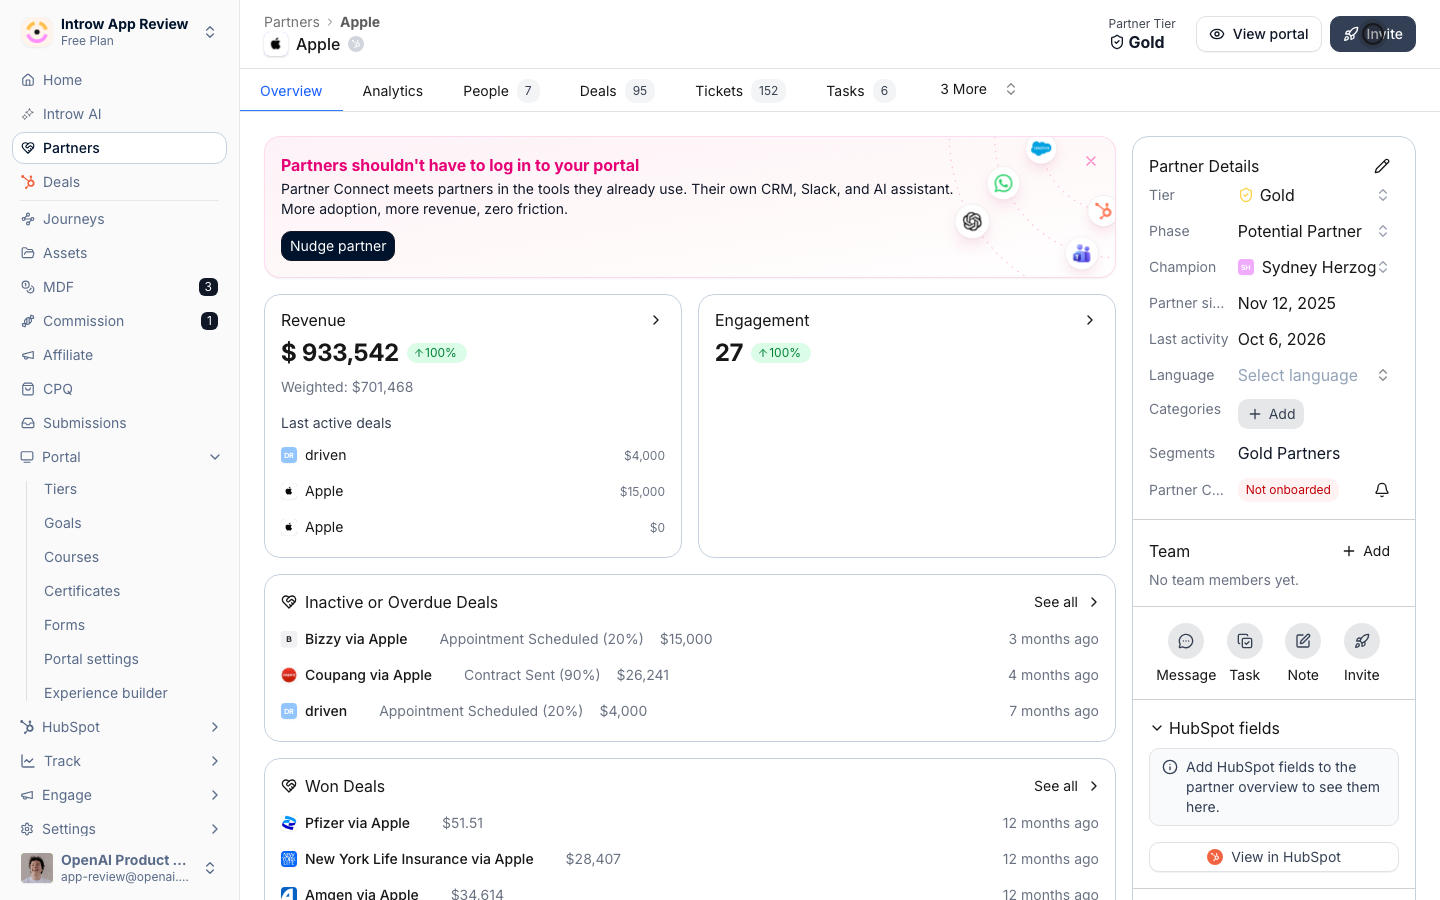
2
Choose an access model
Pick how this partner’s people gain access: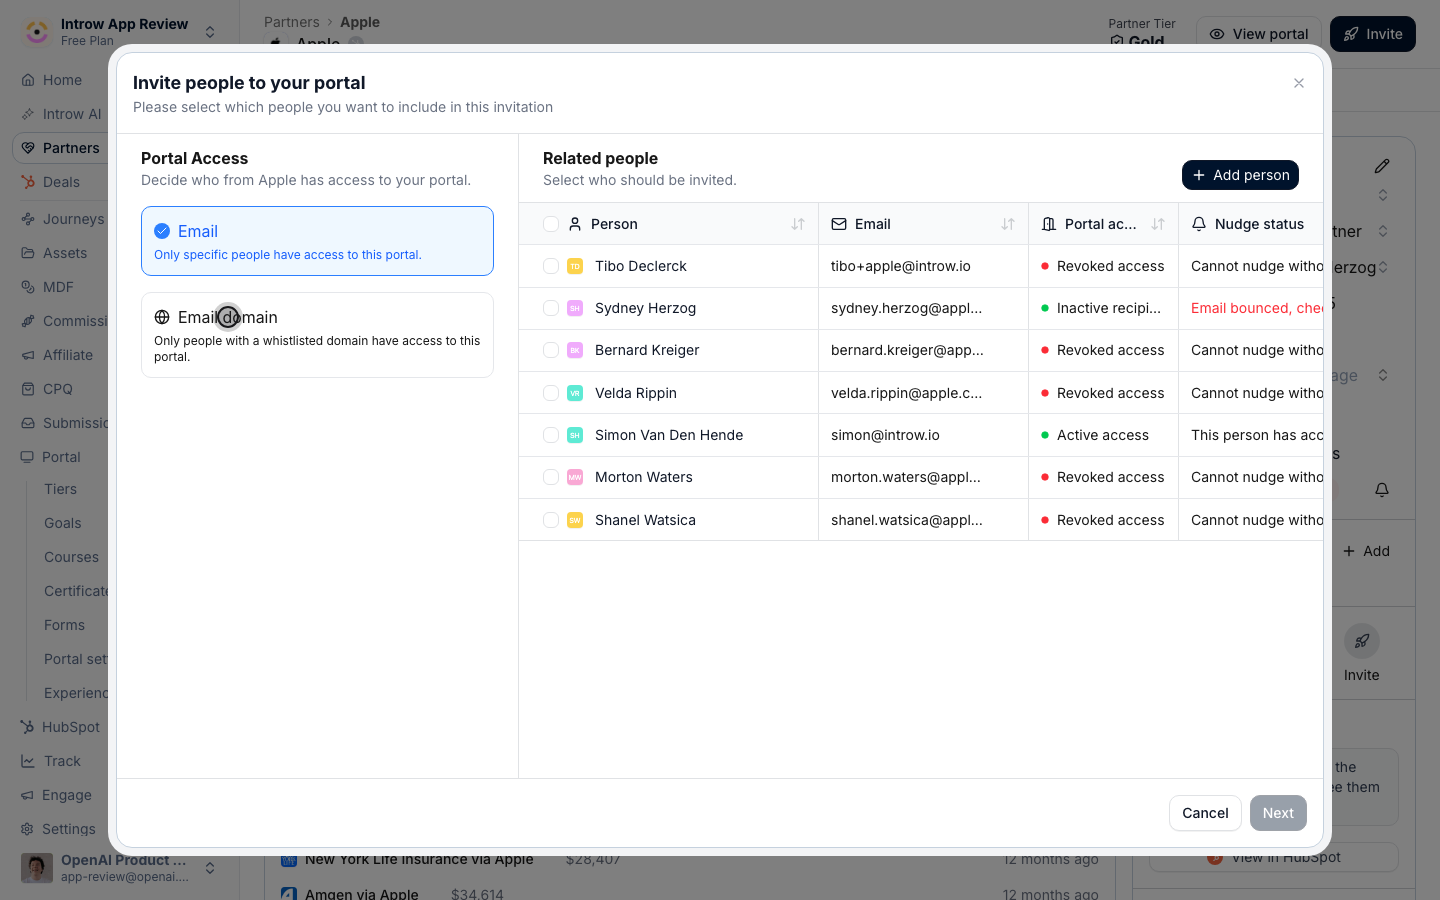
- Email - only the specific people you invite can access the portal. Use this for tight control, such as a small partner team or sensitive programs.
- Email domain - anyone with an email address on a domain you allow can join automatically, so large partner organisations self-serve without you inviting each person. Add the partner’s company domain (public providers such as gmail.com are rejected). Use this only for trusted partner domains.
Handle email verification
1
Understand how verification works
With email and email-domain access, a partner proves ownership of their address by entering the one-time code sent to it, so verification is automatic, there is no separate toggle. This is what stops someone using an address that is not theirs.
2
Help a partner who cannot verify
If a partner does not receive the code, have them check spam, confirm their address matches an invite or an allowed domain, and request a new code. A code is valid for 15 minutes and works once, and a new one can be requested every 60 seconds.
Verify it worked
The login screen offers exactly the methods you enabled. A partner invited under the Email model can sign in after verifying their address, and anyone on an allowed domain can join without an individual invite. People outside the allowed people or domains cannot get in.Related
Invite partners and their teams
Bring specific partner contacts into the portal.
Configure SSO
Set up single sign-on with your identity provider.
Restrict a tab to segments
Control what partners see once they are in.
Implementation reference
Full portal access configuration options.