

What you’ll achieve
The partner contacts you want are invited and can sign in, and the partners you trust can add their own colleagues, so portal membership grows without you sending every invite. Your partner manager still sees each one, because they are CC’d on every invite a partner sends.Before you start
1
Assign an experience to the partner
A partner needs an experience assigned before an invite gives them a usable portal. See Build and publish a portal experience.
2
Confirm the portal is unlocked
Partners can only sign in once the portal is on a subdomain or a verified custom domain.
Watch it
- Video
- Click through
Steps
Invite partner contacts
1
Open the partner
Go to Partners and open the partner whose contacts you want to invite. The partner’s people are listed with their current portal access status.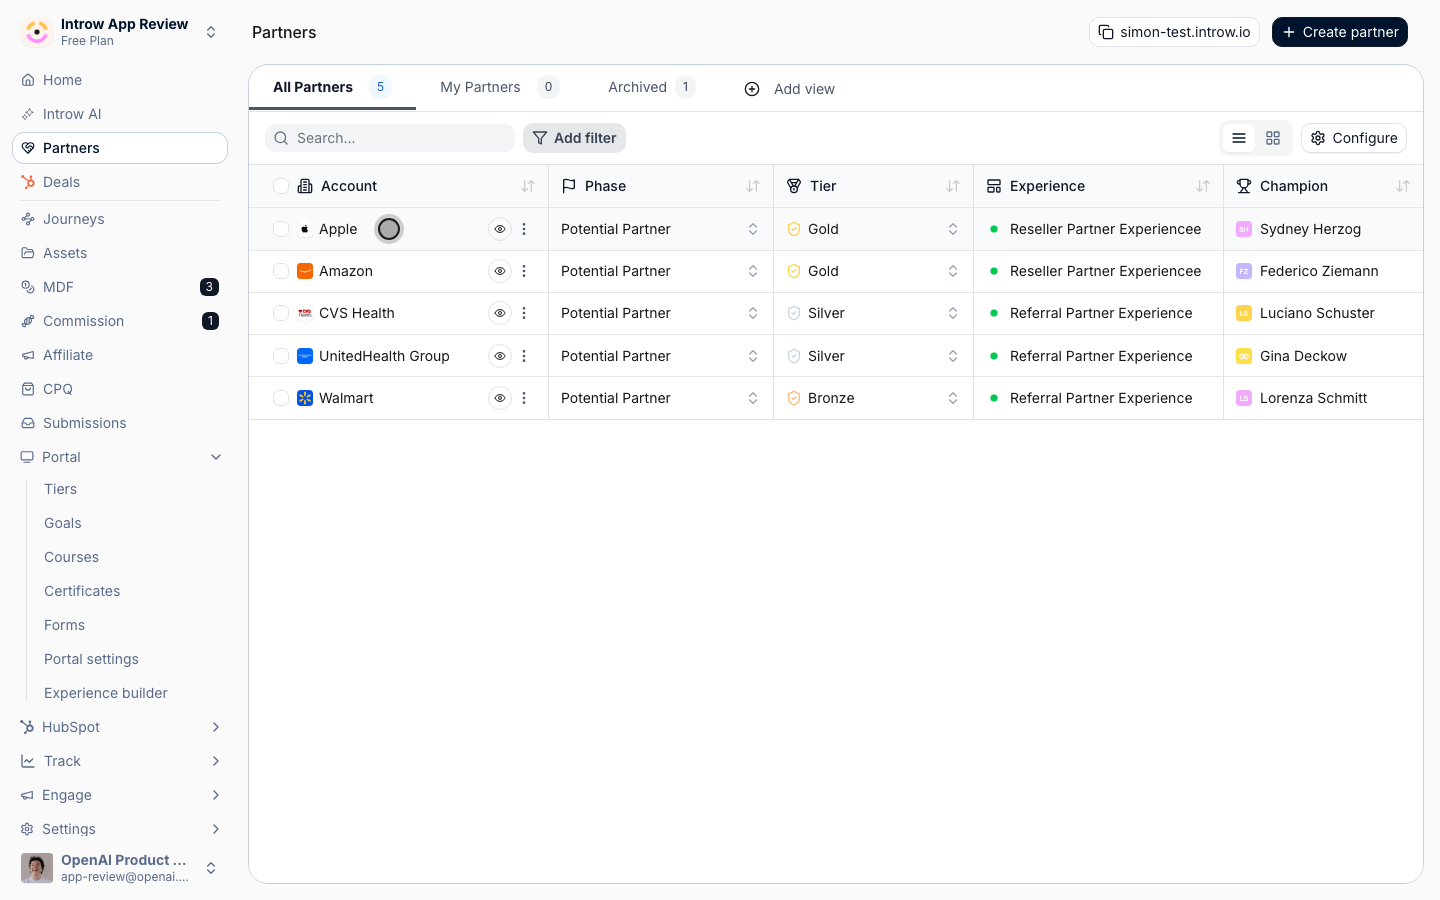
2
Add the people to invite
From the partner’s related people, select the contacts who should get access, or add a new person by their email, with an optional first and last name, if they are not listed yet. Choosing the right people here keeps access scoped to who actually needs it.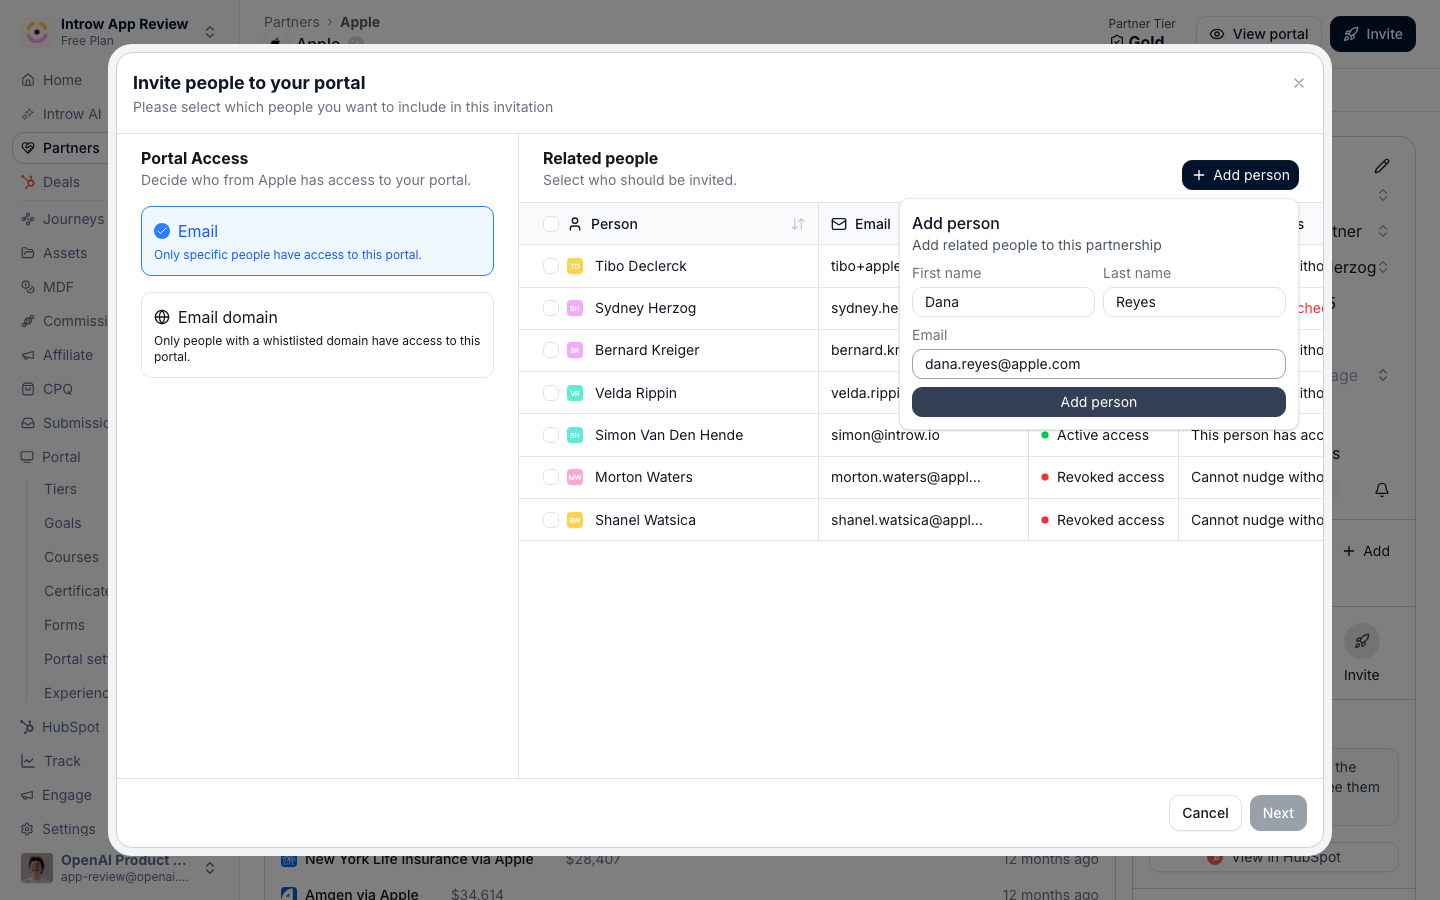
3
Send the invite
Send the invite and fill in the message: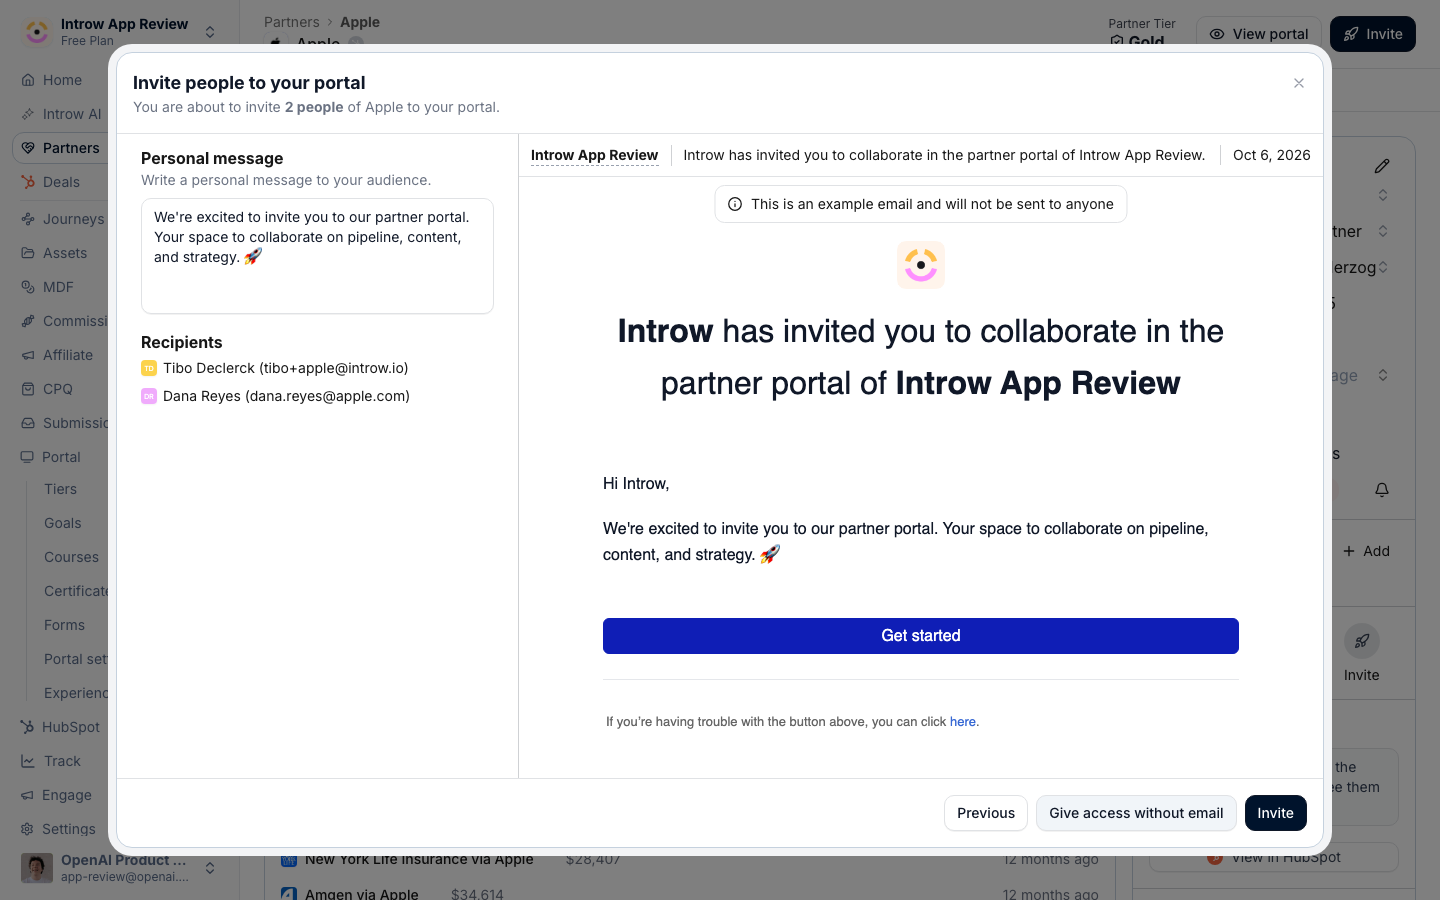
- First name and Last name - optional. Fill them for someone your CRM does not know yet, so the invite and their CRM contact carry the right name. Left blank, the name comes from the matched CRM contact or from enrichment.
- Work email - the address the invite is sent to. It must be a work email; if this partner’s access is restricted to specific domains, the address has to match an allowed domain or the invite is blocked.
- Personal message - the note included in the invite email. A default message explaining the portal is prefilled; personalise it so the first touch feels human rather than automated.
Let partners manage their own team
1
Turn on Invite colleagues
Whether a partner may bring in coworkers is the Invite colleagues permission on their segment. Go to Segments, open All partners (tagged Default), and switch it on under Permissions to allow every partner, or leave the default off and turn it on only in the segments you trust. Invited colleagues inherit your organisation default. See Layer segments to progressively unlock.
2
Know who is kept in the loop
A partner contact with the permission invites a colleague from inside the portal, or from their Team page at partners.introw.io. You do not approve each invite, but you are never out of the loop: the partner manager assigned to that partner on its Team card is CC’d on every invite email a partner sends, and replies go to both the inviter and the partner manager. Assign a partner manager before you open self-serve invites, otherwise nobody on your side is copied. See Partner team.
Verify it worked
Invited contacts receive the email, verify their address, and land in the portal on their assigned experience. A partner contact with Invite colleagues on can invite a colleague from inside the portal. That colleague appears in the partner’s people with access, and the partner manager has the invite email in their inbox as a CC.Related
Set up portal access
Choose login methods and the access model first.
Give a partner access to multiple portals
Let one contact work across more than one portal.
Segments
Turn Invite colleagues on by default or per segment.
Implementation reference
Full portal access configuration options.