

What you’ll achieve
A published partner experience with an Asset Hub that shows exactly the assets you intend, in a layout partners can scan, search, and filter, with each partner seeing only the content they are allowed to. For partner-specific hubs, every partner sees the assets tied to them in the same layout.Before you start
1
Have assets in the library
Add the content you want to surface to the library first, ideally sorted into folders so you can include or exclude whole groups. See Build the asset library.
2
Confirm write access
You need write access to experiences to add and configure a hub.
Watch it
- Video
- Click through
Steps
Add the hub
1
Open the experience
Go to Experience builder and open the experience where the hub should live. Pick a stage and tab that fits enablement content, so partners find it where they expect it.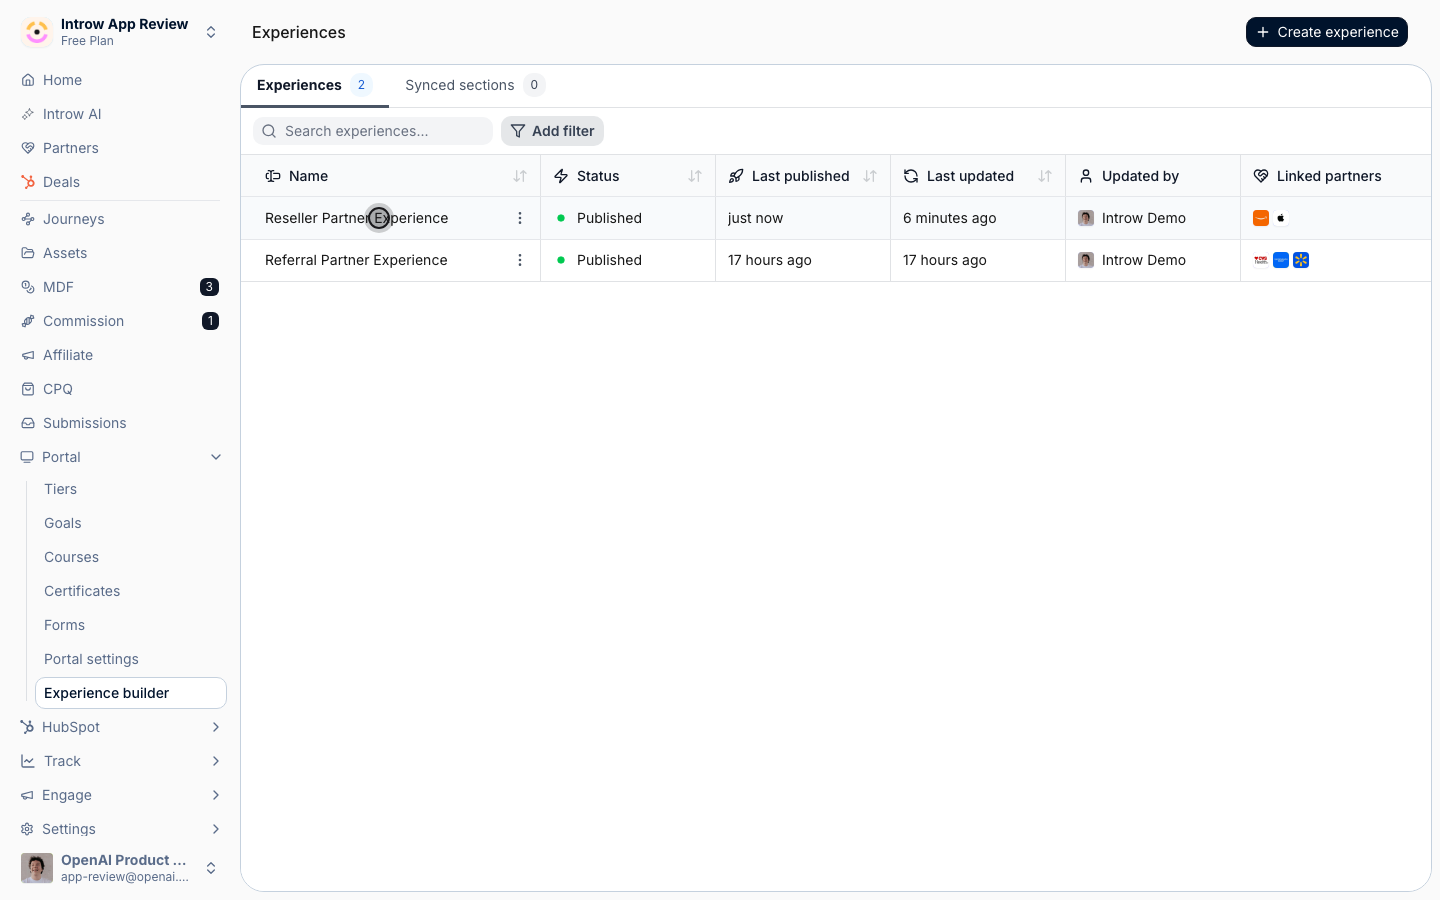
2
Add an Asset Hub block
Open the section picker and add a hub block. Choose the type up front, because it changes what the hub shows: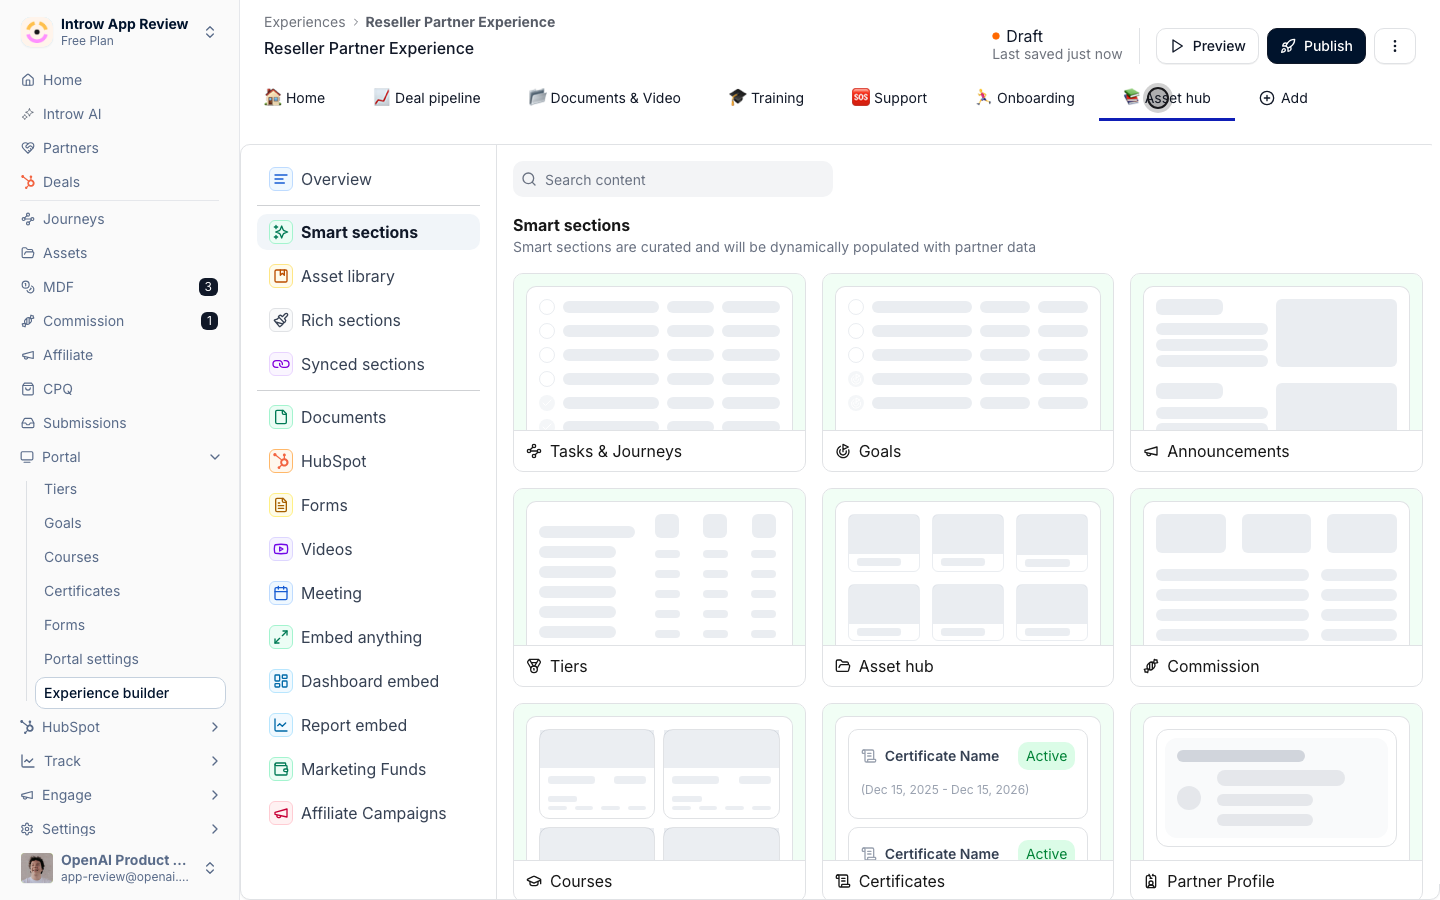
- General Asset Hub - lists your organisation library, scoped to the folders you include. Use this for shared collateral every partner in the experience should see.
- Partner Specific Asset Hub - shows only the assets tied to the partner viewing the portal, such as signed agreements, NDAs, or documents you generated for them upfront. You configure its layout the same way as a general hub. To create the documents it lists, see Share an asset with one partner only.
A general hub already handles co-branding. When a partner opens a co-branded template listed in it, Introw generates and serves that partner’s own co-branded copy on the spot. You do not need a partner-specific hub for that.
Configure the layout
1
Choose how the hub displays
Open the hub’s configuration and set how it presents content so partners can scan it quickly: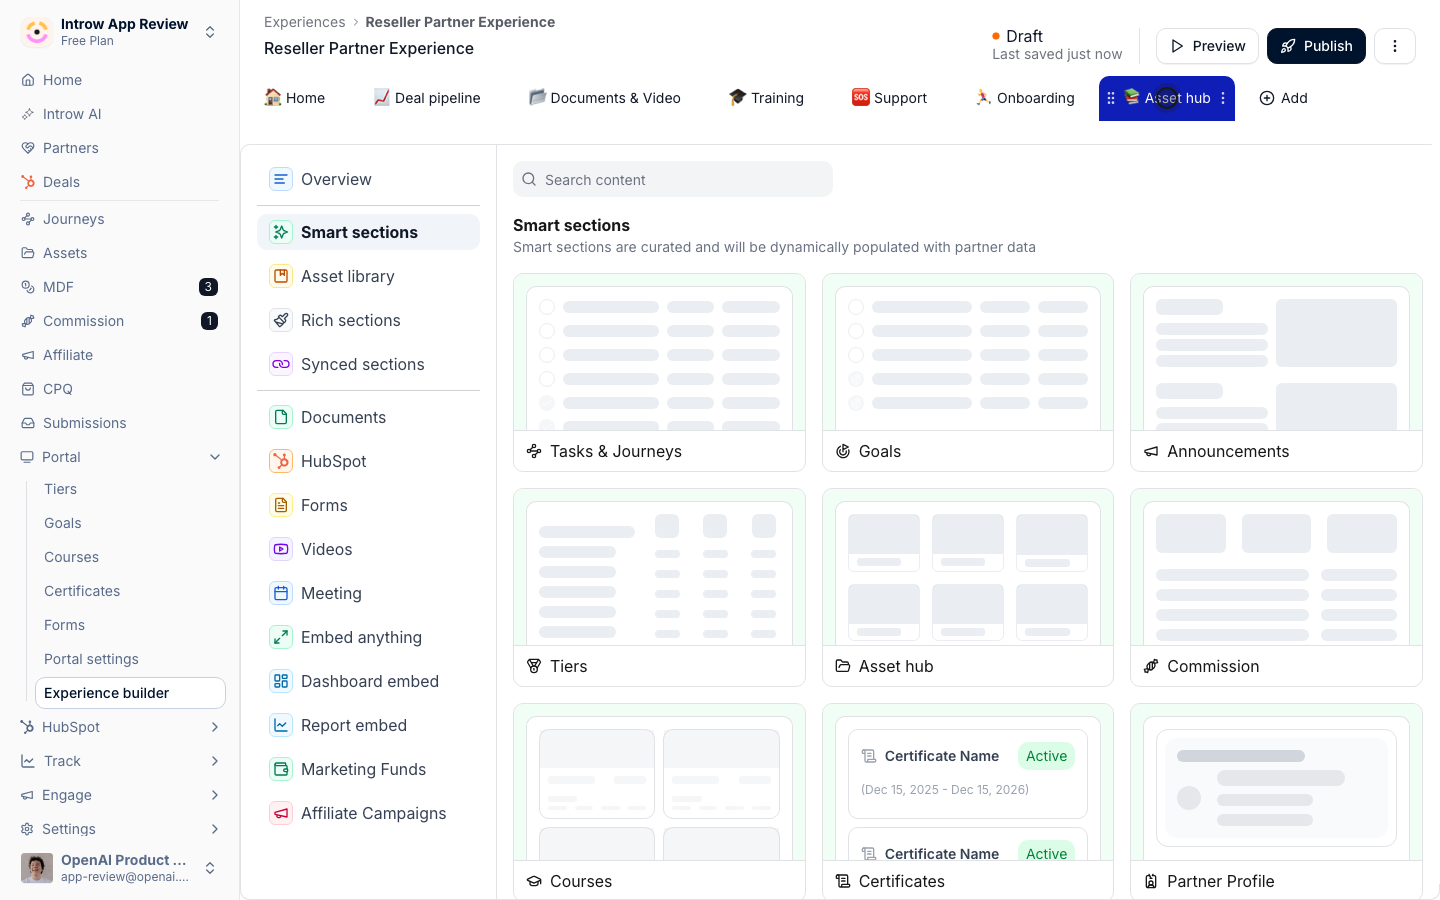
- Layout - choose a table layout for dense, property-rich lists, or a thumbnail layout for visual, image-led content. Pick the one that matches how partners recognise your assets.
- Thumbnails per row - when using the thumbnail layout, set how many tiles appear per row to balance preview size against how much fits on screen. Tiles are 16:9 and draw the thumbnail set on each asset in the library, so if the hub is your shop window, set those thumbnails first (see Build the asset library - 16:9, 1200×675).
- Search - turn on search so partners can jump straight to an asset by name instead of scrolling. Recommended for any hub with more than a handful of items.
- Filters - turn on filters so partners can narrow by property such as type or category. Recommended whenever the hub spans multiple content types.
2
Set properties and default sort
Decide which columns partners see and how the list is ordered by default:
- Properties - choose the columns shown, such as name, type, categories, and last updated. Show only what helps a partner pick the right asset; extra columns add noise.
- Default sort - set the starting order, for example most recently updated first so fresh content surfaces at the top.
3
Add saved views
Create named views, each with its own filters and sorting, so partners can switch between curated slices instead of rebuilding a filter every time. For example, a view per product line or per stage. Give each view a clear, short name partners will recognise.
Curate which assets appear
1
Open the hub's asset visibility settings
In the hub’s configuration, open the asset visibility settings that control which folders and assets the hub draws from.
2
Include and exclude folder paths
Scope the hub so it stays relevant rather than showing the whole library:
- Included paths - add the folders the hub should show. Including a folder surfaces its assets in the hub, so partners see a tight, purposeful set tied to this experience.
- Excluded paths - remove specific folders or assets that fall inside an included folder but should not appear here. Use this to hide a subset without restructuring the library.
Publish
1
Publish the experience
Publish the experience so the hub and all of its configuration reach partners. Nothing you changed is visible to partners until the experience is published.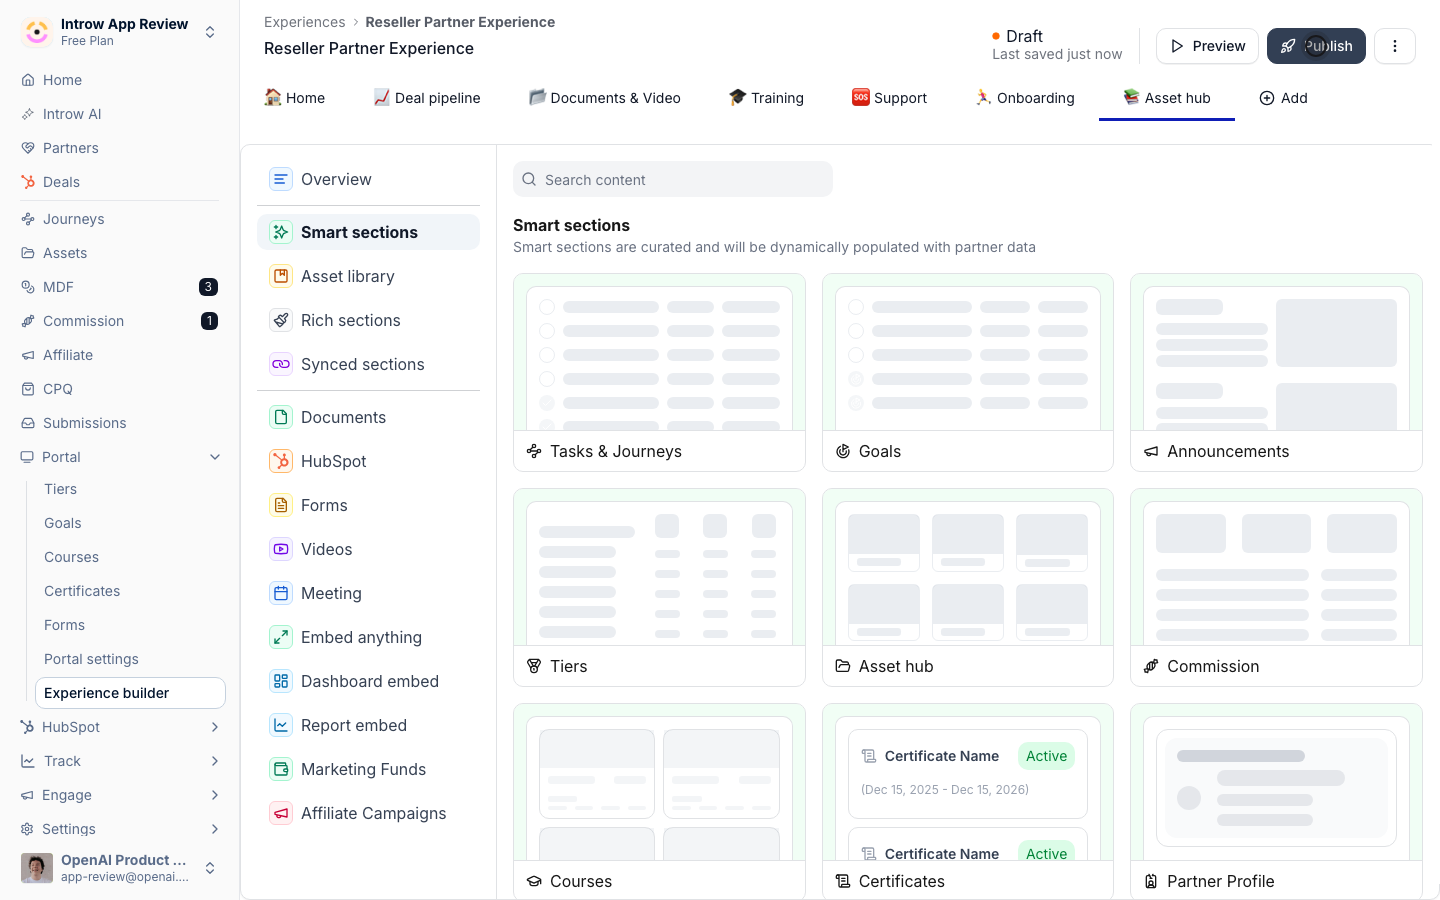
2
Preview as a partner
For a partner-specific hub especially, view the portal as a partner to confirm they see only the assets tied to them, in the layout you set.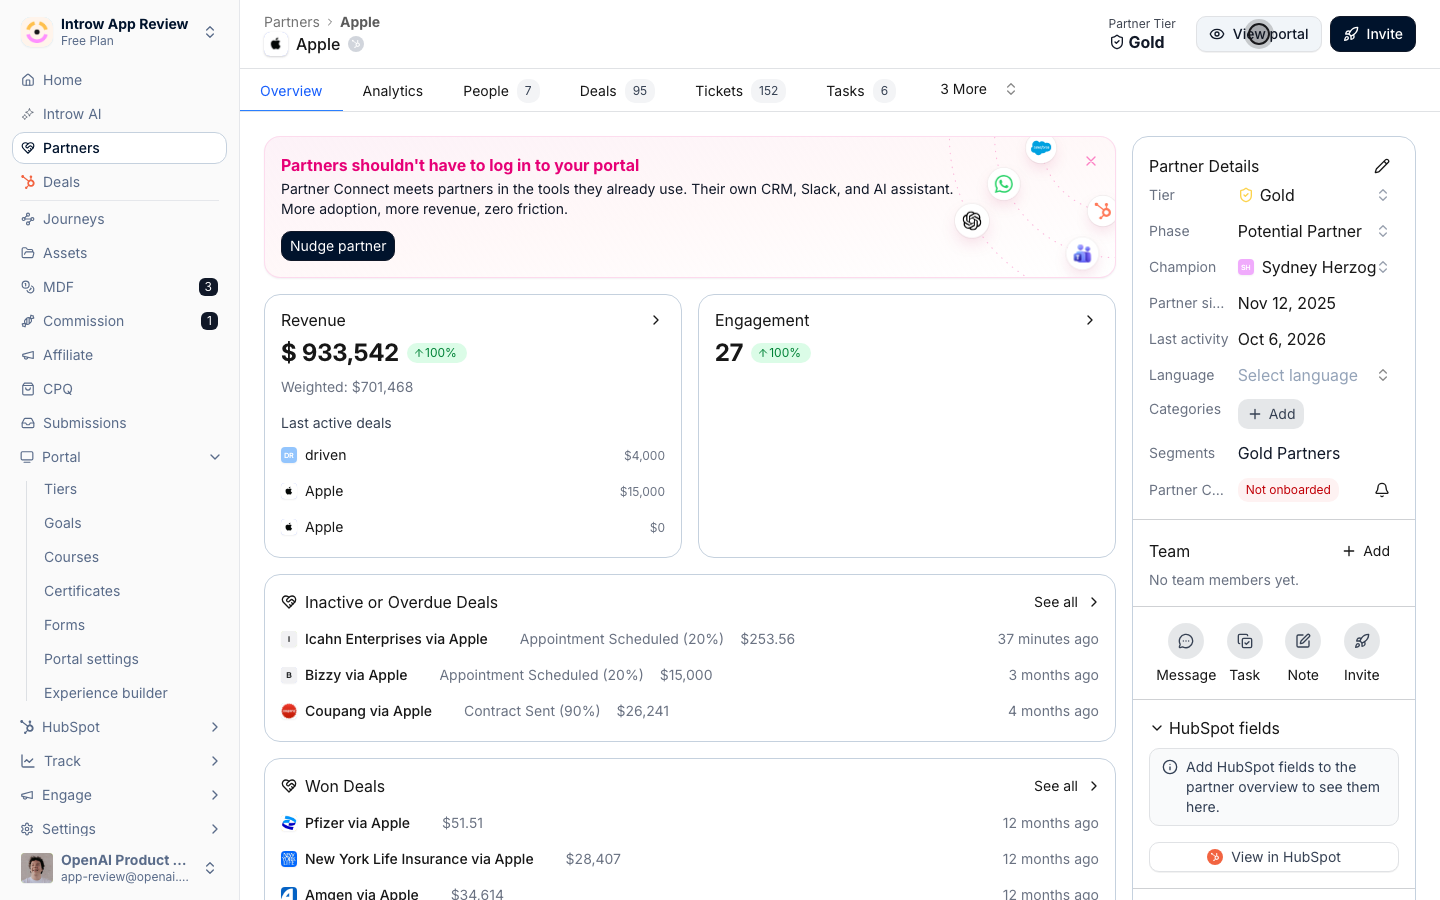
Verify it worked
Open the published portal as a partner: the Asset Hub appears with your chosen layout, search, filters, and saved views, and it lists only the included folders and assets that partner is allowed to see. A partner-specific hub shows only that partner’s assets, and views inside the hub are tracked so engagement appears alongside your other asset analytics.Related
Build the asset library
Add and organize the assets the hub surfaces.
Review asset engagement
See which hub assets partners actually use.
Publish an experience
Push the experience and hub live to partners.
Implementation reference
Full Asset Hub configuration options.