

What you’ll achieve
A structured library where assets live in clear folders, are tagged for filtering, carry the right access level, and are ready to surface anywhere in the portal. Public collateral stays open, sensitive material is limited to the portal or specific segments, and AI can answer partner questions accurately from the content you added.Before you start
1
Confirm write access
You need write access to assets to add and manage content.
2
Define segments if restricting access
If you plan to restrict any asset to specific partners, create those segments first so they are ready to apply. See Create a dynamic segment.
Watch it
- Video
- Click through
Steps
Add and organize content
1
Open Assets
Go to Assets, the home of your content library.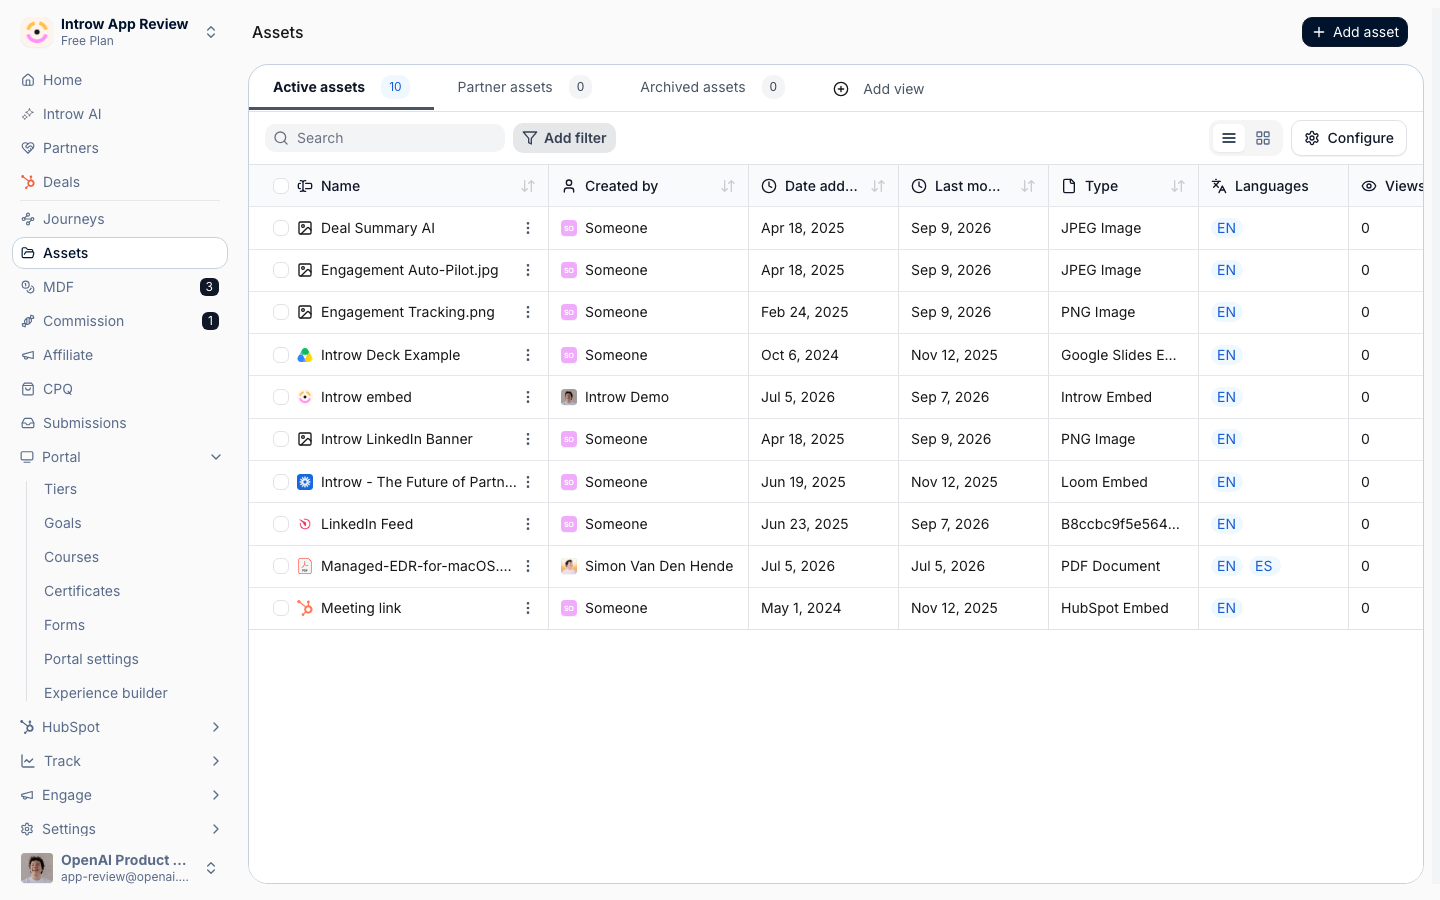
2
Create folders that match how partners think
Build a folder structure before bulk-loading content, so assets land in the right place. Name folders the way partners search, for example by product, use case, or stage. Folders can be nested, and they are what hubs include or exclude later, so a clean structure pays off across the portal.
3
Add content
Use the add menu to bring content in. Choose the type that fits the source: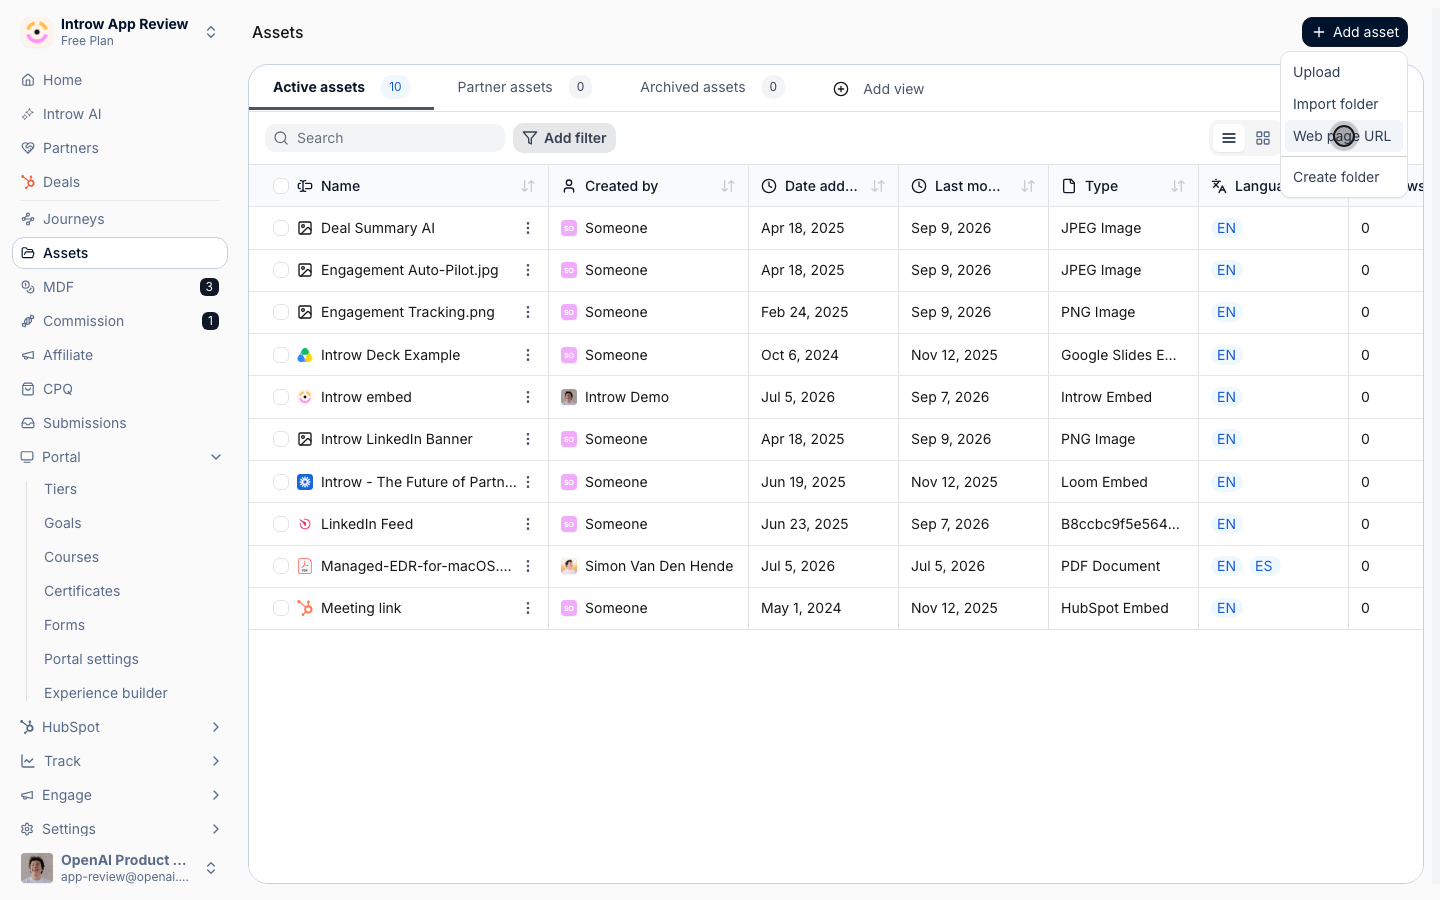
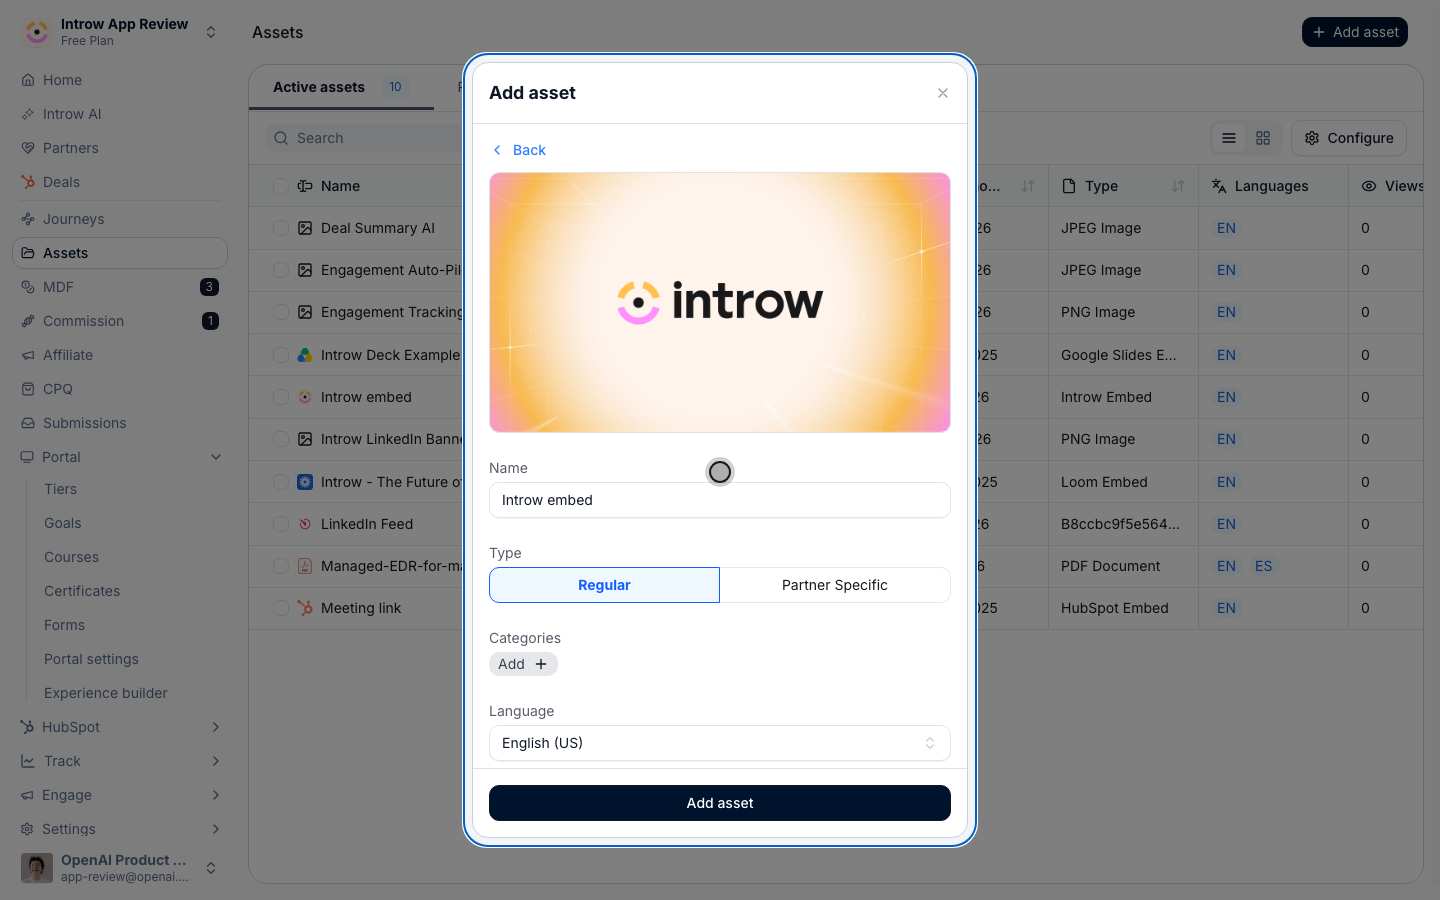
- Upload a file - add a document, slide deck, spreadsheet, image, or PDF stored as a file. Office files (PPTX, DOCX, XLSX) are converted to a browser preview so partners read them without downloading, and their content is indexed so the agents can answer on them. Use this for collateral you own and want hosted in Introw.
- Import a folder - bring in a whole folder tree at once, from a chosen folder or a ZIP. Optionally keep it syncing from its source so the library stays current as the source changes; turn syncing on when the content is maintained elsewhere. Imported PDFs and Office files are previewed and indexed like an uploaded file, so the agents can answer on them.
- Add a web page URL - add a link or an embed for hosted content such as a video or a Google document. Introw recognises common providers, including Loom and YouTube watch, Shorts and live links, and embeds them inline. A site that refuses to be embedded shows its preview image with Open in a new tab instead.
4
Set thumbnails on what partners see
Introw gives every asset and folder a thumbnail on its own: images, videos, PDFs, and Office files are previewed from the file, and anything else gets a generated card with the asset name and your logo. Replace the ones that matter - a hub in thumbnail layout is mostly thumbnails.Hover an asset’s thumbnail in its detail panel to upload your own, and use Set folder thumbnail in a folder’s row menu (or its detail panel) for folders. Introw crops both to 16:9 with a crop-and-zoom step, so upload landscape artwork: 1200×675 matches what Introw generates, and 20 MB is the cap. Language variants carry their own thumbnail on the Languages tab.No artwork to hand? Select Generate with AI under either thumbnail. It reads the asset (or the folder and what it holds) together with your brand colors and produces an on-brand 16:9 image about that content. Add a line of direction if you want something specific, and regenerate until it fits.
5
Tag assets with categories
Categories are shared, filterable tags.
Partners filter on them in the library and inside Asset Hub embeds, so keep the set small and consistent rather than inventing a label per asset.
Folders take categories of their own, so a whole folder is filterable without tagging each file inside it.One asset or folder at a time. Open it and find Categories in its detail panel.
Pick from the existing categories or type a new one (25 characters max) and press Enter.
The menu on a category pill lets you remove it from this asset, or rename or remove the category everywhere it is used.Several at once. In the library table, tick the checkbox on each asset and folder you want to tag, or tick Select all in the header.
The header turns into a bulk-action bar showing the selected count with Edit, Archive, and Move.
Click Edit, keep Categories as the property to update, pick or create the categories, and click Update items.
The categories you pick replace whatever each selected asset and folder had before.
Leave the selection empty and click Clear categories to strip every category from the selected items.
Bulk edit is not available in the Archived view, where the bar offers Restore and Delete permanently instead.
Set who can see each asset
1
Open the Access tab
Open an asset and go to its Access tab. Access is set per asset, so you can keep public collateral open while locking sensitive material down.
2
Choose an access level
Pick the level that matches the sensitivity of the asset:
- Public access - anyone with the link can view the asset. Use for openly shareable collateral such as brochures.
- Portal access - only partner users with portal access can view it. Use for standard enablement meant for your partners but not the public.
- Restricted access - only a subset of partner users can view it. Choose this for sensitive material, then add the segments that should have access in the Segments selector. Restricted access depends on accurate segments, so confirm them before relying on it.
Give AI the context to answer
1
Open the AI tab
Open an asset and go to its AI tab. What you add here helps AI features answer partner questions accurately from this asset.
2
Add context and supporting files
Provide the background AI needs so its answers are grounded in your content:
- Context description - a plain-text or Markdown note describing what the asset is and when it applies. Use it to give AI background the file itself does not spell out, so answers are accurate.
- Supporting files - upload PDF, TXT, or MD files that are indexed alongside the asset to improve AI answers about it. Add reference material that complements the main asset.
Verify it worked
Assets appear in their folders and can be filtered by category. Each asset’s Access tab reflects the level you set, and a restricted asset is visible only to partners in the chosen segments. With AI context added, AI features can answer partner questions using that content. The library is now ready to surface in hubs, experiences, and share links.Related
Share an asset with a link
Send a trackable link to a single asset.
Translate a document
Add language variants for a global partner base.
Add an Asset Hub
Surface library assets in a partner portal.
Implementation reference
Full asset library configuration options.