Open in Introw: Languages

How it works

You manage languages from one place: the Languages settings. There you add the locales your partners speak, choose a default, and define a brand glossary of protected terms. Once a language is active, Introw translates partner-facing content into it automatically in the background, reusing previous translations for consistency and applying your glossary rules. Partners get content in their language by either choosing it themselves in the portal account menu or having it set on their partner record. Each portal experience participates in translation by default, and you can exclude a specific experience if it should stay single-language. Files in the asset library are translated separately, on each asset.

Prerequisites

  • Languages write access.
  • Your plan’s language allowance determines how many languages you can add.

Settings & configuration

Languages are managed at Languages, with a shortcut from Company settings.

Manage translations

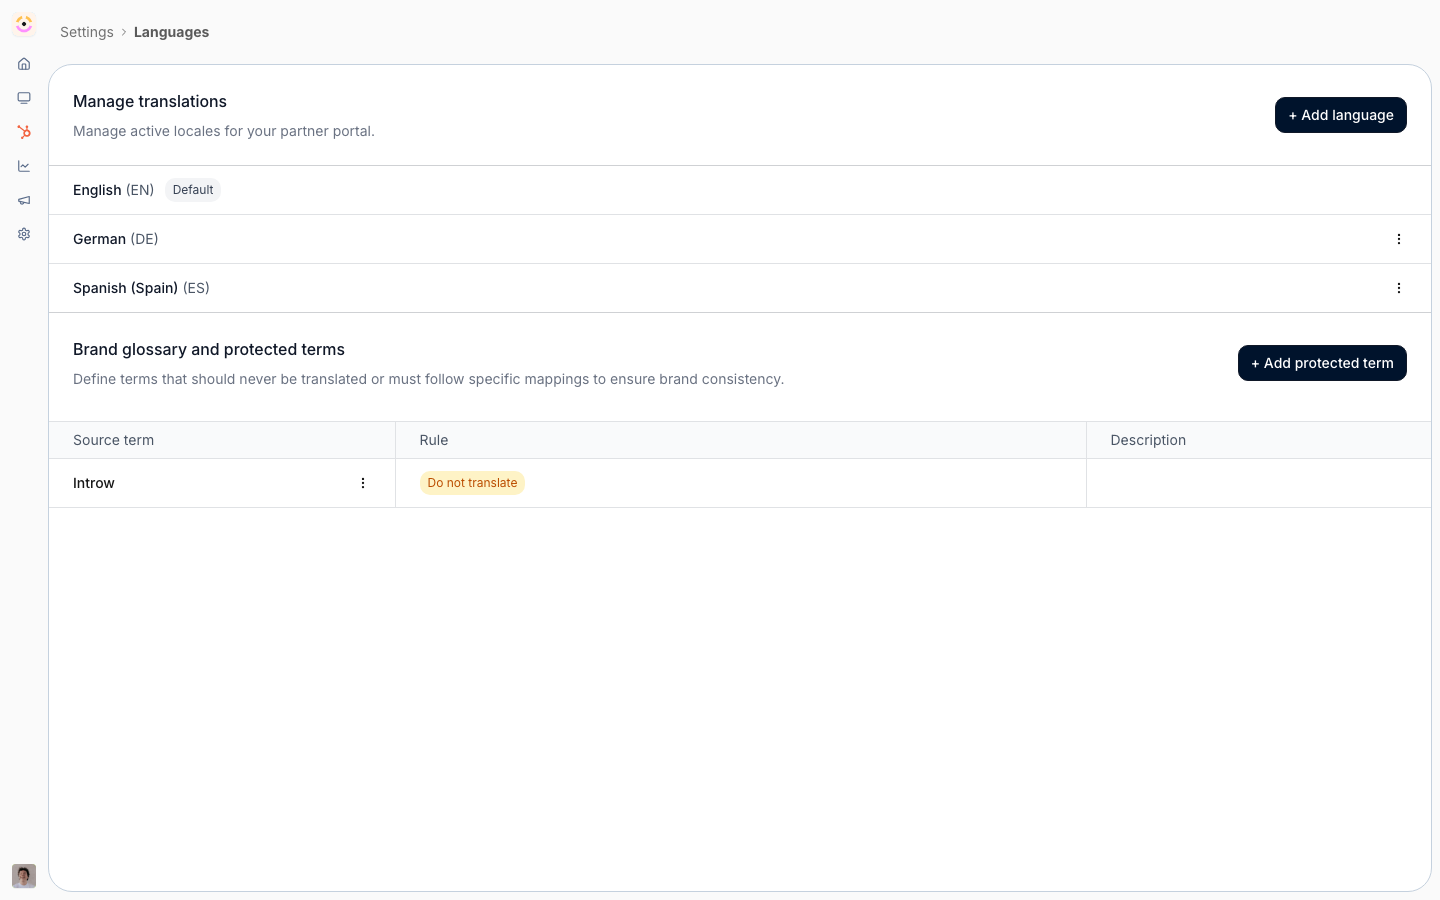
This section lists your active locales. Use Add language to add a new one from the language picker, and the row menu to Set as default or Delete a language. The Default pill marks the fallback language used when a partner has no language set. Your plan caps how many languages can be active; when you reach the cap, the add control prompts an upgrade.

Brand glossary and protected terms

The glossary keeps key terms correct across every language. Add a protected term with a rule: Do not translate keeps the source term as-is everywhere, and Specific translation lets you supply the exact wording to use per language. Use this for product names, feature names, and trademarked terms.

Default language

Your organisation’s default language also appears on the General tab of Company settings as Language, used for internal settings and reports. Setting it there keeps it in sync with your active locales.

Per-experience participation

In a portal experience’s settings dialog, Enable multilingual for this experience controls whether that experience is translated. Leave it on for partner-facing portals; turn it off for an experience that should remain in a single language.

Asset translations

Files are localized on each asset, under the asset’s Languages tab in the library. You can add a translated file or link manually, or use Generate translations to translate documents automatically when a translation provider is configured.

Setup walkthrough

1

Open Languages

Go to Languages.
2

Add your languages

Use Add language to add each locale your partners speak.
3

Set a default

Mark one language as the default fallback.
4

Define protected terms

Add glossary entries for product and brand terms.
5

Confirm experience participation

Make sure partner-facing experiences have multilingual enabled.

How-to guides

Control which experiences get translated

Turn automatic translation on or off for a specific portal experience.

Keep your brand correct in every language

Define protected terms so product names and trademarks are never mistranslated.

Set up the languages your partners see

Add the locales your partners speak, set the fallback default, and control how each partner is served their language.

Localize a file in the asset library

Give a library asset translated versions so partners download collateral in their language.

Limits & gotchas

Your plan limits how many languages can be active at once. Translations are generated automatically and may take a short while to appear after you publish or change content. The brand glossary applies across languages, so keep it focused on terms that must never vary.

Troubleshooting

  • A new language is not available to partners - confirm it is added and active under Languages.
  • A term is being mistranslated - add it to the brand glossary with the correct rule.
  • An experience is not translating - check that multilingual is enabled in its settings dialog.
  • An asset has no translated version - translations for files are added per asset on its Languages tab.