

What you’ll achieve
A list of protected terms that automatic translation always honors: each term is either kept exactly as-is in every language, or replaced with the specific wording you supply per language. Your brand stays consistent everywhere partners read it.Before you start
1
Add your languages first
Glossary rules apply across your active languages, so add them under Languages first (see Set up portal languages).
2
List your protected terms
Gather the product names, feature names, and trademarks that must stay consistent, plus any term that needs a specific approved translation per language.
Watch it
- Video
- Click through
Steps
1
Open the brand glossary
Go to Languages and find the Brand glossary and protected terms section below Manage translations. It lists any terms you have already protected, with their rule and description.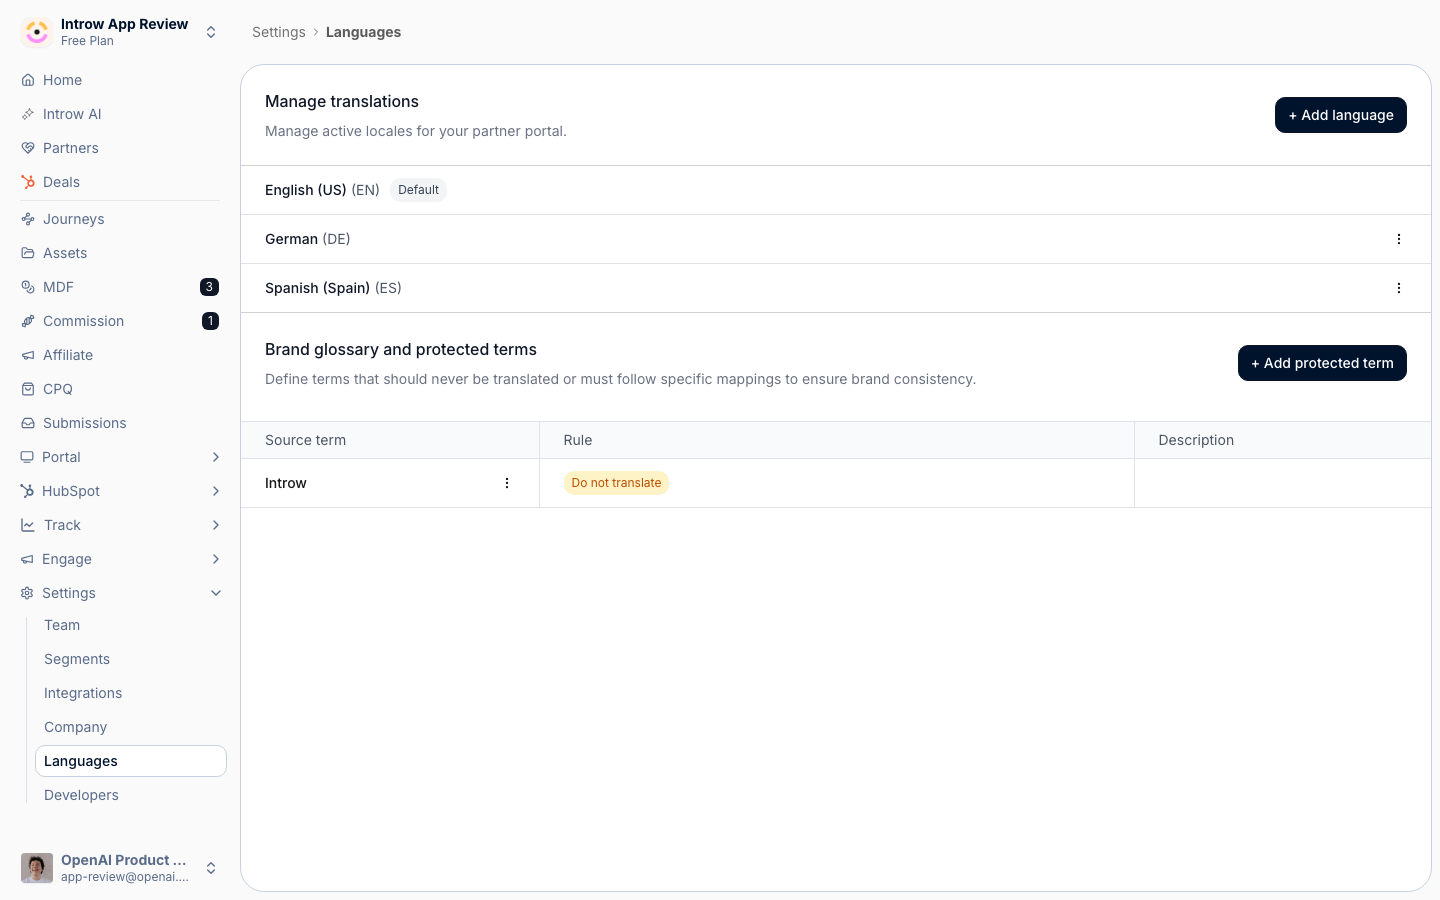
2
Add a protected term
Select Add protected term to open the entry form, then fill it in.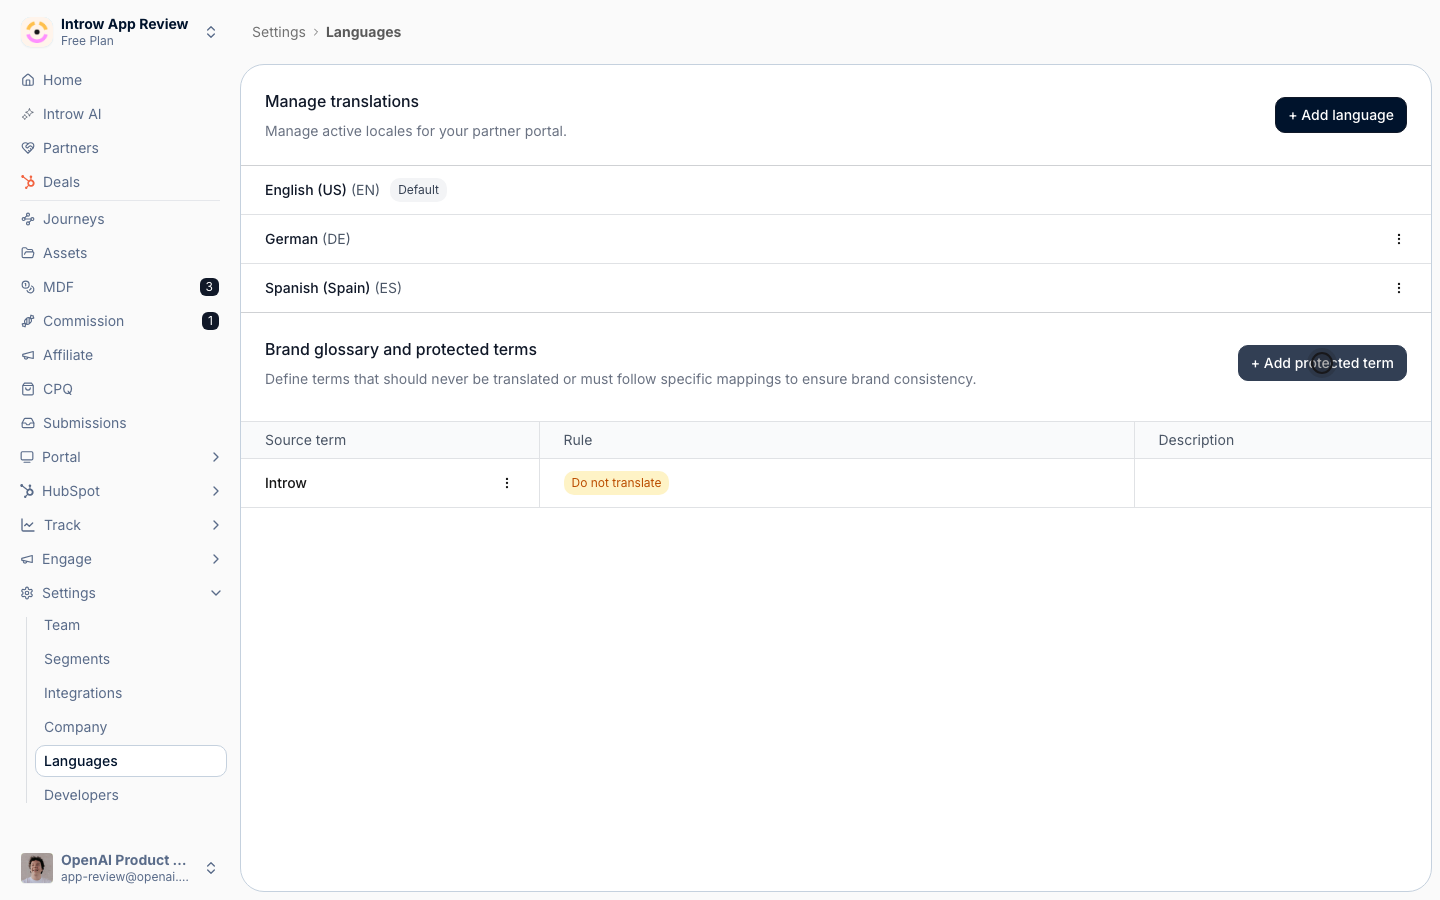
- Source term - the exact word or phrase to protect (for example your product or feature name). This is what translation looks for in your content. Enter it as it appears in your source language.
- Description - an optional note explaining the term, shown alongside it in the list to help your team keep entries clear.
3
Choose how the term is handled
Pick the rule that governs the term in every language.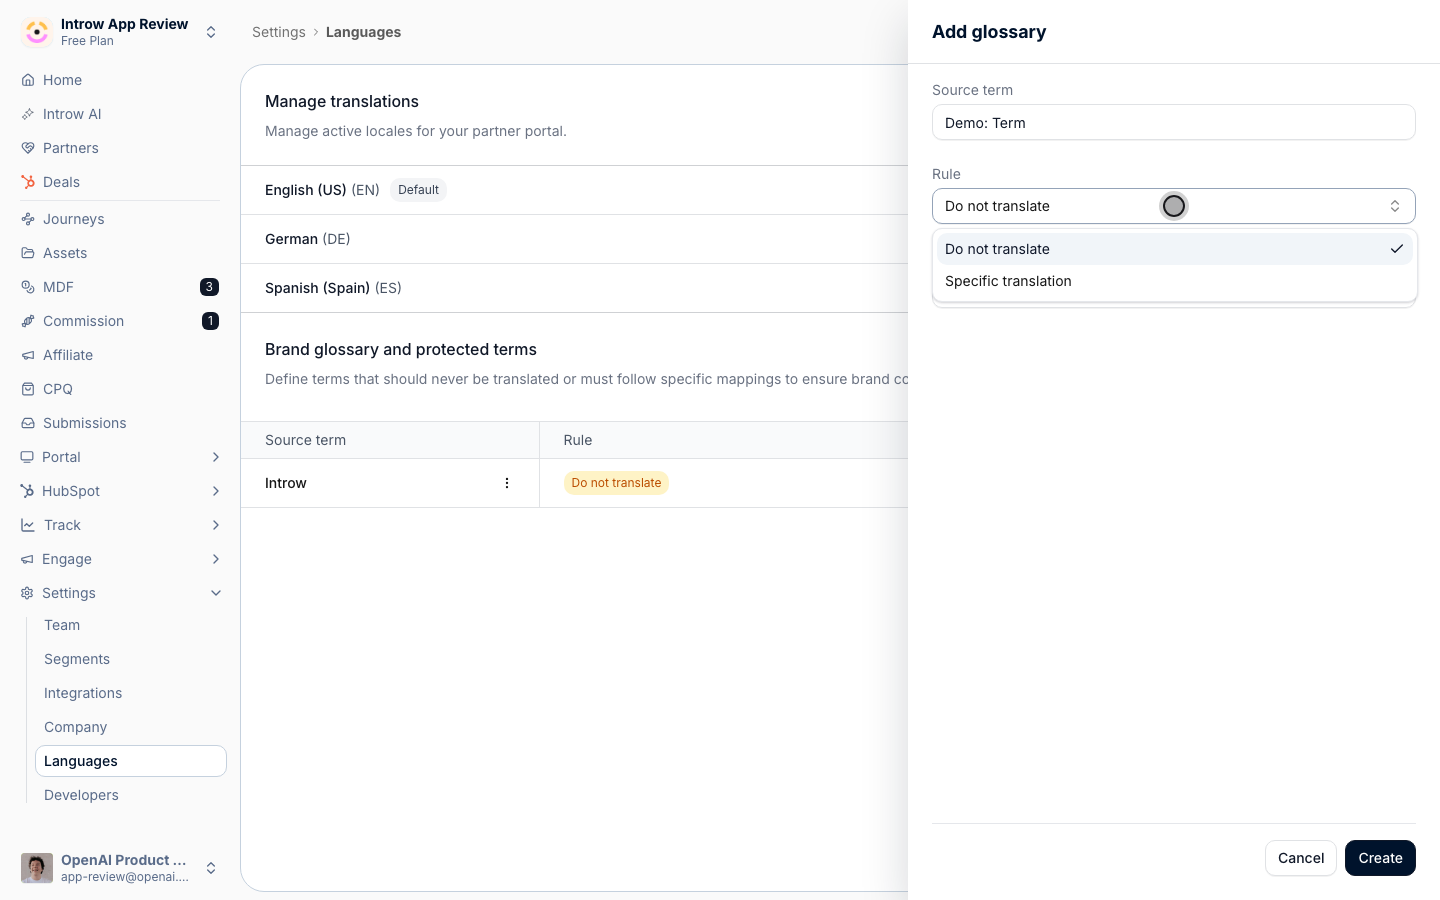
- Do not translate - keeps the source term exactly as written everywhere. Use this for trademarks and product names that must read identically in all languages.
- Specific translation - lets you supply the exact approved wording per active language, instead of letting translation decide. Use this when a term should be localized, but only to wording your brand has signed off on. Fill in the wording for each language you want to control; languages you leave blank fall back to the source term.
4
Save the entry
Save the entry. It appears in the glossary list with its rule, and applies to all future translations. Repeat for each term you need to protect; you can edit or delete any entry later from its row menu.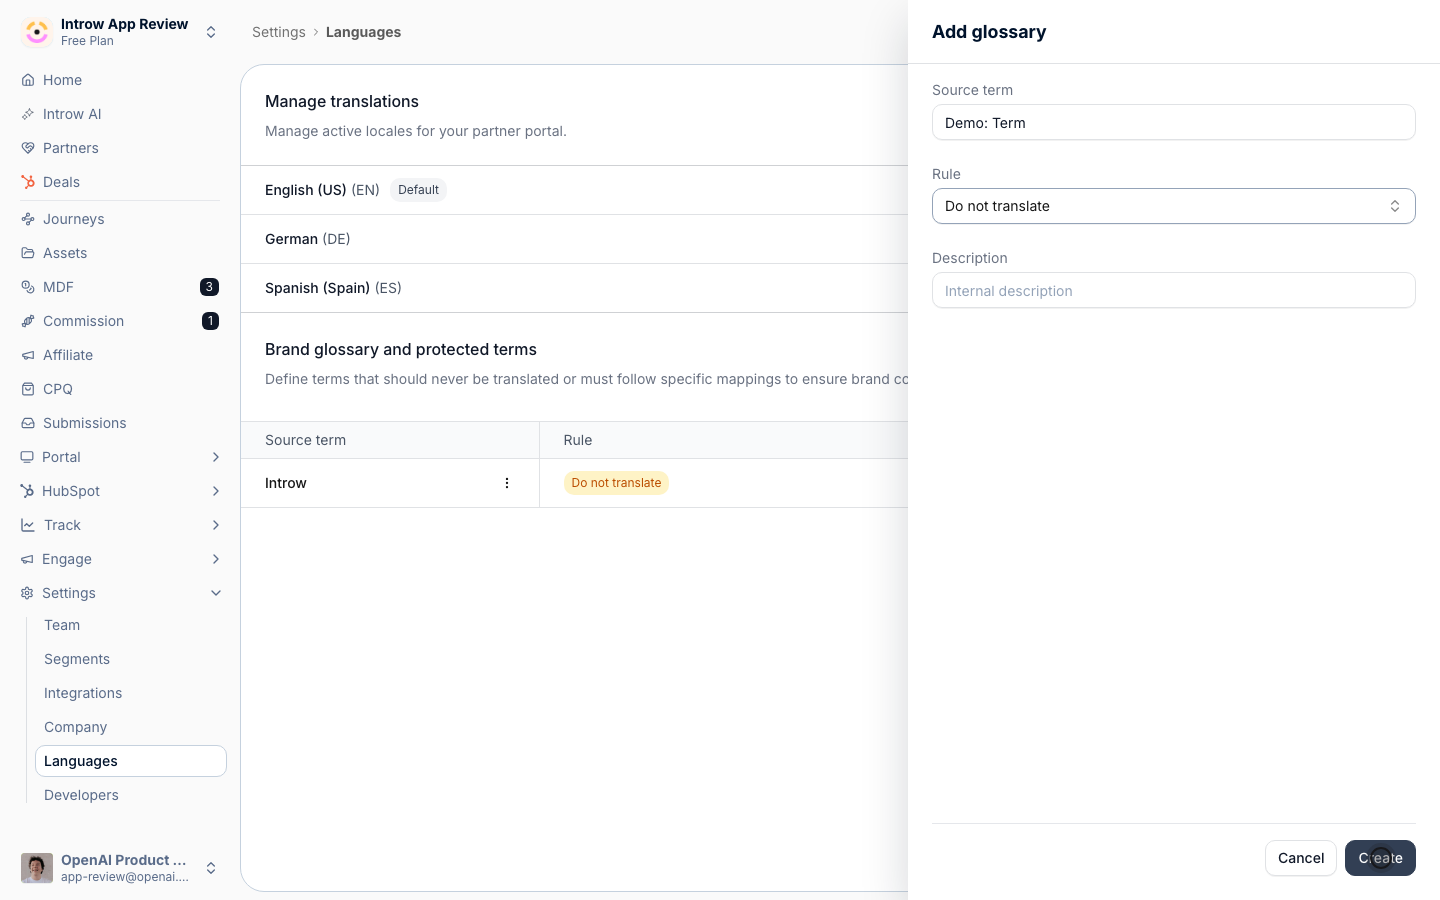
Verify it worked
The protected term appears in the Brand glossary and protected terms list with the rule you set. Newly translated partner-facing content keeps “Do not translate” terms unchanged and uses your approved wording for “Specific translation” terms.Related
Set up portal languages
Add the languages your glossary protects.
Translate an asset
Localize files in the library.
Implementation reference
Full configuration options.