

What you’ll achieve
A live partner support agent: named, branded, instructed within your guardrails, tested, visible to partners in the portal, and producing conversations you can review. Partners get instant, scoped answers; your team only handles what the agent escalates.Before you start
1
Fill the knowledge base first
The agent answers from your knowledge base, so populate it before launch. See Fill the knowledge base. An agent with no knowledge gives thin answers.
2
Confirm the module and access
The AI Agent module is on by default. You need AI agent write access to configure the agent.
3
Have your branding ready
Have the agent name, a square logo image (around 200×200, up to 5MB), and a sense of the tone and rules you want before you start writing.
Watch it
- Video
- Click through
Steps
Configure the agent
1
Open the agent configuration
Go to Partner Support Agent. This is the Configure & Test tab, where you set up the agent on the left and chat with it on the right.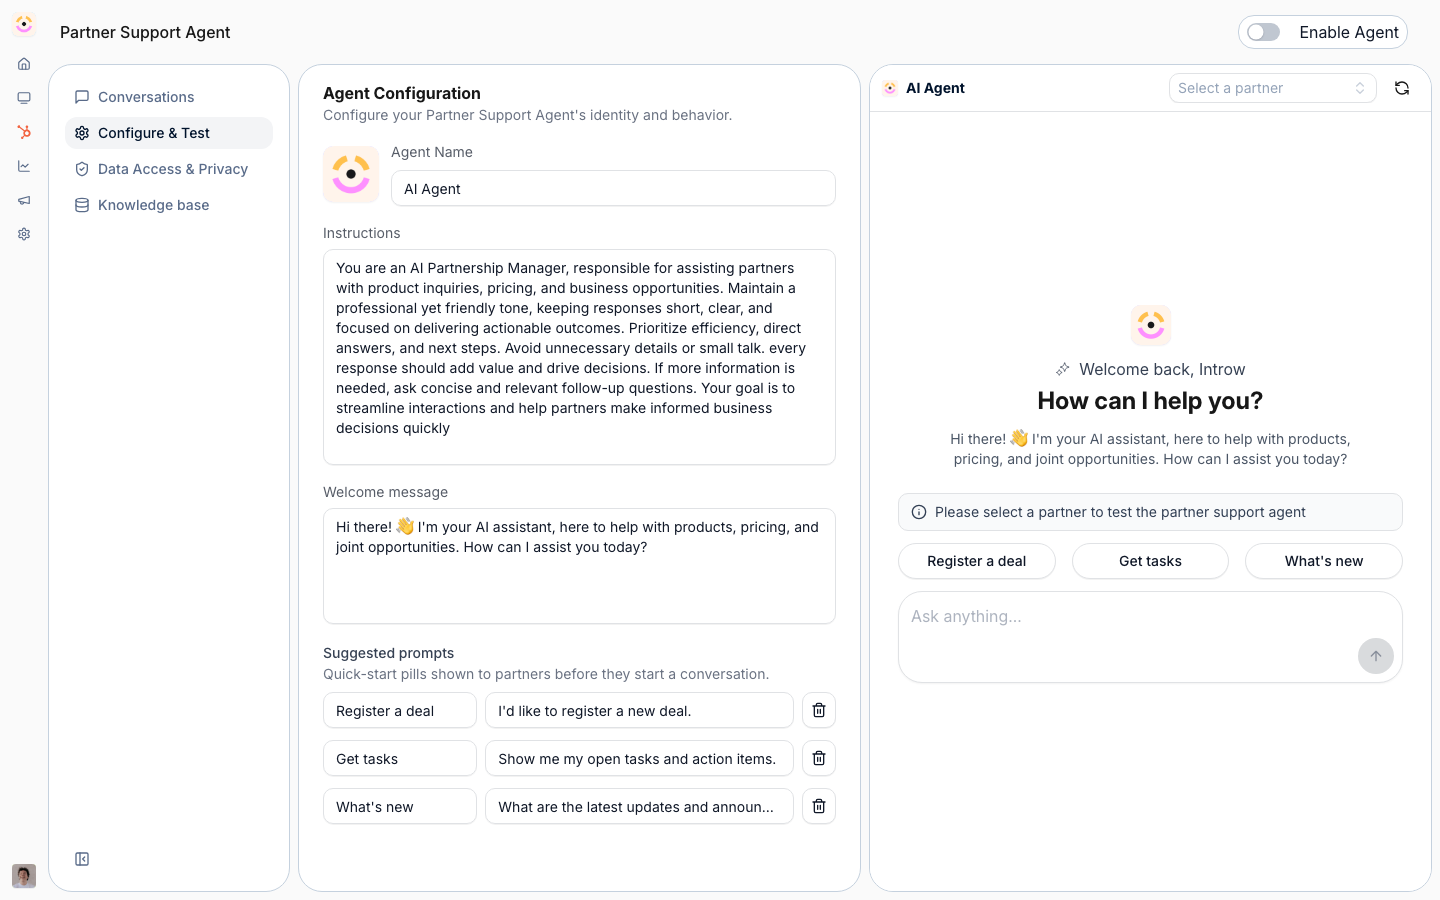
2
Set identity and instructions
Work through each field: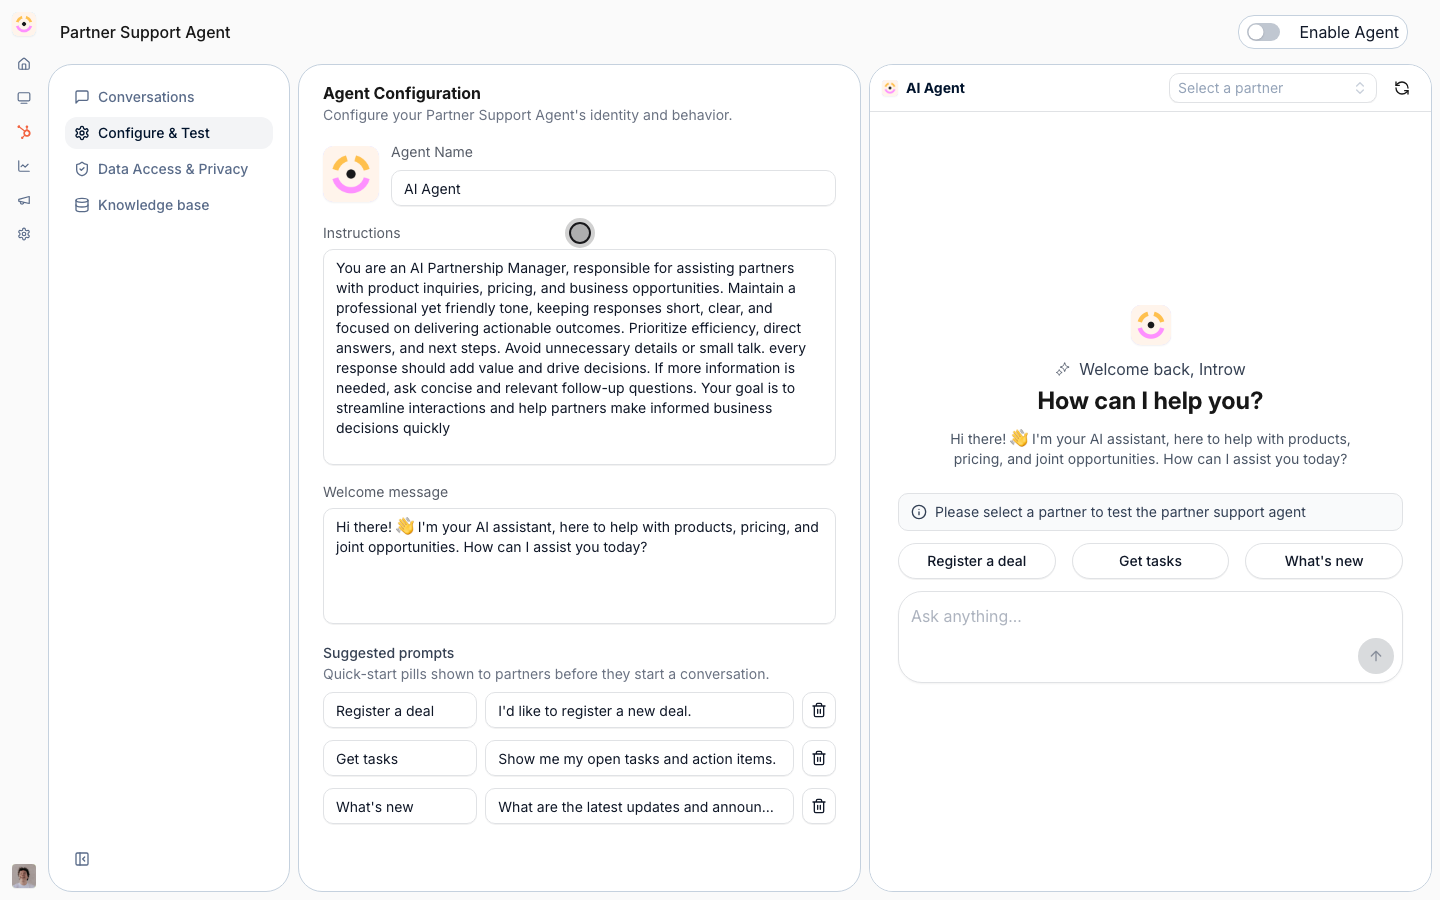
- Enable Agent - the master switch that turns the agent on for your organization. Turning it on (you will confirm in a dialog) is what makes the agent available to partners, so leave it off until you have tested. You can come back and enable it after the test step.
- Logo - the image partners see in the chat. Upload one so the agent feels like part of your brand rather than a generic bot. It renders in a small square avatar and is cropped to fill, so use a square image around 200×200, PNG or JPG, up to 5MB - a wide logo loses its sides. Leave it empty and the agent falls back to your company’s square logo.
- Agent Name - what partners see the agent called in the chat. Use a name that fits your program (for example “Acme Partner Assistant”). If you already run an internal assistant with a name and an avatar, reuse them here so partners meet one assistant rather than two. Leave it empty and it is called “AI Agent”.
- Instructions - the system instructions that shape how the agent answers: its tone, what it should and should not do, when to escalate, and any house rules. This is your main lever for keeping answers on-brand and within guardrails, so be specific about scope and escalation.
- Welcome message - the first message partners see when they open the chat. Use it to set expectations (what the agent can help with) and invite the first question.
3
Let it save
Configuration saves itself. Each field is written when you leave it and a toast confirms it, so there is no save button to look for.
Test before partners do
1
Chat in the test panel
On the right side of Configure & Test, select a partner at the top of the panel, then ask the agent the real questions partners ask. The partner you pick decides what is in scope: their portal, their assets, their CRM records. Confirm it answers from your knowledge base, holds the tone you set, and escalates where it should.The panel knows you are the partnership manager, so it will not refer you to a partner manager and it will not refuse an action on permission grounds. Ask the same questions from a partner portal when you want to see exactly what a partner gets.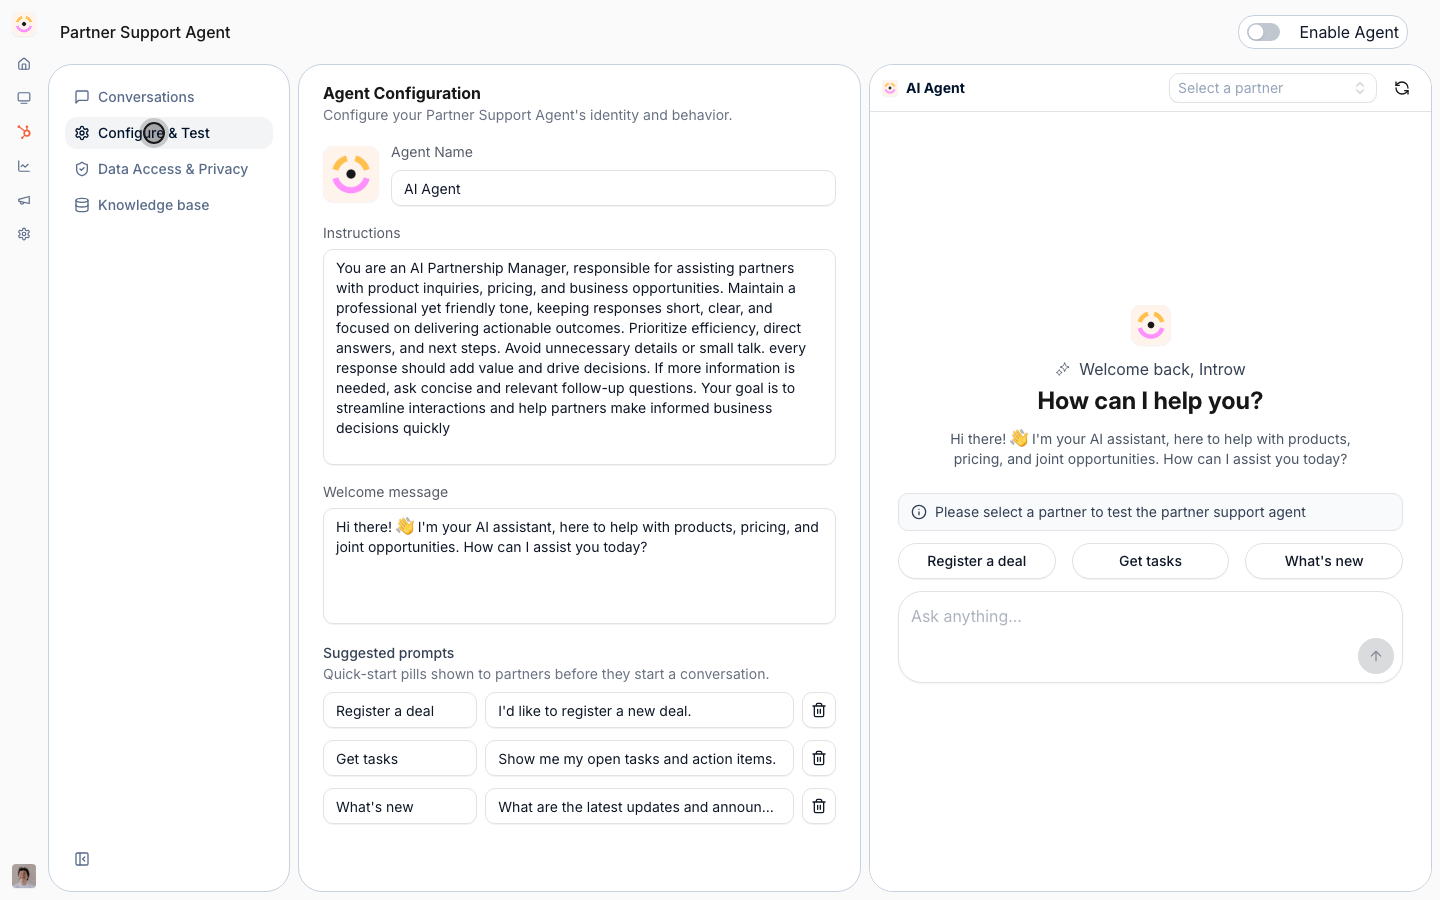
2
Refine and re-test
If an answer is wrong or thin, tighten the Instructions or add to the knowledge base, then ask again. Repeat until the agent is reliable on your common questions. Train and improve the agent covers which lever to reach for, and how to pin an exact answer with a snippet.
3
Enable the agent
Once you are happy, turn on Enable Agent and confirm. The agent is now live for partners.
Surface it and monitor
1
Confirm it appears in the portal
With the agent enabled, partners can reach the agent in their partner portal, no separate publishing step is required. Open a partner portal to confirm the assistant is there. Use your portal experience to position where partners discover it.
2
Review conversations
Switch to the Conversations tab to see real conversations: where each came from (Portal, Slack, Teams, or MCP), the questions asked, and the outcome each partner rated with a thumbs up or thumbs down. Use this to spot gaps and keep improving instructions and knowledge.
Verify it worked
Open a partner portal as a partner: the AI assistant is available, and the agent greets them with your welcome message and answers a real question correctly and in scope. Back in Conversations, that conversation appears with its source and any feedback. If the assistant is missing, confirm Enable Agent is on; if answers are thin, add to the knowledge base.Related
Train and improve the agent
Keep its answers correct once partners are using it.
Use the agent in Slack
Let partners reach the agent from Slack.
Fill the knowledge base
Ground the agent in your content.
Implementation reference
Settings, channels, security, and limits.