

What you’ll achieve
Named partner team roles exist, each can be kept in sync with a CRM property, and the right people are assigned to those roles on your partners, individually or across many partners at once.Before you start
1
Have Team and Partners access
You need Team access to create partner team roles, and access to partners to assign people on a partner’s record.
2
Connect your CRM (for syncing)
The CRM sync step only appears when a CRM is connected. Without one, you can still define roles and assign people; ownership just will not push to a CRM.
3
Decide your role names
Choose the roles people hold on a partner, for example Manager or Technical contact.
Watch it
- Video
- Click through
Steps
Define the role
1
Open Partner team roles
Go to Team and open the Partner team roles tab.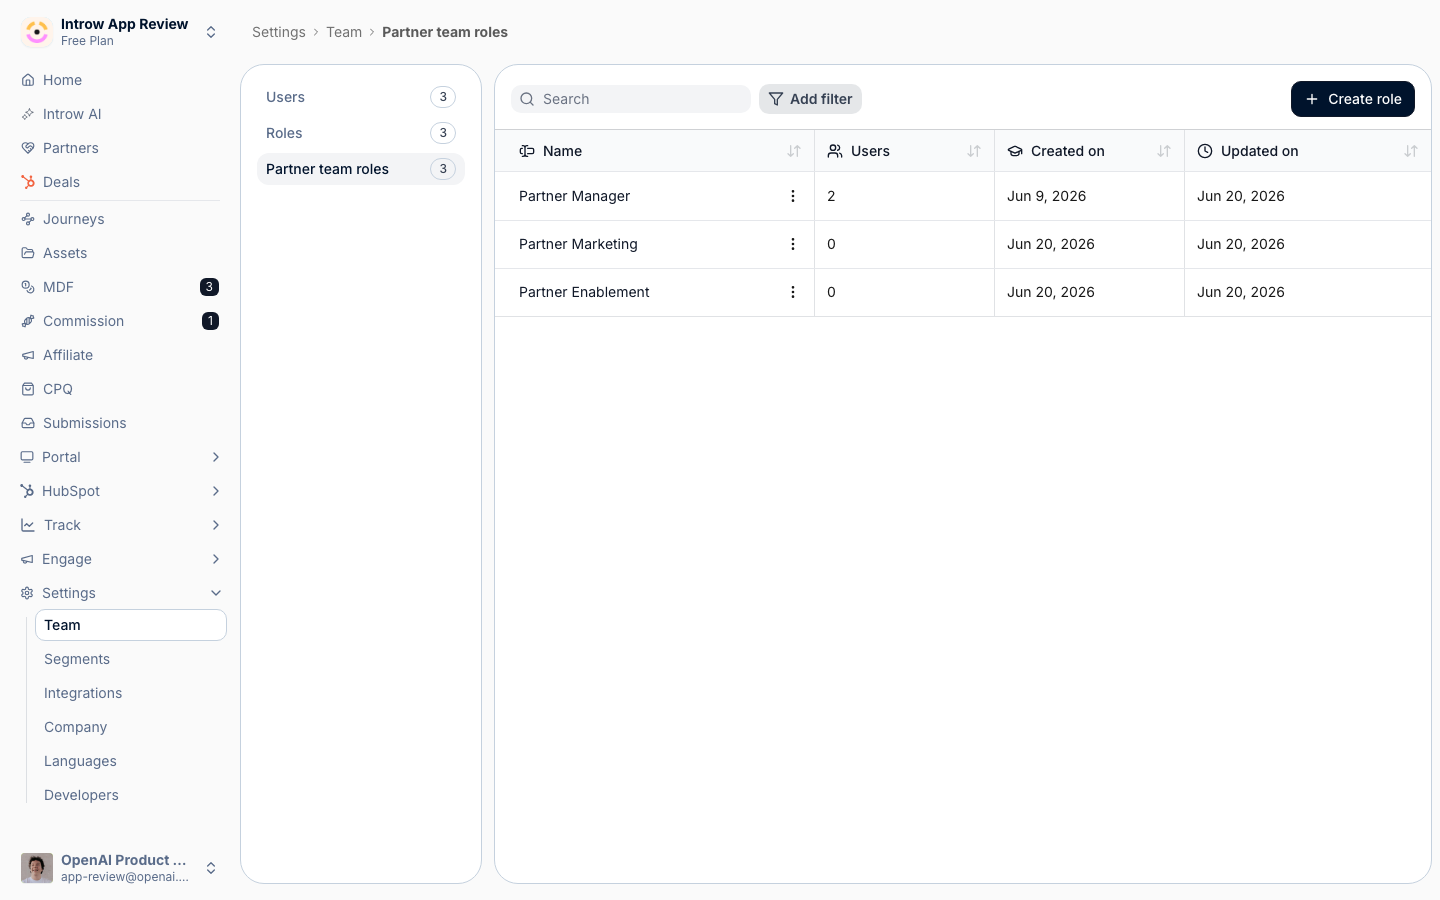
2
Create a partner team role
Select Create partner team role, enter a Name that describes the job on the partner (for example Manager or Technical contact), and select Create role. Names must be unique. Repeat for each role your program needs.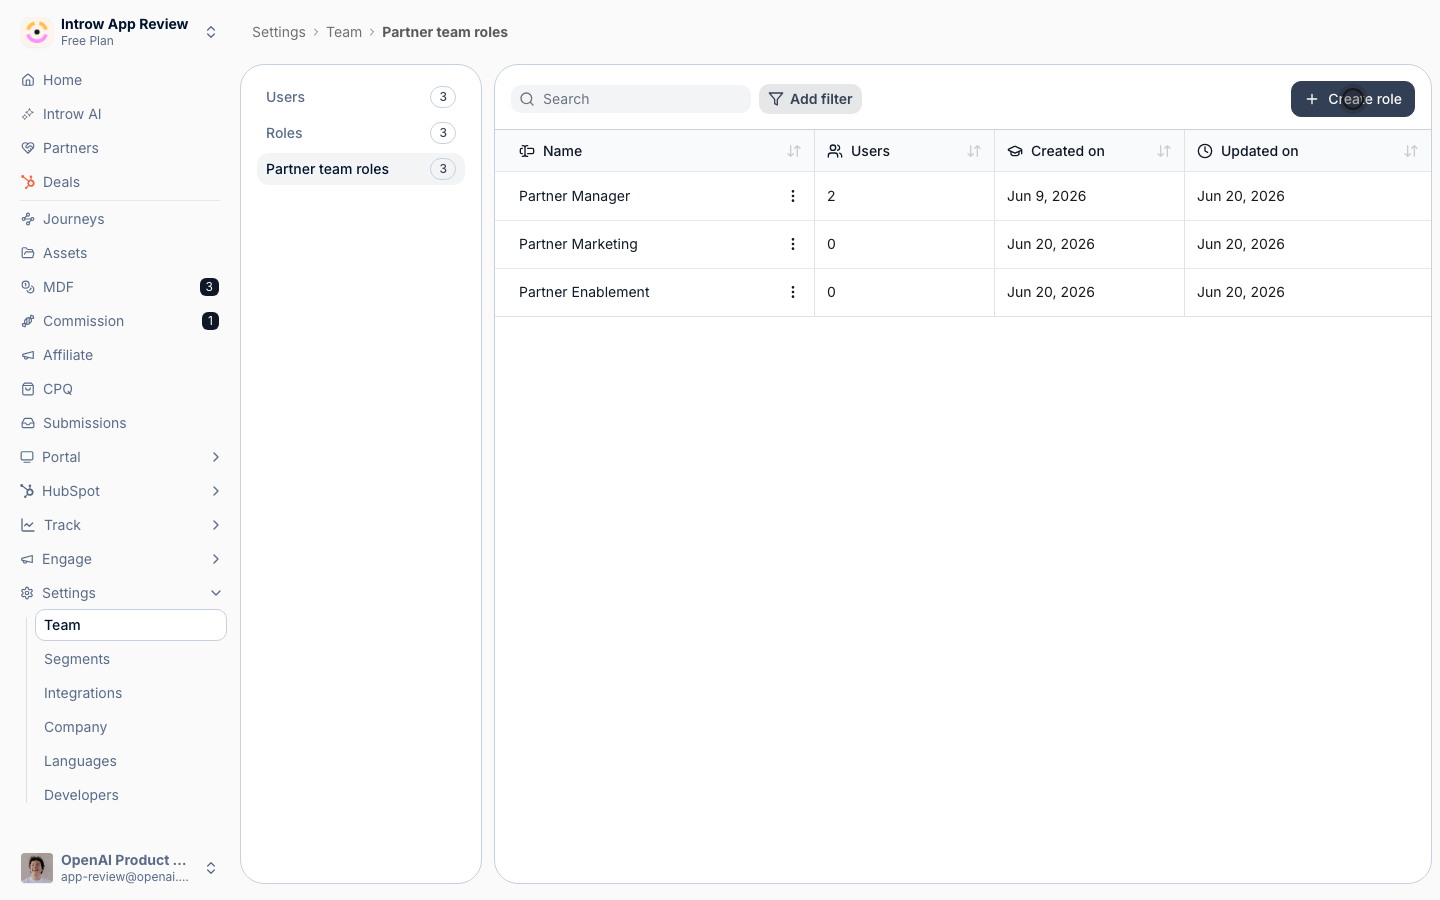
Sync the role to your CRM
1
Open the role and start the sync
On the Partner team roles tab, open the role to show its detail panel, then select the Sync button in the panel header (it reads In Sync once a mapping exists). This opens the dialog for syncing the role’s members between Introw and your CRM.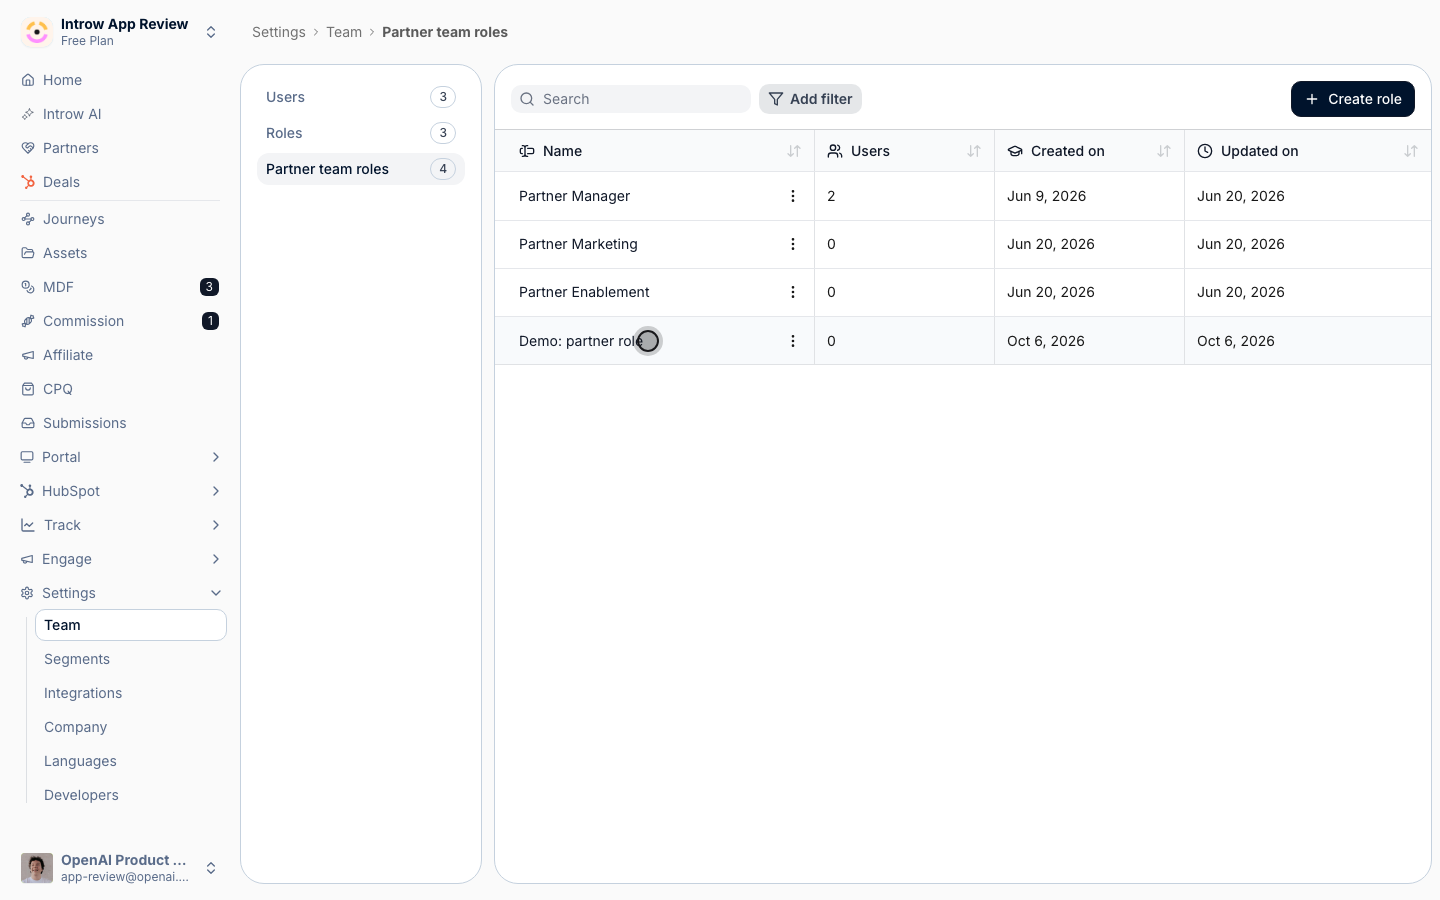
2
Choose how the role maps to your CRM
Decide how members of this role are written back to the partner record in your CRM: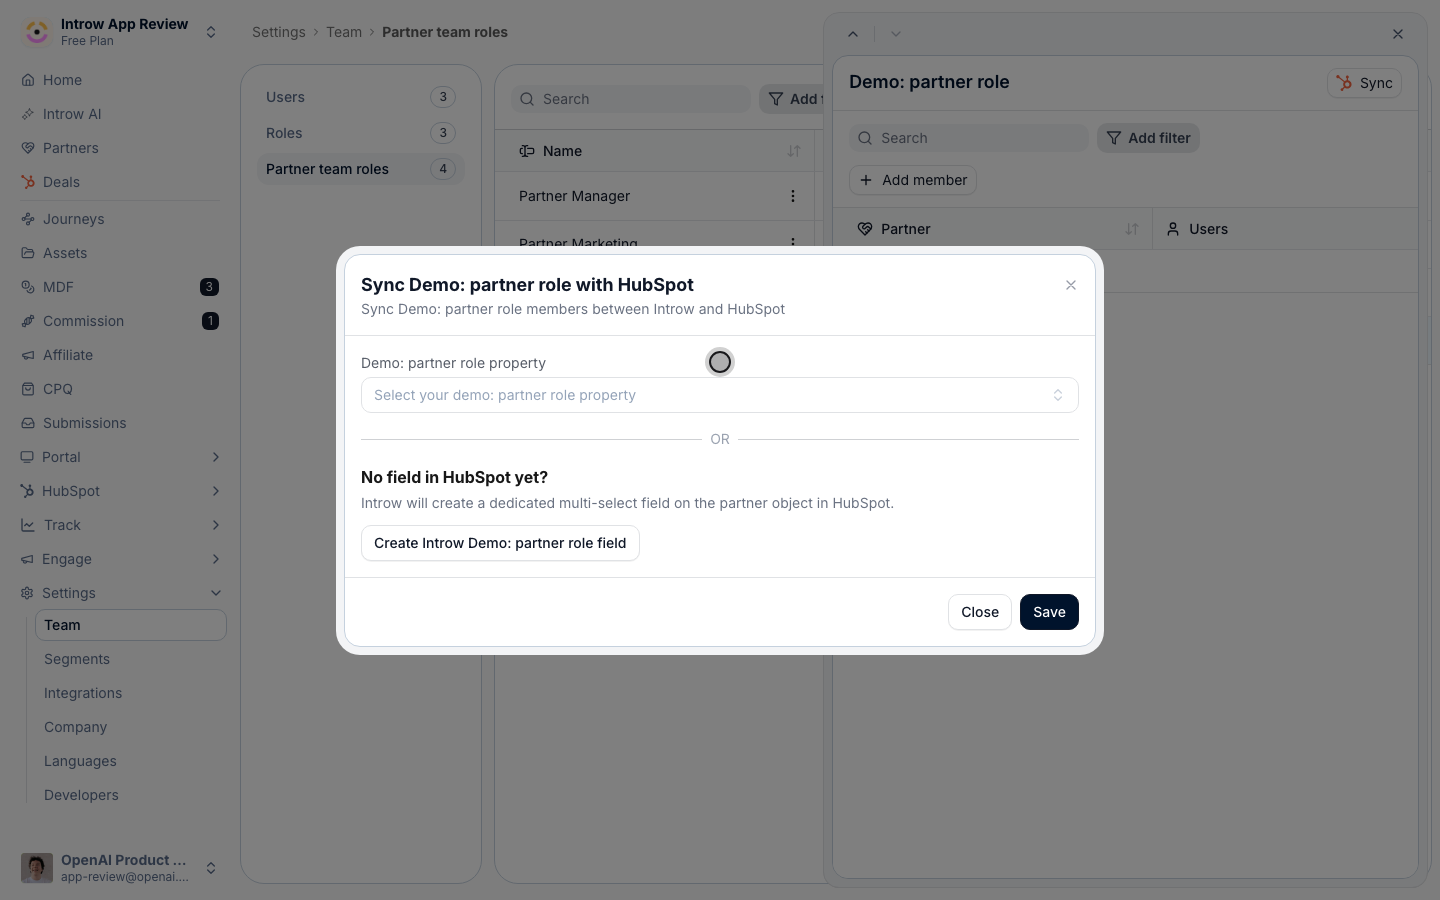
- Map to an existing property - in the role’s property field, pick a CRM owner or user property that already holds this kind of ownership. Use this when a single owner-style field should reflect the role (a single-owner mapping).
- Create a dedicated field - if there is no suitable field yet (HubSpot), use Create Introw field. Introw creates a dedicated multi-select property on the partner object, so several people in the role can sync to the same partner (a multi-member mapping).
Assign people to the role
1
Assign on a single partner
Open a partner’s detail page from Partners and find the Team card. Select Add, choose the Team member and the Role, and select Add team member. If the role already holds someone and it allows only one member, you are prompted to replace the existing member. You can later use the row menu on the Team card to edit a member’s role or remove them.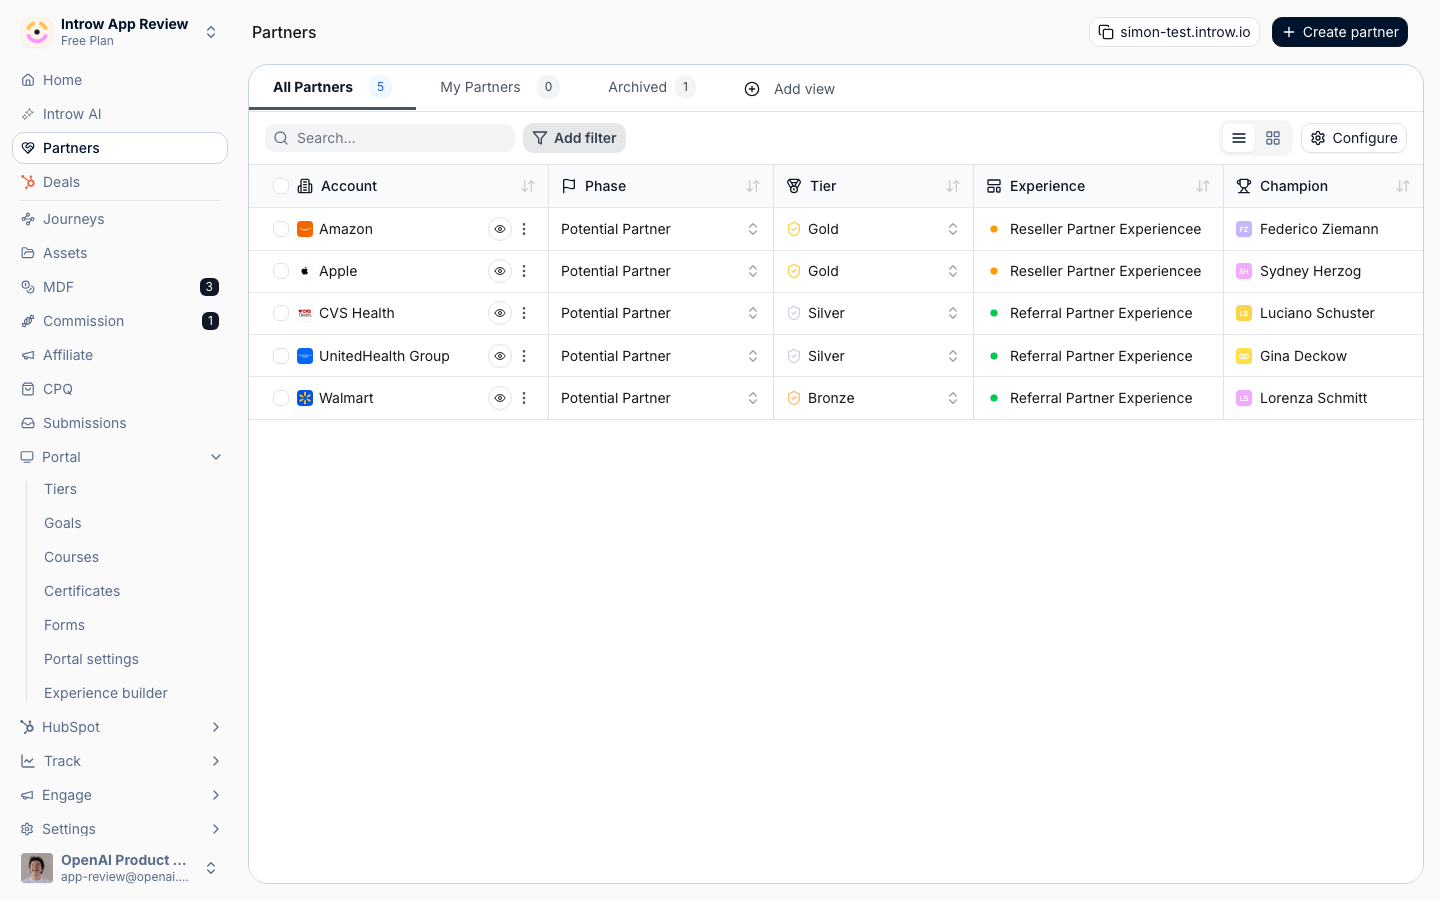
2
Assign the same person across many partners
To put one person into a role on many partners at once, go to Partners, select the partners you want, and open the bulk editor. Under Property to update, choose the partner team role, then pick the User to assign and save. As with single assignment, single-member roles prompt you to replace whoever is already there. This is the fast way to seed ownership across a whole segment.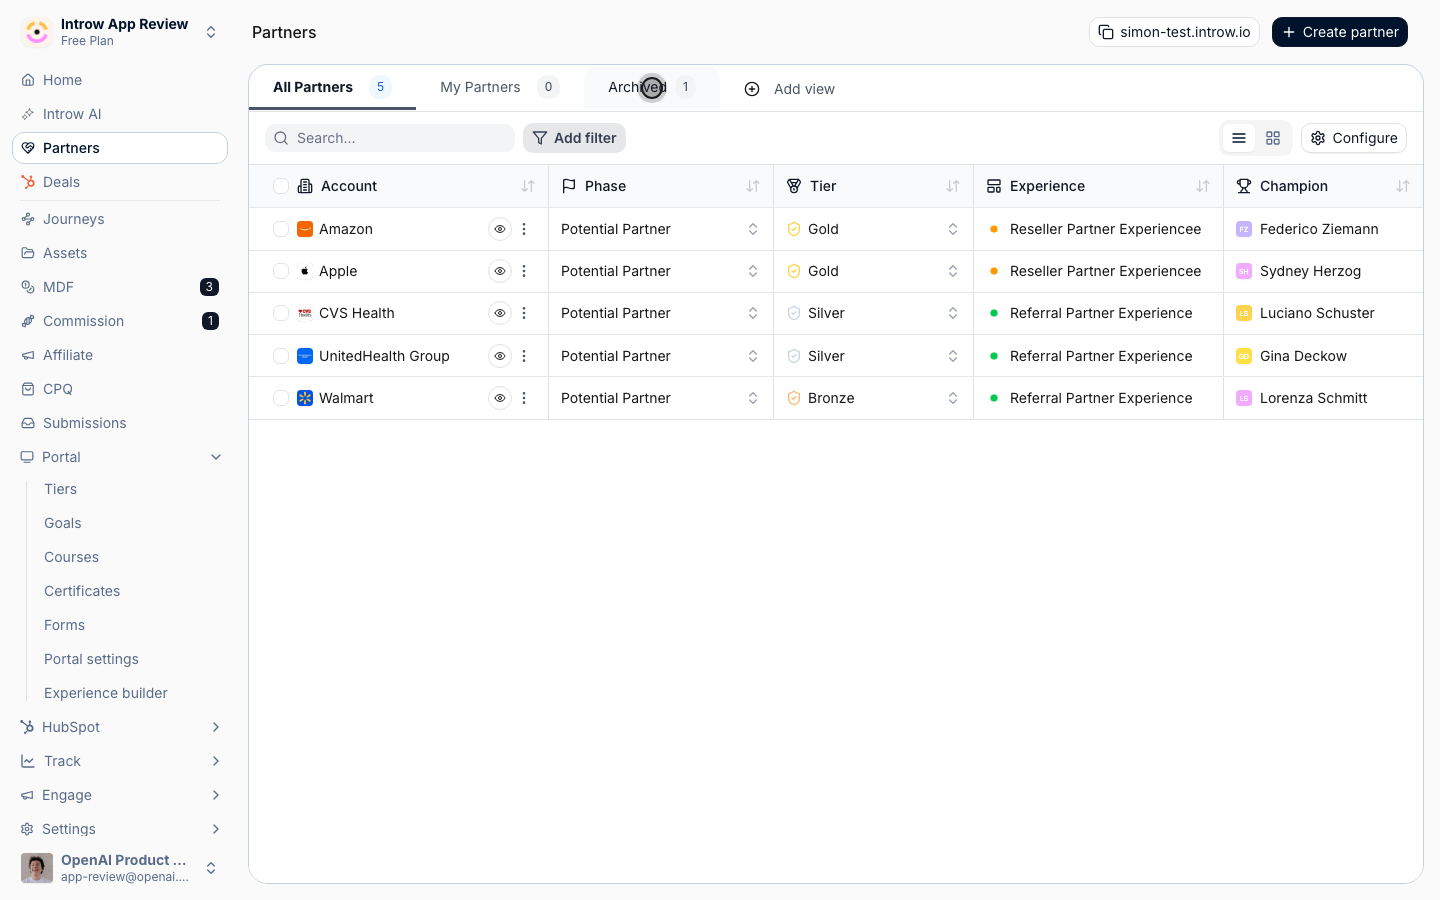
Verify it worked
The role appears on the Partner team roles tab, and assigned people show under each partner’s Team card in their role. If you mapped the role to your CRM, the assigned members appear on the matching property on the partner record in your CRM.Related
Create an internal role
Scope a user to only their assigned partners.
Invite a team member
Add the people you will assign to partners.
Implementation reference
Full configuration options.