

What you’ll achieve
One colleague, or several at once, is invited into the correct role and receives an email invitation. Each one appears on the Users list as Pending and move to Active once they accept, holding the permissions of the role you chose.Before you start
1
Decide their role
Have the right role ready, or create one first. The role you pick controls their access. See Create an internal role.
2
Check your seats
Your plan sets how many internal users you can have. If you have reached the limit, the invite dialog tells you and offers to upgrade. Inviting several people at once counts every address against the limit, so a batch that would take you past it is refused before anything is sent. The same limit applies when you reactivate someone, accept a join request, move a role off CRM-only, or let SSO and SCIM create the user, so a seat cannot arrive by a side door. CRM-only roles are available when HubSpot or Salesforce is connected, and you can keep adding CRM users when the limit is reached.
Watch it
- Video
- Click through
Steps
1
Open Team
Go to the Users tab of Team, where your team is listed with each person’s status, role, and invite date.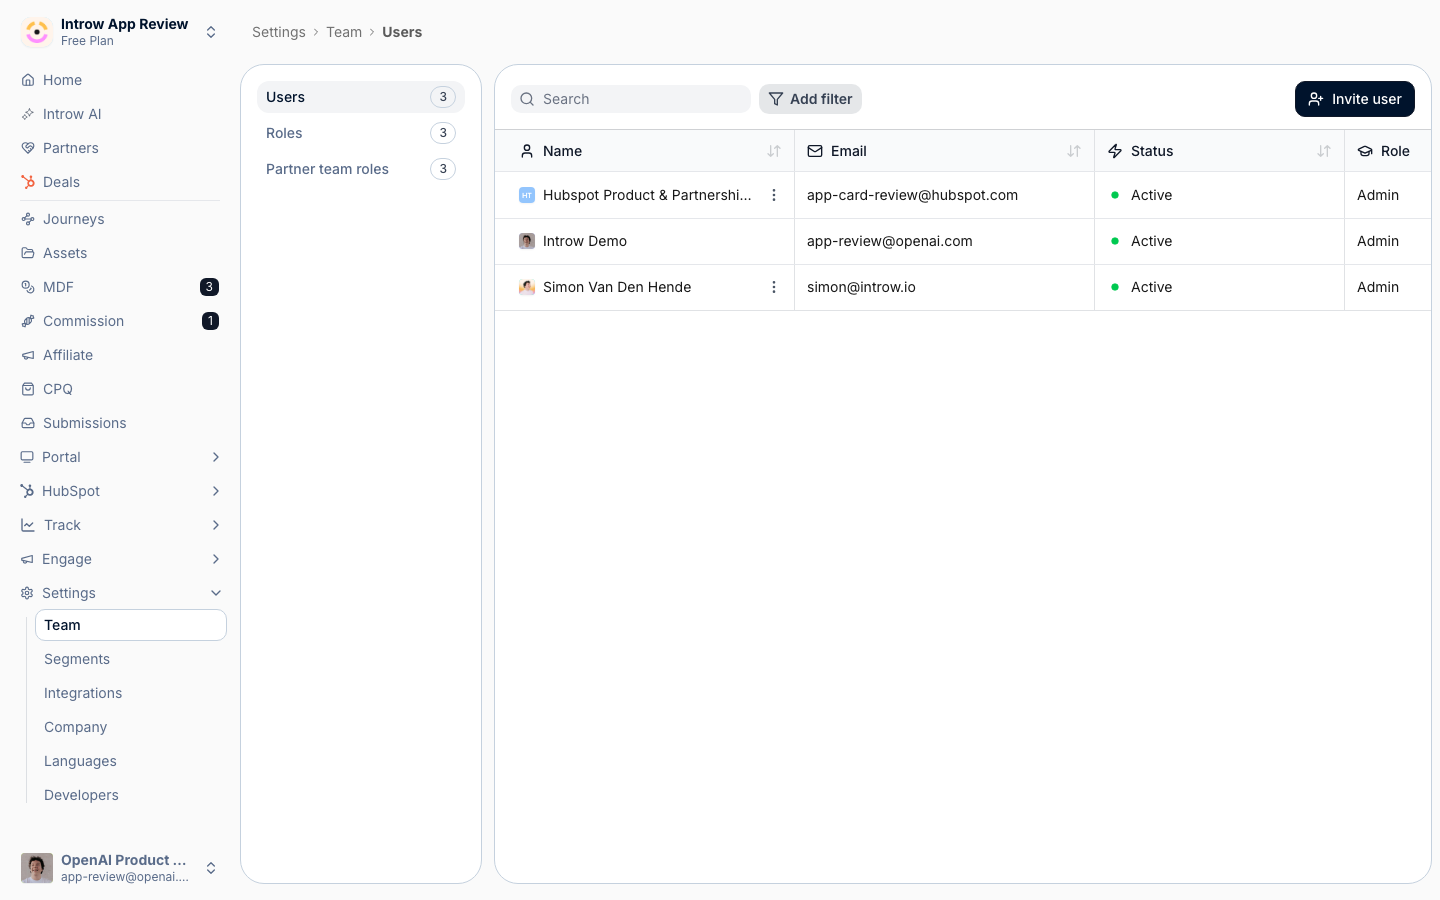
2
Start an invitation
Select Invite user in the top right of the list. The Invite user dialog opens with the Email field ready to type in. If you are at your plan’s limit, the dialog shows a notice here; you can still proceed with a CRM-only role when HubSpot or Salesforce is connected.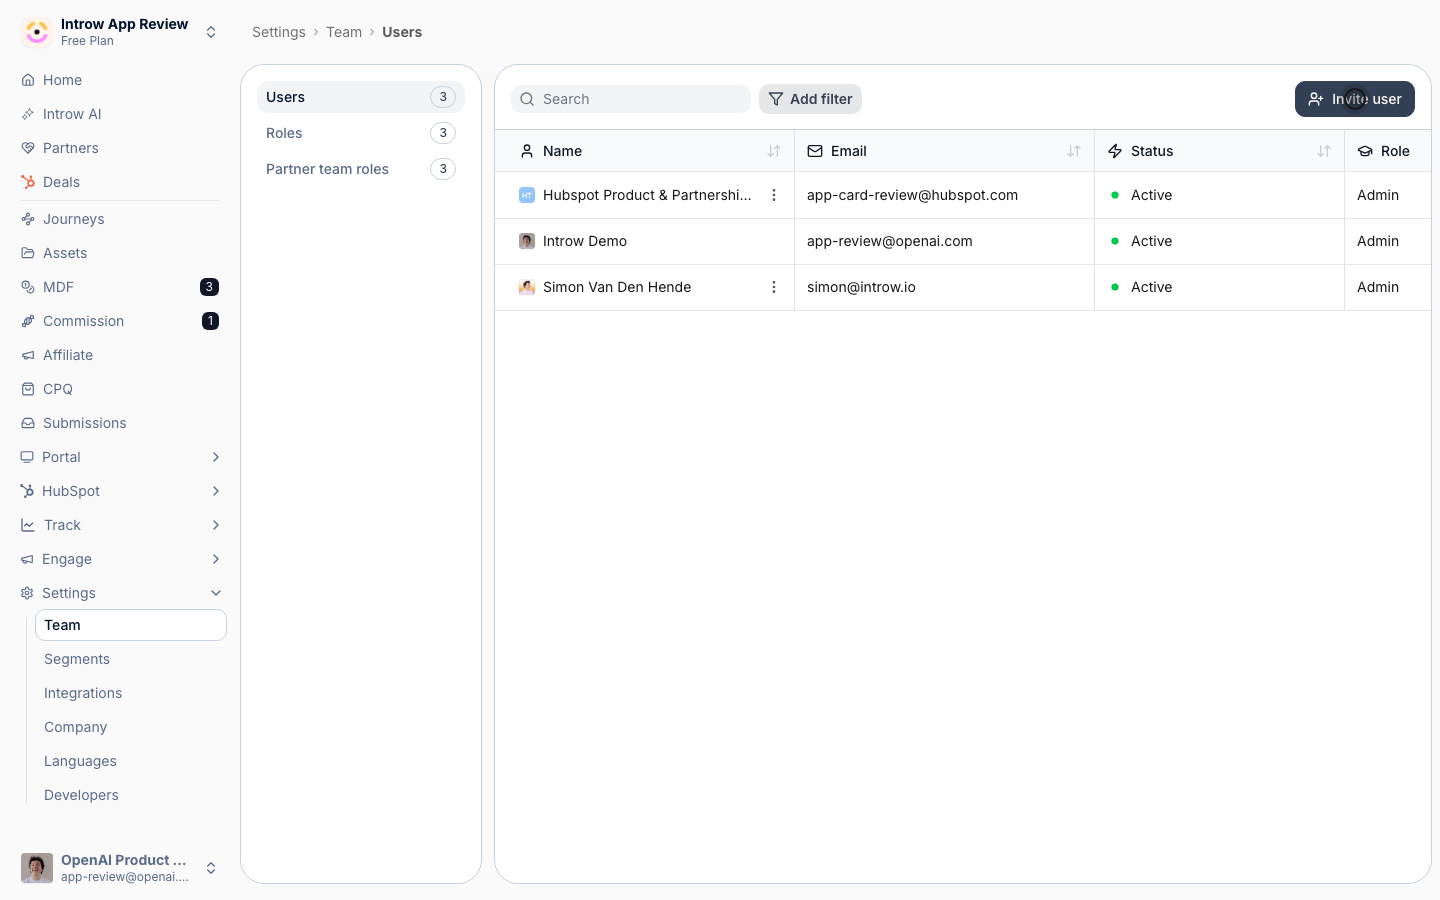
3
Enter one or more emails
Type an address in Email and press Enter or type a semicolon, and it becomes a pill. Keep typing to add the next person. You can also paste a list separated by semicolons, commas or line breaks, and every valid address turns into its own pill. A duplicate is added once. Select the cross on a pill, or press Backspace in an empty field, to take someone off the list before you send.Everyone in one invite gets the same role and the same personal message, so invite people who need different roles in separate rounds. If any address already belongs to someone on your team, the dialog says Email address was already invited to your team and nobody is invited until you remove it.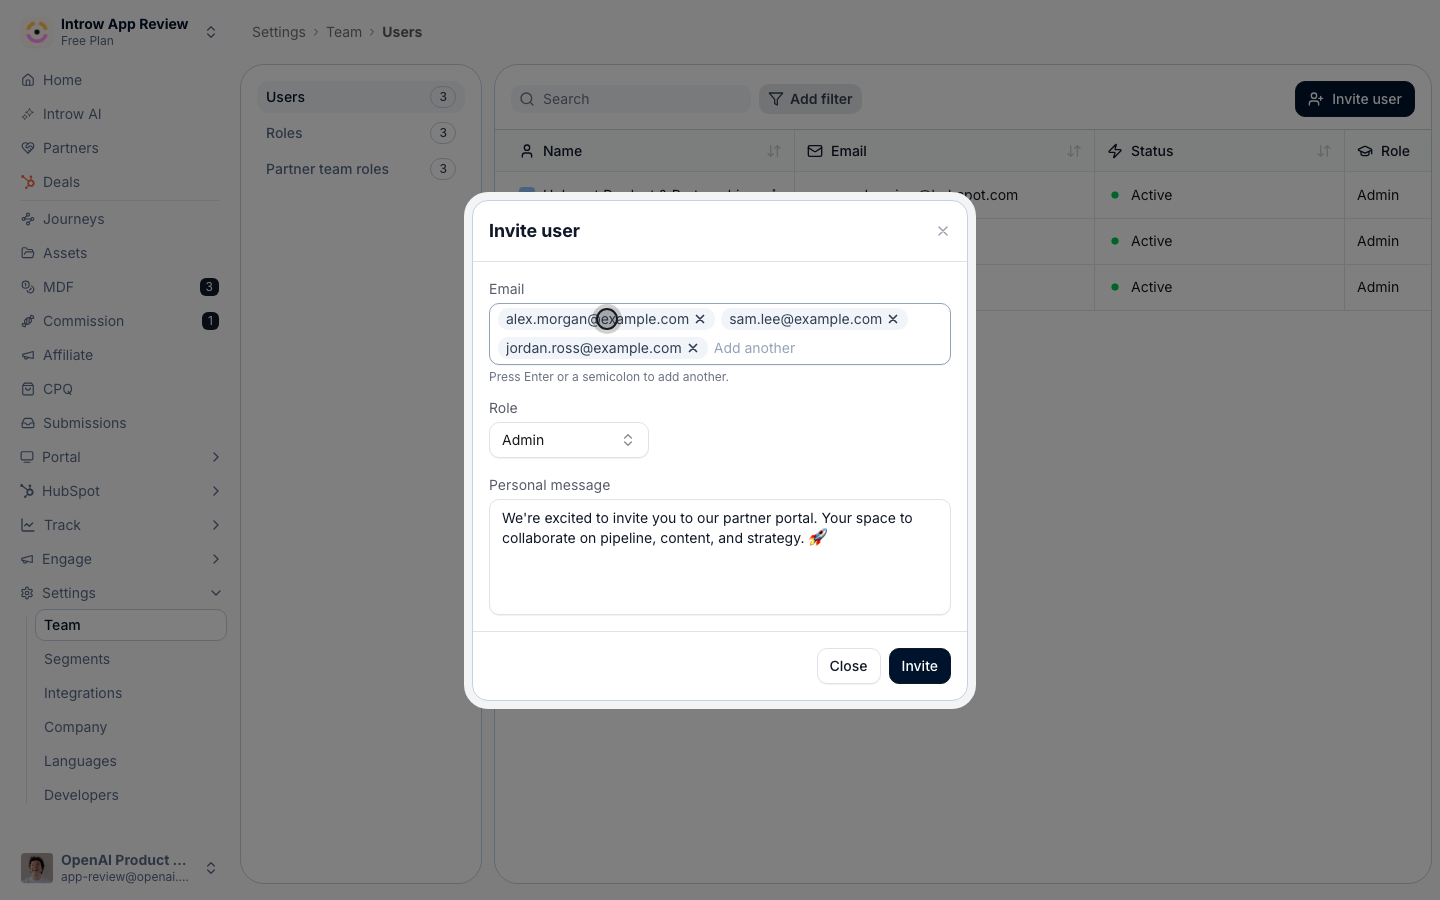
4
Choose a role
Pick the Role for the people you are inviting. The role decides what they can do and where they work. If you select a CRM-only role, the dialog reminds you those users only have access to the CRM module and never enter Introw directly.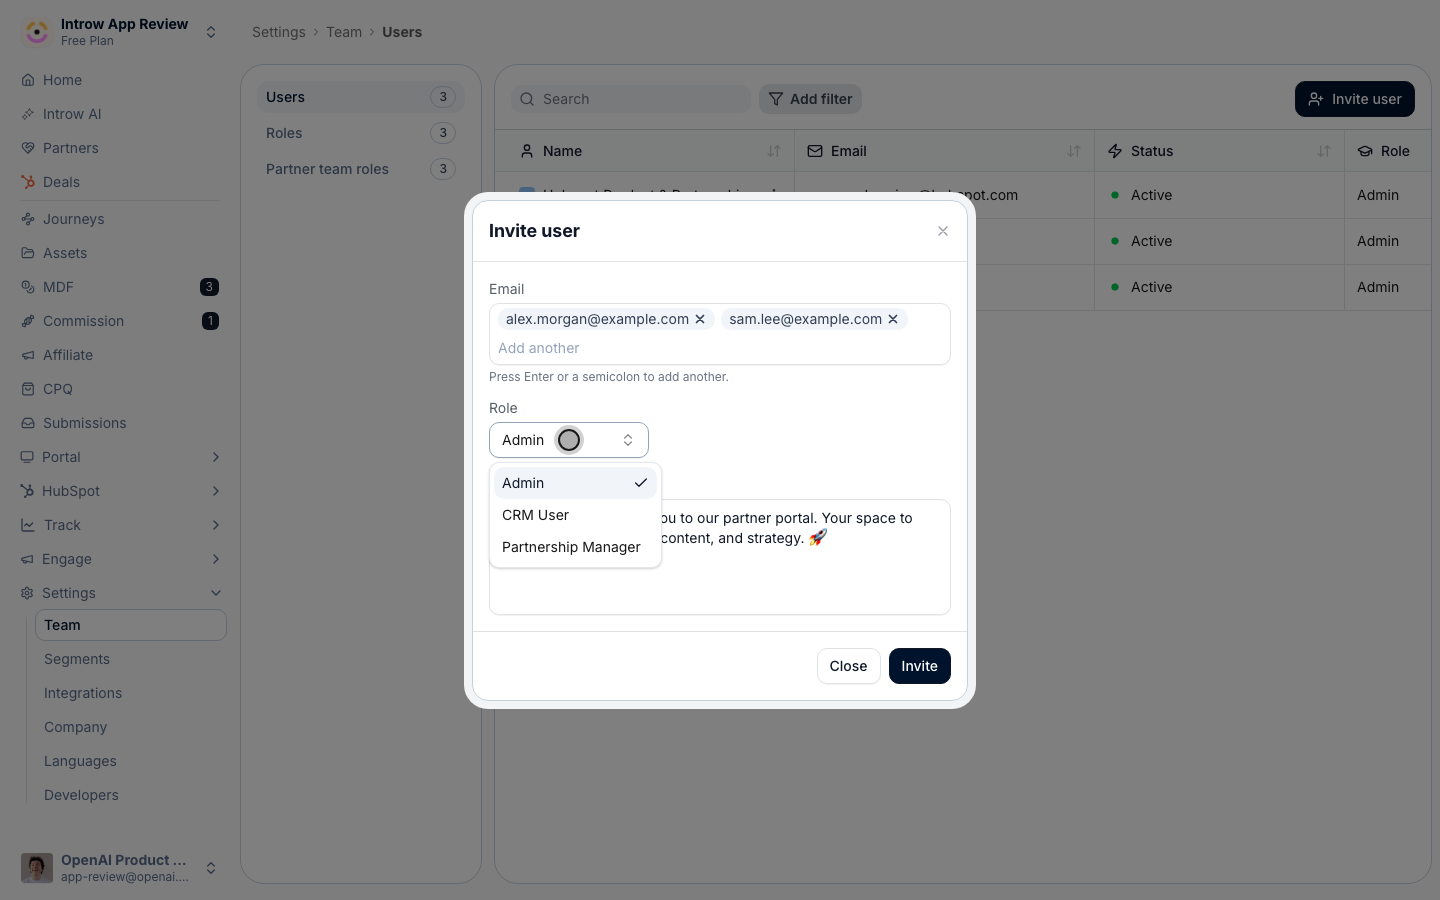
5
Add a personal message and send
Optionally edit the Personal message that goes out with the invitation, then select Invite. Each person receives their own email invitation and appears on the Users list as Pending until they accept.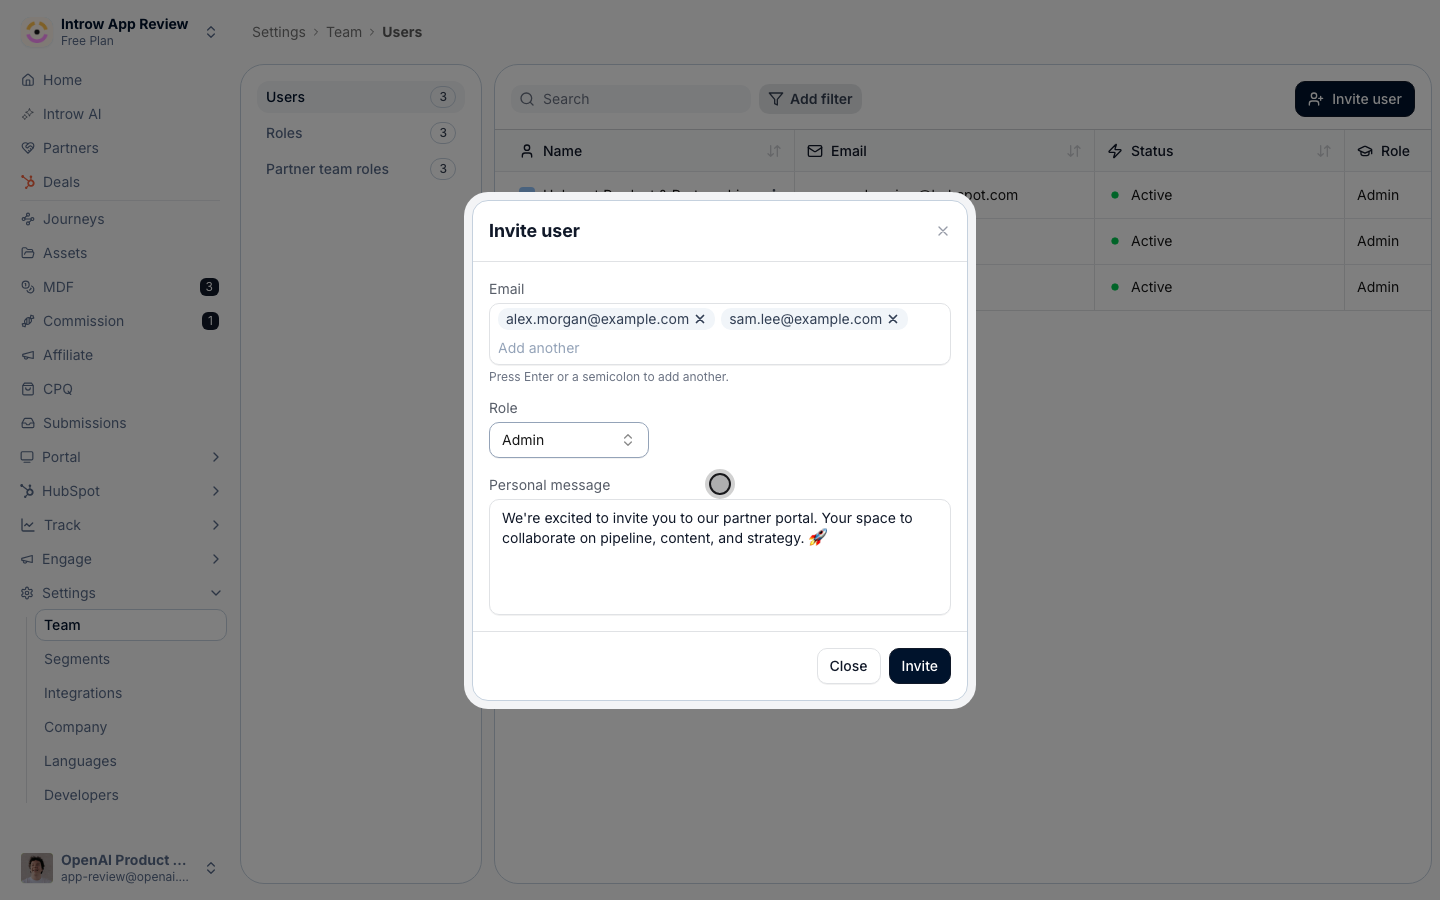
6
Manage statuses and requests
Use the status filter on the Users tab to track people: Active (signed in), Pending (invited, not yet accepted), Requested (someone from your email domain asked to join and is waiting for you to accept or decline), and Deactivated. From a person’s row menu you can Resend invitation or Revoke invitation while they are Pending, Deactivate or Reactivate them, and Delete them. Delete removes them from your team for good: their records stay, and their ownership, partner team memberships and sessions are cleared.
7
Fill in their photo and details
Open a person to change their Role or edit their name, job title, phone, and meeting link, and hover their avatar to upload a photo. Photos matter more than they look: they appear as the author on announcements and in the Introduction and Team sections of portal experiences, where a missing photo shows initials instead. Avatars sit in a square frame and are cropped to fill, so upload a square headshot around 400×400.
Verify it worked
Everyone you invited shows on the Users tab, first as Pending, then as Active once they accept and sign in. Their row reflects the role you assigned.Related
Create an internal role
Build the role first, and scope it if needed.
Set up partner team roles
Assign people to the partners they manage.
CRM vs Admin users
Who works only from the cards in HubSpot, and who needs full Introw access.
Implementation reference
Full configuration options.