

For partner ops collecting batches of records - lists of leads, end customers, or assets - from partners.Sometimes a partner needs to hand over many records at once rather than filling out a form repeatedly. A batch upload field lets them submit a whole list in one CSV pass, and each row flows into your CRM like any other submission. This is the right tool when the unit of work is a spreadsheet, not a single entry.
What you’ll achieve
A form with a batch upload field where partners download a pre-built CSV template, fill in up to 1000 rows, and submit them all in one go - each row mapped to the right CRM object and properties so it lands as a clean record.Before you start
Decide the per-record fields
Know the fields each record needs and how they should map to your CRM. The mapping model is covered in Connect a form to your CRM.
Watch it
- Video
- Click through
Steps
Open the form builder
Go to Forms and open the form on its Form builder tab. Use an existing form or build a new one first (see Build and publish a form).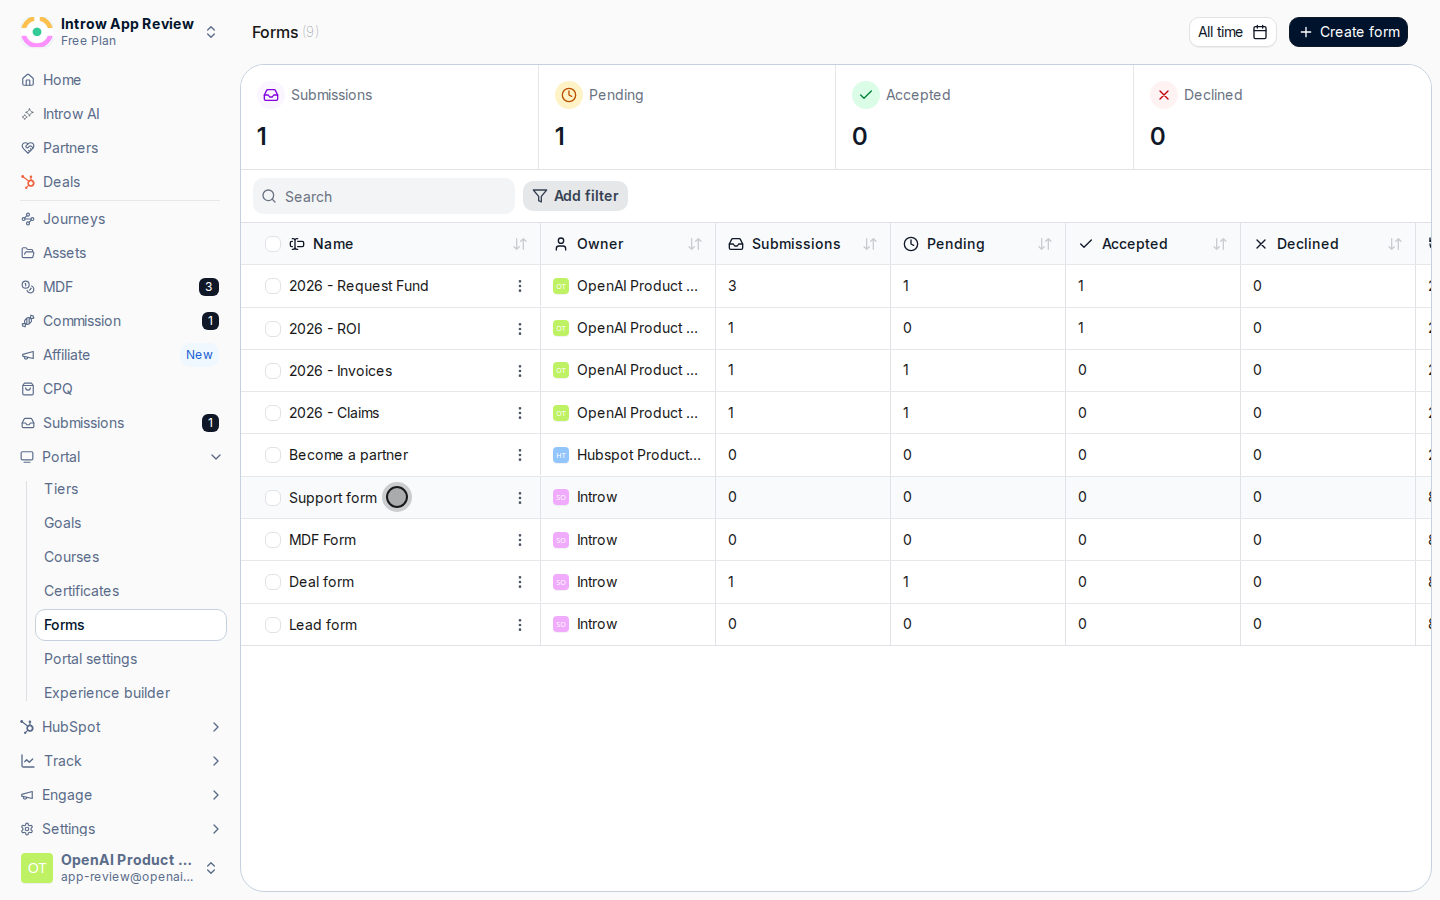
Add a Batch Upload field
Use Add field and choose Batch Upload. This replaces single-entry inputs with one control that accepts a CSV of many rows, so a partner submits a list instead of one record at a time.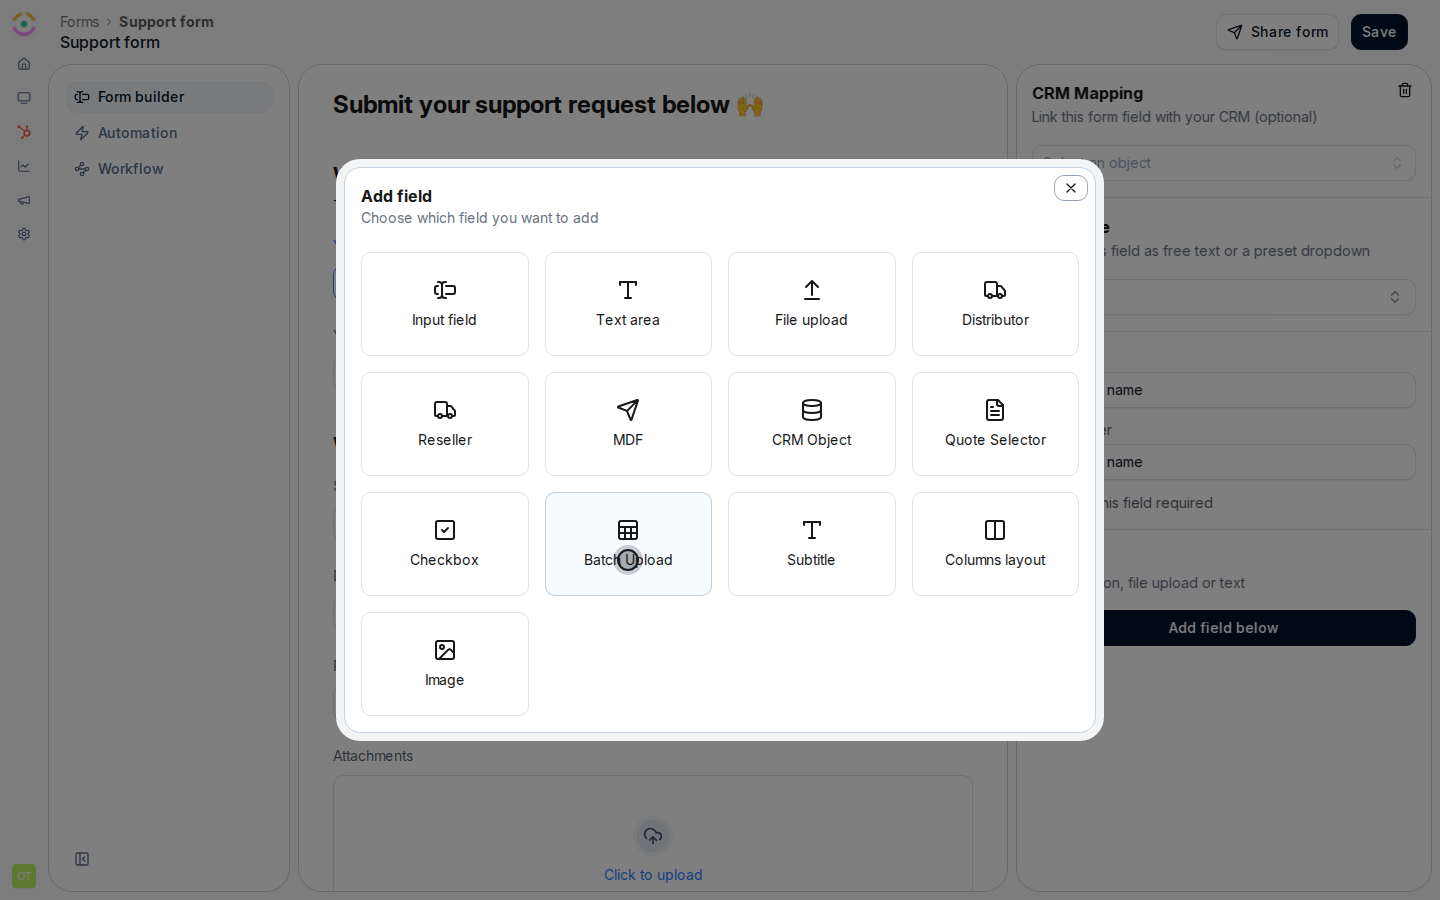
Configure the Batch Upload settings
Open Batch Upload Settings for the field and set how it presents to partners: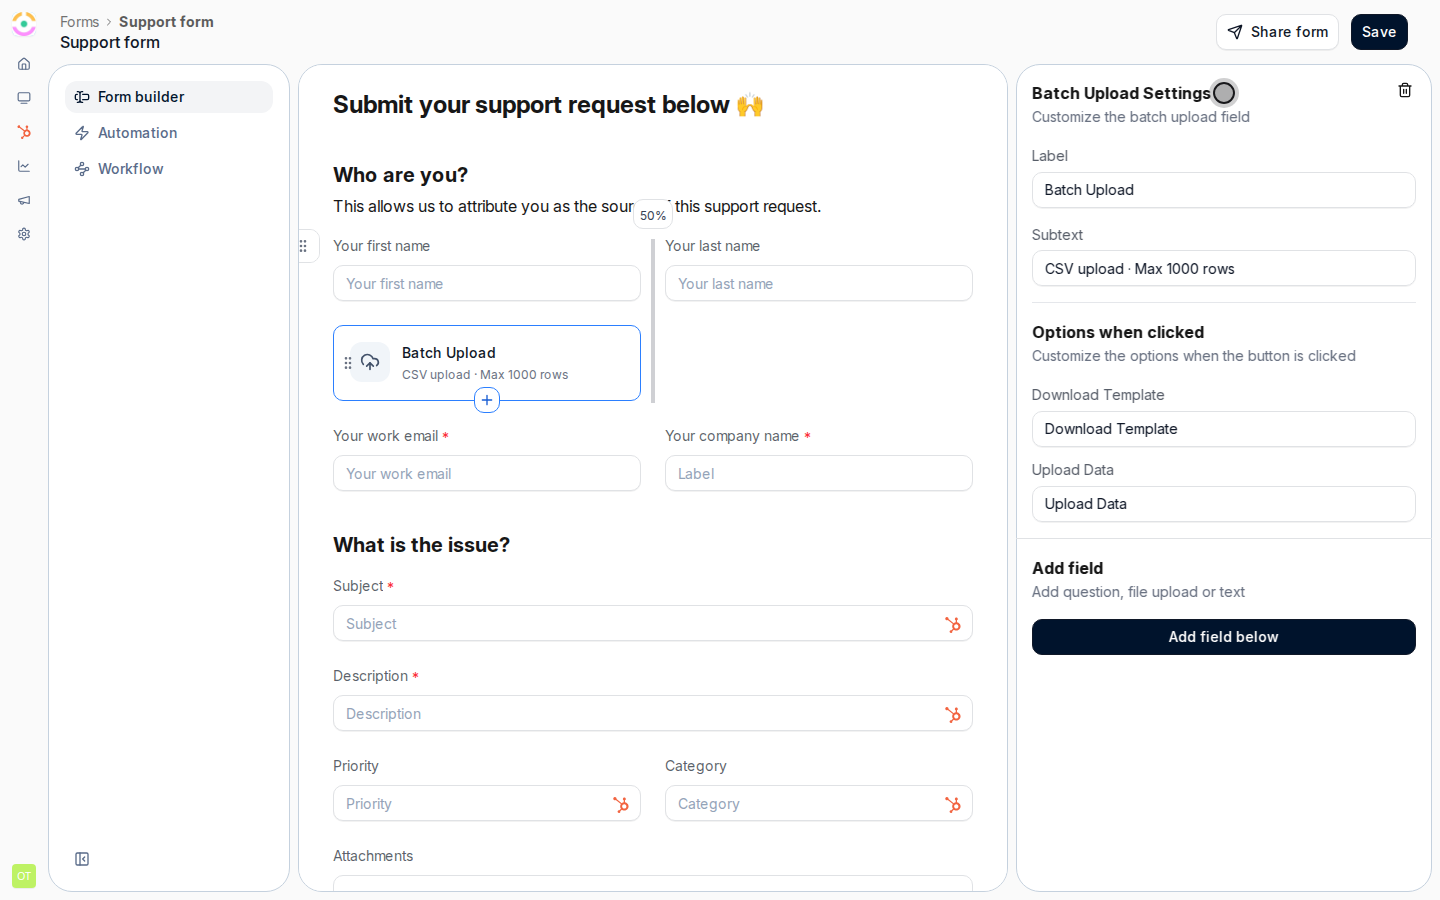
- Label - the text on the upload button. Make it action-led, for example “Upload your leads”.
- Subtext - the helper line under the button. Use it to set expectations on format and size; the default notes a CSV upload with a maximum of 1000 rows.
- Download Template - the label for the action that gives partners a ready-made CSV. The template’s columns come from the fields you configured, so partners fill in the right columns in the right order.
- Upload Data - the label for the action where partners choose their completed CSV file.
Map each record to your CRM
Confirm that each per-record field maps to the right CRM object and property in the Automation tab, so every row creates or updates the correct record. Set the write behavior the same way you would for a single submission - this is the create/update model from Connect a form to your CRM.
Share the form and test a batch
Share the form as usual, then run a test: download the template, fill in a few rows, and upload it. The partner sees a preview of the rows to be submitted before confirming, and uploads over the 1000-row limit are rejected with a clear message, so large lists must be split into batches.
Verify it worked
A test CSV with several rows submits as one batch, and each row appears as its own created or updated record in your CRM. The submission shows in your Submissions inbox.Related
Build and publish a form
Create the form and its fields first.
Connect a form to your CRM
Route each record to the right CRM object.
Implementation reference
Full configuration options.