

For partner ops or partner marketing standing up a new way to collect structured partner input.Every partner motion that captures input - deal registration, referrals, MDF requests, onboarding, event signups - runs on a form. This guide takes you from an empty form all the way to a live one partners can fill in, covering every field type, the confirmation a partner sees after submitting, and the four ways to deliver the form. Build it once here and reuse the same form across links, your portal, an embed, and the API.
What you’ll achieve
A published, branded form with the exact fields you need, a clear confirmation screen or redirect, and a way for partners to reach it - a general link, a partner-specific link, a section in a partner portal, an embed on your own website, or an API call from your own systems. Submissions flow straight into your Submissions inbox.Before you start
1
Confirm access
You need write access to forms.
2
Decide what you are collecting
Know the information each submission must capture and, if relevant, which CRM objects it should feed, so you pick the right field types as you build.
3
Set up a portal domain (only for website embeds)
Embedding the form on your own website needs a verified custom domain. A general or partner link and a portal section work without one.
Watch it
- Video
- Click through
Steps
Create the form
1
Create and name the form
Go to Forms and create a form. Give it a clear, purpose-led name (for example “Deal registration” or “MDF request”) - the name is how you and your team find it later and what partners see at the top of the form. The form opens on the Form builder tab, where you add fields and lay out the page. Forms automatically use your portal branding, so the header, colors, and button already match your portal and there is nothing extra to style.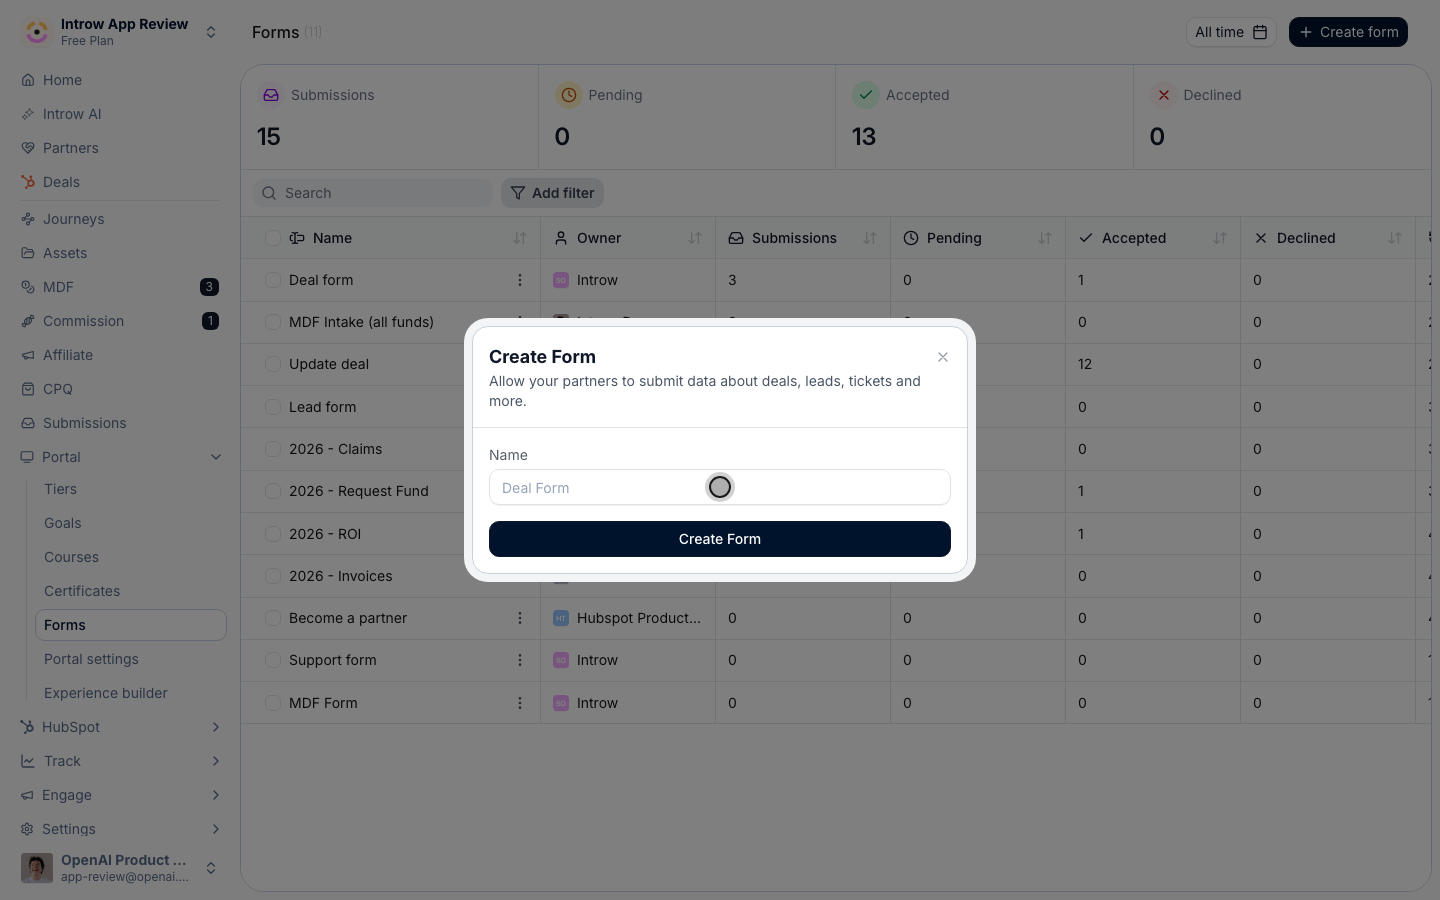
Build the fields
1
Add the fields you need
On the Form builder tab, use Add to form to insert each input, or type 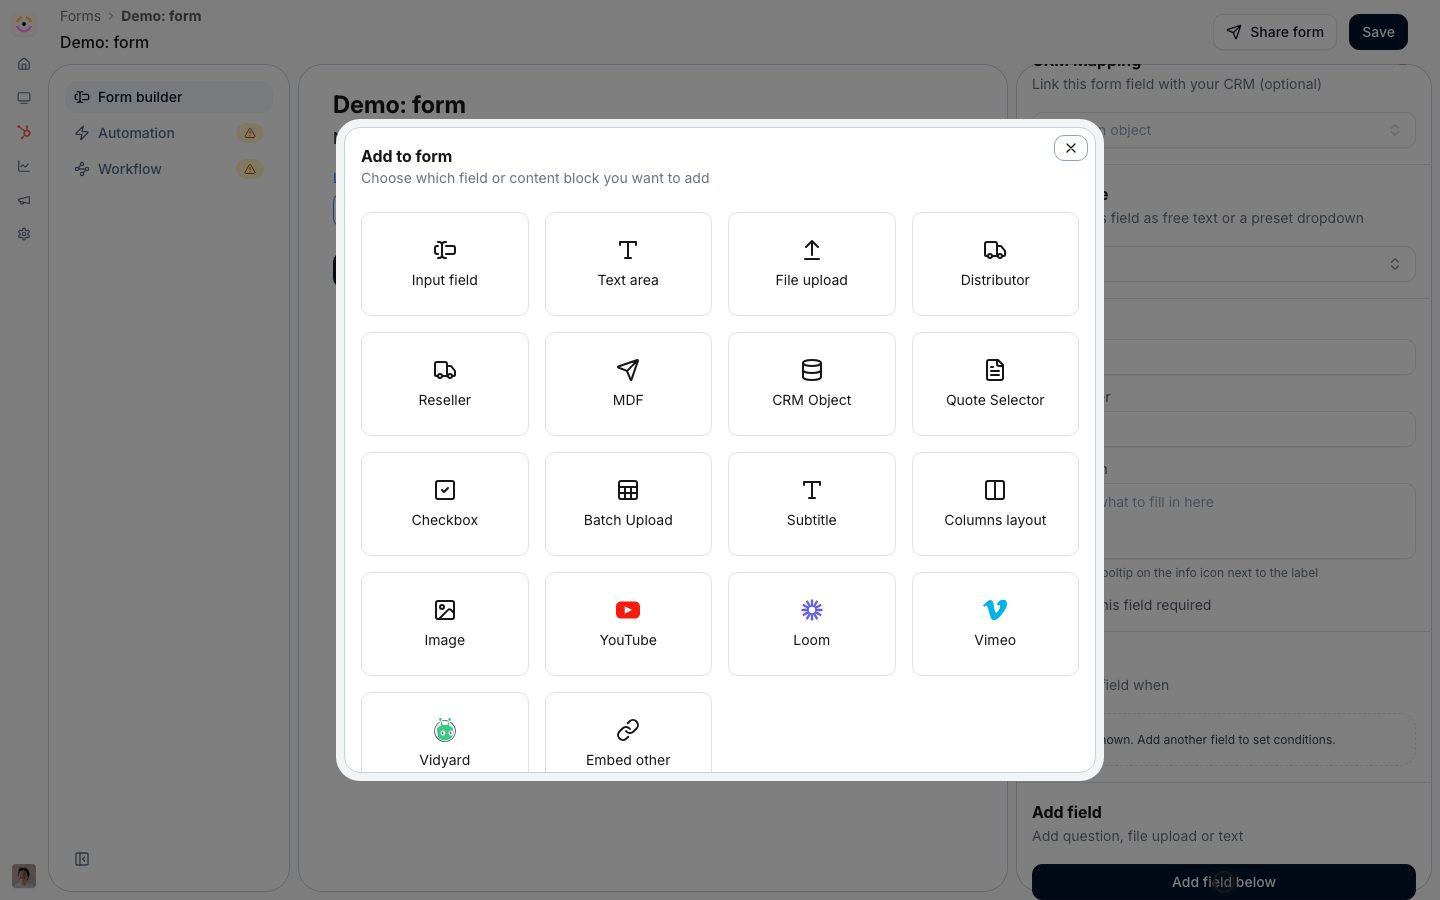
/ in the body to reach the same menu. Choose the type that matches the data you want, so submissions come in structured rather than as free text:- Input field - a single-line text box for short answers like a name or reference number.
- Text area - a multi-line box for longer notes or context.
- File upload - lets a partner attach documents such as proof of certification, an invoice, or a signed agreement. Use this whenever you need an artifact, not just text.
- Checkbox - a single tick box, ideal for consent or terms acceptance (it defaults to a terms-and-conditions label you can rewrite).
- CRM Object - a picker that lets the partner select an existing record from your CRM (for example a deal or company), so the submission attaches to the right object. Partners can clear their pick with the X on the picker.
- Quote Selector - shows quotes from a selected deal, for motions where the partner picks a quote.
- A partner picker (added as Distributor or Reseller) - lets the submitter choose the partner the submission relates to, which you can use for attribution.
- Batch Upload - lets a partner submit many records at once by CSV. For that whole job, see Bulk upload multiple records.
- Subtitle headings, a Columns layout, and Image break the form into readable sections.
- Videos embed a YouTube, Loom, Vimeo, or Vidyard clip straight into the form, with Embed other for any other provider. Paste the share URL and it renders inline. Use one to explain what a deal registration needs before the partner starts filling it in, or to walk through the fields of an application form, so the explanation sits with the form instead of in an email nobody opens.
2
Configure each field
Select a field to open its settings on the right, then set: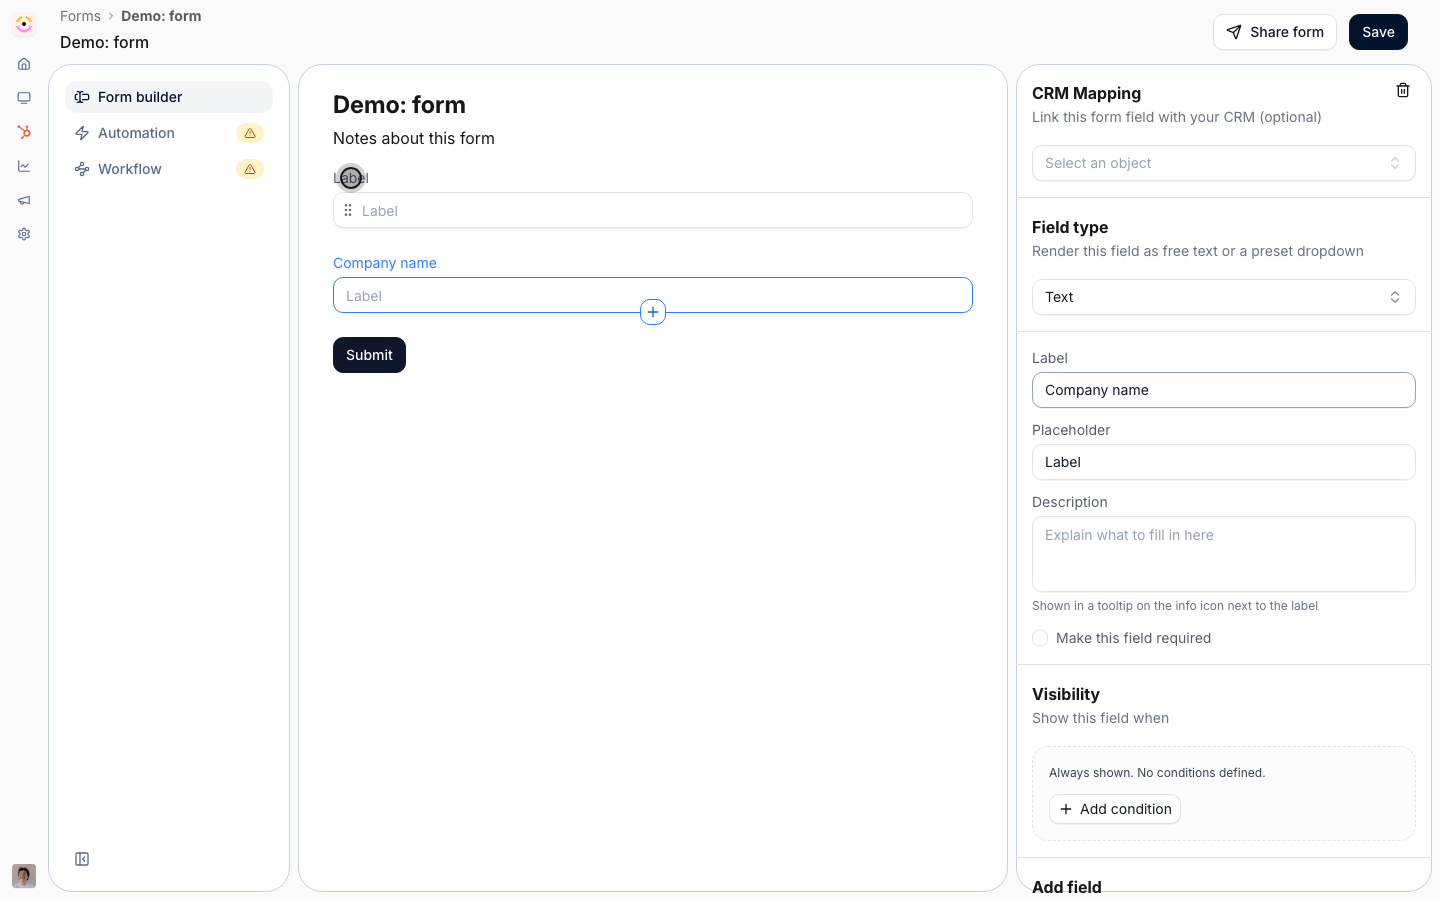
- Label - the question or prompt the partner reads. Keep it specific so answers are consistent; you can enable Label (supports bold, underline, links) for richer formatting.
- Placeholder - the greyed-out example text inside the input that hints at the expected format.
- Make this field required - turn this on for any field a submission cannot be without. Required fields block submission until filled, which is what keeps your data complete.
- CRM Mapping - optionally link the field to a CRM object and property so its value writes straight to your CRM with no re-keying. This is optional here; the full create/update behavior is covered in Connect a form to your CRM.
3
Limit a CRM dropdown to the options partners should see
When a field is mapped to a CRM picklist, its options are synced live from your CRM, so you never maintain a second list. Under Options (n/m shown), uncheck the values this form should not offer - internal-only lead sources, stages partners have no business setting, regions this form does not cover. Select all and Clear all reset the list.This is opt-out on purpose: everything is shown unless you hide it, so a new option your team adds in the CRM shows up on the form automatically rather than quietly going missing. You keep the CRM as the source of the list and still give partners a short, relevant set of choices.
4
Lay out and order the form
Arrange fields top to bottom in the order you want partners to complete them, and drop in Subtitle headings or a Columns layout to group related questions. A clear, well-sectioned form is finished more often than a long unbroken list. The submit button reads Submit by default.
Set the confirmation
1
Choose what partners see after submitting
Open the Automation tab and select Submission confirmation - this controls the moment right after a partner submits, which is what reassures them it worked. Pick one behavior:
- End screen - show a thank-you message inside the form. Use this when the submission is the end of the journey; personalize the wording so the partner knows what happens next.
- Redirect to URL - send the partner to another page after submitting. Choose this to route them onward (for example to a resource or scheduling page), and enter the destination in the Redirect URL field.
Share and publish
1
Open the share options
Choose Share form in the editor. The dialog has a Link tab, an Embed tab, and an API tab, covering the four delivery options below. A banner notes that submissions from the link and the embed are secured with reCAPTCHA to keep out spam - this is automatic, with nothing to configure.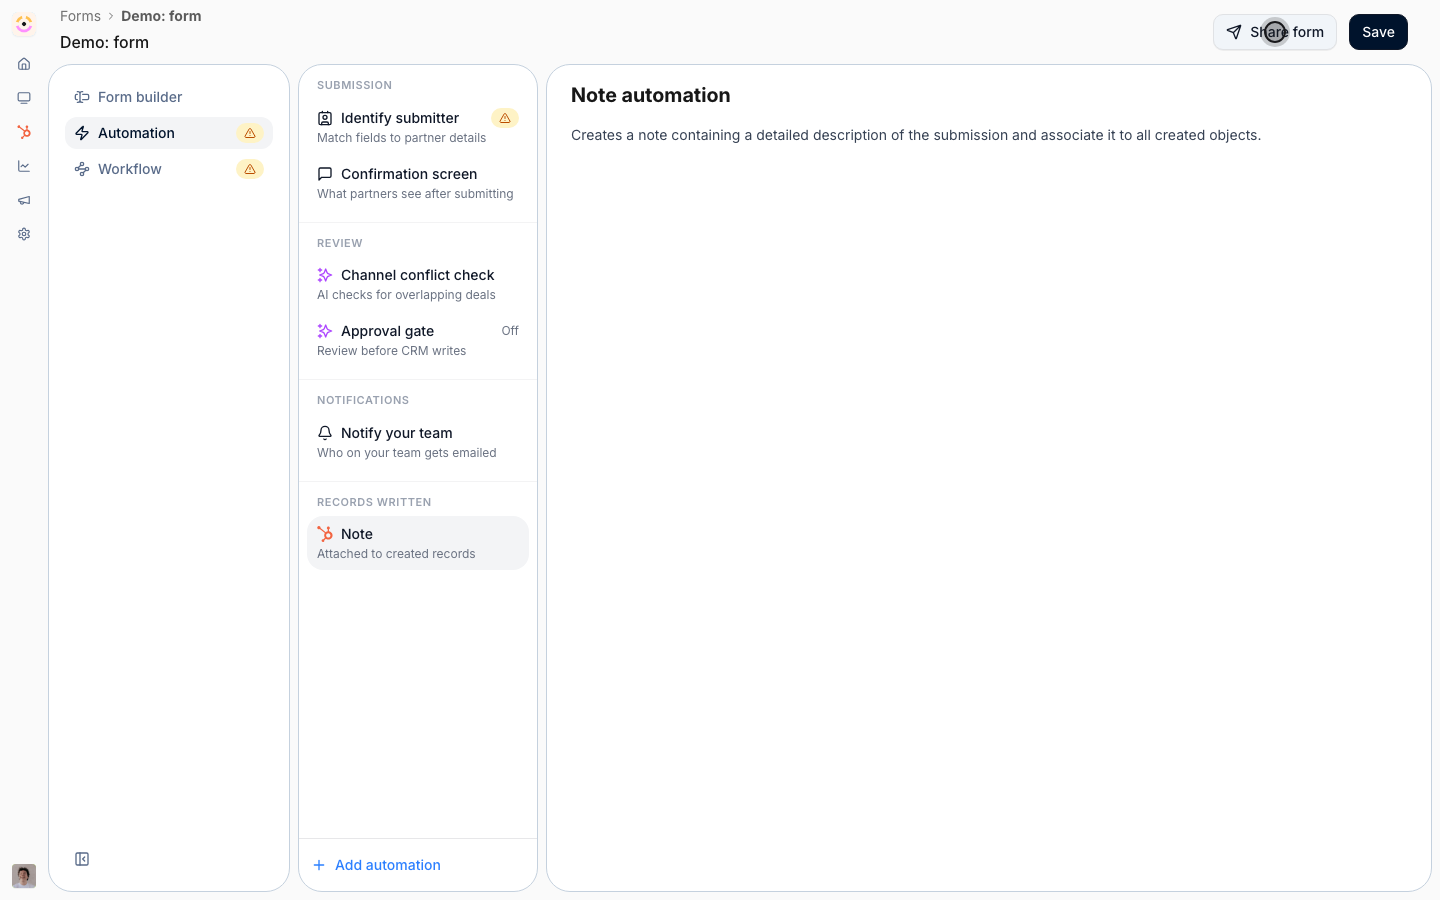
2
Send a share link
On the Link tab, copy one of: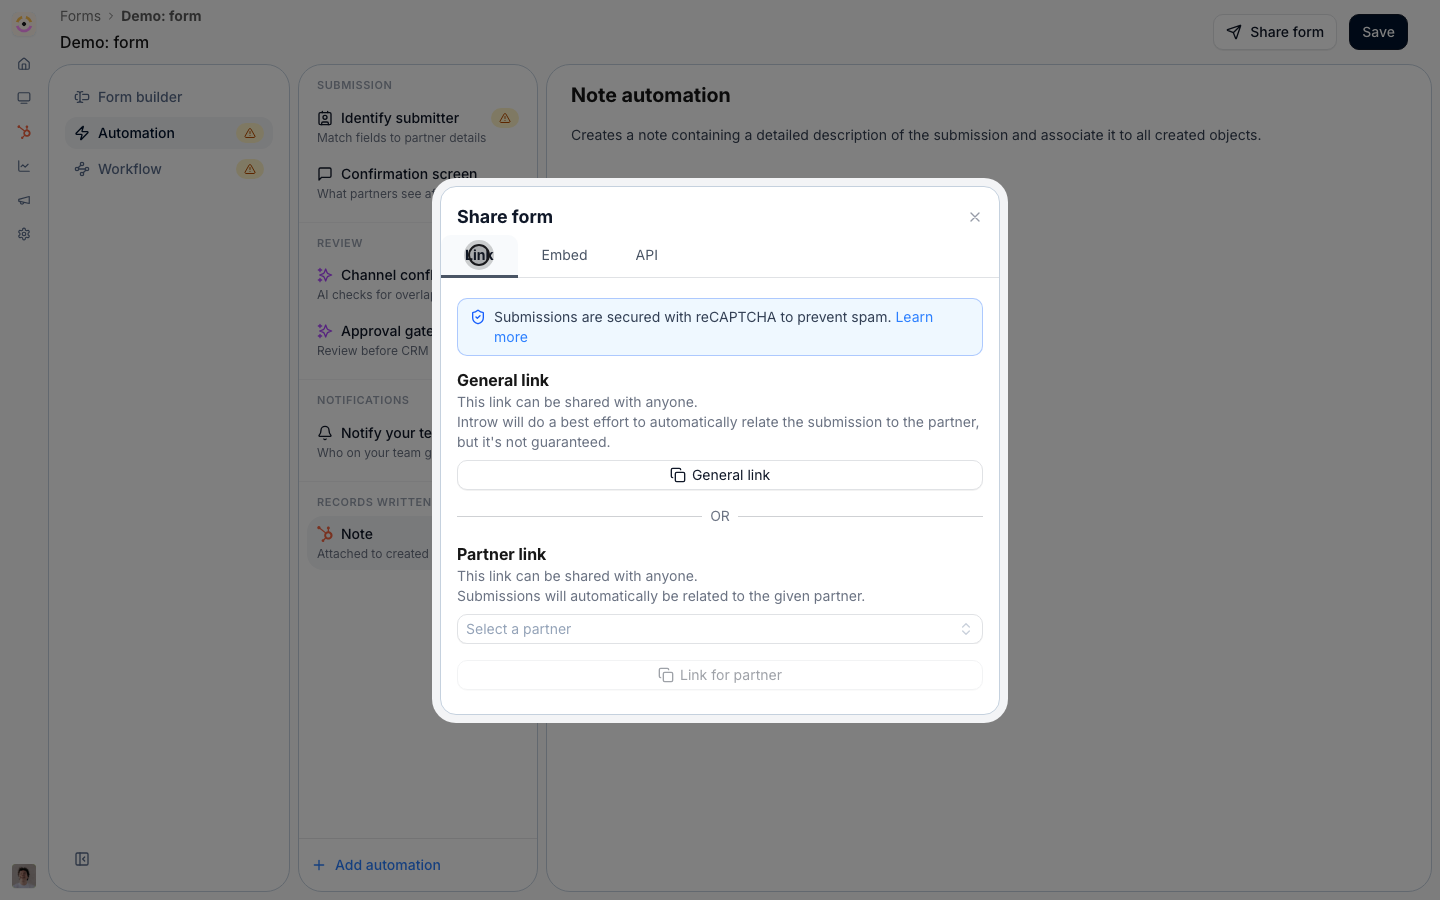
- General link - works for anyone you send it to. Introw attributes the submission on a best-effort basis, so use this for broad or unknown audiences.
- Partner link - tied to a specific partner, so every submission through it is automatically related to that partner. Use this whenever you want clean attribution without asking the partner to identify themselves.
3
Add the form to a partner portal
To collect input where partners already are, add the form as a section in a portal experience. Go to Experience builder, open the experience, add a form section in the stage you want, and pick this form. Partners then submit in context as part of the portal rather than chasing a separate link.
4
Embed the form on your website (optional)
On the Embed tab, copy the HTML snippet to place the form on your own site. This option needs a verified custom domain; if you have not set one up, the dialog prompts you with Configure custom domain first.
5
Let your systems submit it over the API (optional)
Not every submission needs a person at a form. On the API tab, copy the cURL snippet: it already carries this form’s id and every field id, and the Fields table below marks which ones are required. Your own product, an internal tool, a script, or an agent can then submit this form from anywhere, running the same automations and approval flow. Full setup is in Submit a form via the API.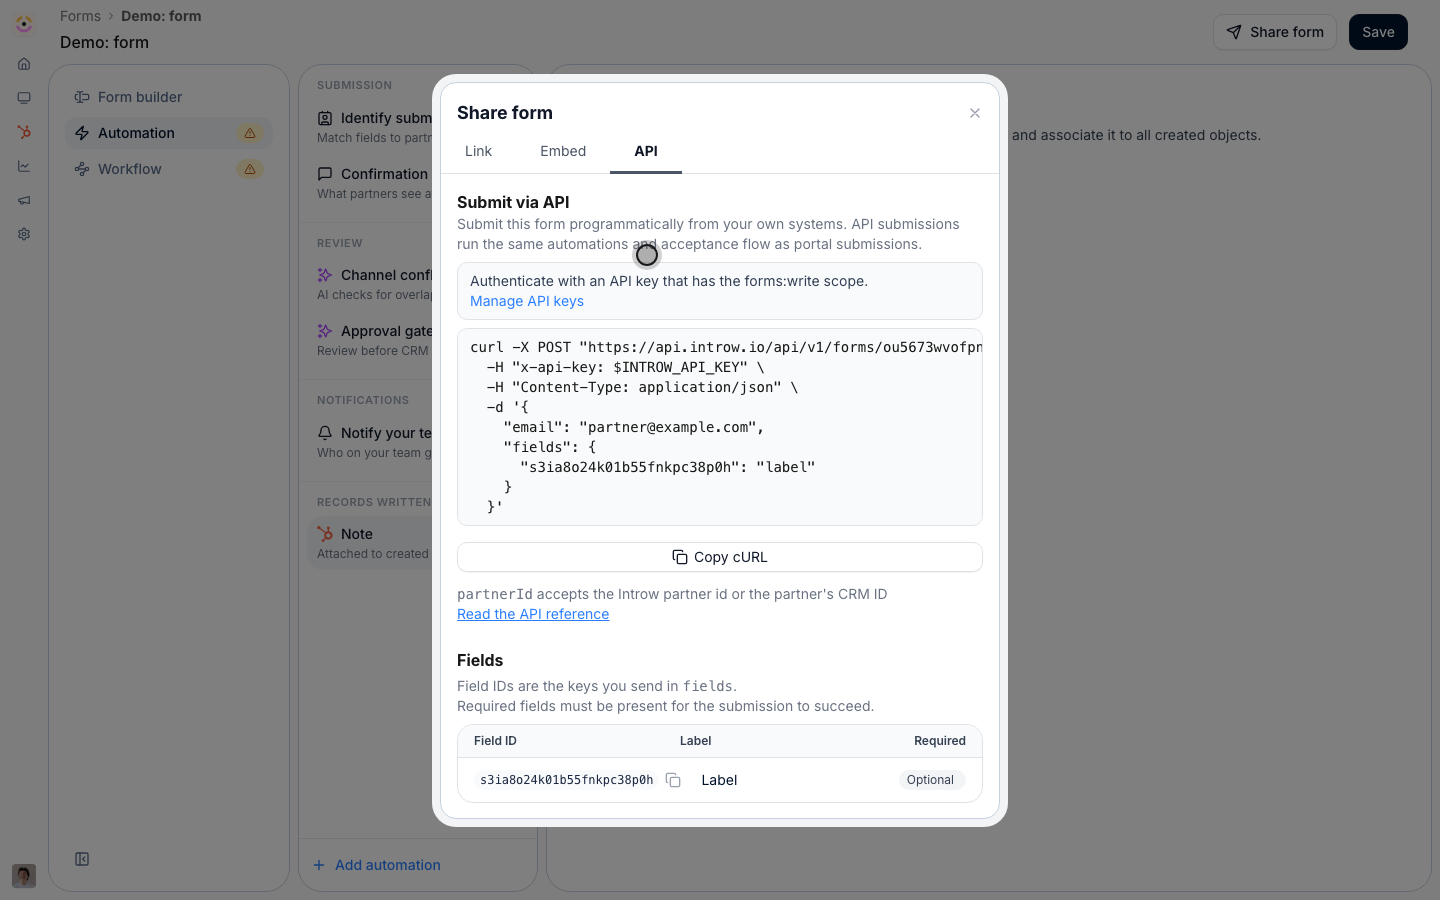
Verify it worked
The form appears on Forms and opens correctly from each link you shared. Submit a test: required fields block until filled, the confirmation behaves as you set it (end screen or redirect), and the submission lands in your Submissions inbox - attributed to the partner when you used a partner link.What your partners experience
After you publish it, partners open the form from the portal (or your shared link), fill it in, and submit. Where you added an approval step, they can see where their submission stands - pending, accepted, declined, or returned for changes - and resubmit if you return it. So the form you build here is not just intake for you; it is a status a partner can track themselves without emailing for an update.Related
Bulk upload multiple records
Let partners submit many records in one form.
Connect a form to your CRM
Write submissions back to your CRM, attributed to the partner.
Run a submission approval workflow
Review, approve, and notify on what comes in.
Implementation reference
Full configuration options.