

Where it lives
Certificates sits under Portal, at Certificates.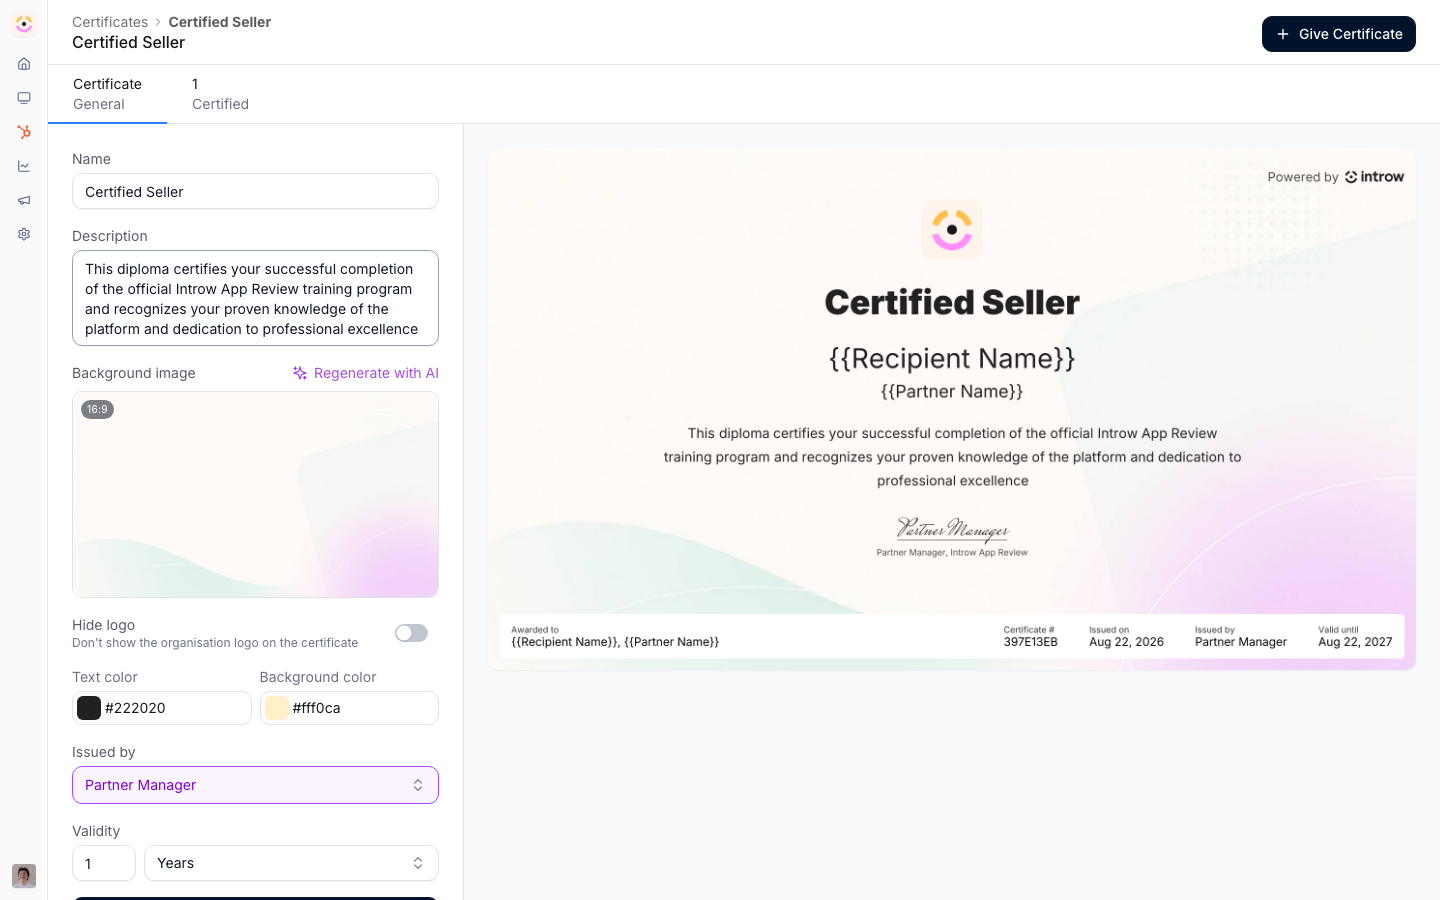
Before you start
How it works
A certificate is a reusable, branded template - name, description, colors, badge image, issuer, and how long it stays valid. When you award it to a partner, they get an issued certificate: a shareable, verifiable page with an expiry date based on the template’s validity. From that page a partner can add the credential to their LinkedIn profile in one click with Share on LinkedIn, which opens LinkedIn’s add-to-profile flow prefilled with the certificate name, your organisation as the issuer, the credential ID, and the issue and expiry dates, or save it as an image with Download certificate. There are several ways to award one:- Auto-issue on course completion - attach a certificate to a course; learners who complete it (and meet the passing score, if set) receive it automatically.
- Manually - award it to selected partners.
- By segment - issue it to everyone in a segment at once.
- By workflow - issue it as a step in an Introw workflow (including the HubSpot “issue certificate” action).
Settings & configuration
Certificate settings live in two places: the reusable certificate template, and a course’s Certificate tab where you attach one.Certificate template
Name & description are the title and supporting text shown on the certificate. Validity period controls how long the credential stays valid - a number of Days / Weeks / Months / Years, or Unlimited (never expires), which is the default. Background image & colors are the artwork plus background and text colors that brand the certificate, and Issued by is the team member shown as the issuer on the credential. Background image can be uploaded, or generated with AI: Generate with AI opens a prompt pre-filled with your organisation’s name and domain, produces an on-brand image, and sets it as the background automatically. Hide logo renders the certificate without the organisation logo - useful when the background image already carries your branding - and applies to every issued certificate, since the setting is stored on the template and read by the certificate image renderer. The certificate canvas is a fixed 1920×1080 (16:9), so the background is uploaded at 16:9 too: the upload field states16:9 · recommended 1920×1080 and
opens a crop-and-zoom step for anything that does not match, with a 20 MB cap.
AI-generated backgrounds are produced and cropped to the same 16:9. Keep the center
of the artwork quiet - the renderer draws the logo (320×72 for a horizontal logo,
124×124 for a square one), the certificate name, and the recipient over it.
Course Certificate tab
Certificate is where you attach a template to a course so it’s auto-issued when a learner completes (and meets the passing score, if one is set).When issuing
Notify recipients is off by default and controls whether partners get a notification when a certificate is awarded. The email names who issued it: the person who selected Issue, or on an automatic issue the Issued by team member or role, or your organization when the organization itself is the issuer.Automate it with a workflow
A certificate is a workflow trigger and a workflow action. Certificate issued runs when one is awarded to a partner contact, and re-issuing the same certificate to the same contact does not run it again, so it is safe to hang a reward off. It is a contact-scoped trigger, which means the steps after it can address the person who earned it: an email to The contact this is about, or a task assigned to them. Issue a certificate goes the other way, awarding one to The contact this is about, The partner champion, or All contacts of the partner. Recipients are notified exactly as they are for a certificate issued by hand. See Build your first workflow, which tiers a partner up on certification, and Reward a finished journey, which awards one on completion.How-to guides
Troubleshooting
No certificate after completion
No certificate after completion
No certificate is attached to the course, or the learner didn’t meet the passing score.
Certificate not on the partner's CRM record
Certificate not on the partner's CRM record
Confirm the CRM is connected and the partner’s contact is linked.
Can't issue
Can't issue
You may lack Certificates write access (distinct from Courses).