

What you’ll achieve
The partner portal embedded inside your product, loaded in an authenticated iframe so a user who is already signed in to your app opens directly into their portal, with no extra login. Only the domains you authorize can load it, and the session is minted server-side so your secret never reaches the browser.Before you start
1
Confirm embed is on your plan
Embedding the portal is a paid add-on and must be enabled on your plan.
2
Have the Integrations permission
You need the Integrations permission to manage the allowed domains.
3
Know your embedding domains
Gather every domain where your product runs (including subdomains) and have a backend you can run server-side code from.
Watch it
- Video
- Click through
Steps
1
Open the embed setup
Go to Embed under Developers and select Configure to open the embed setup. It walks through the three things needed to embed the portal: allowed domains, a portal-session key, and the integration code.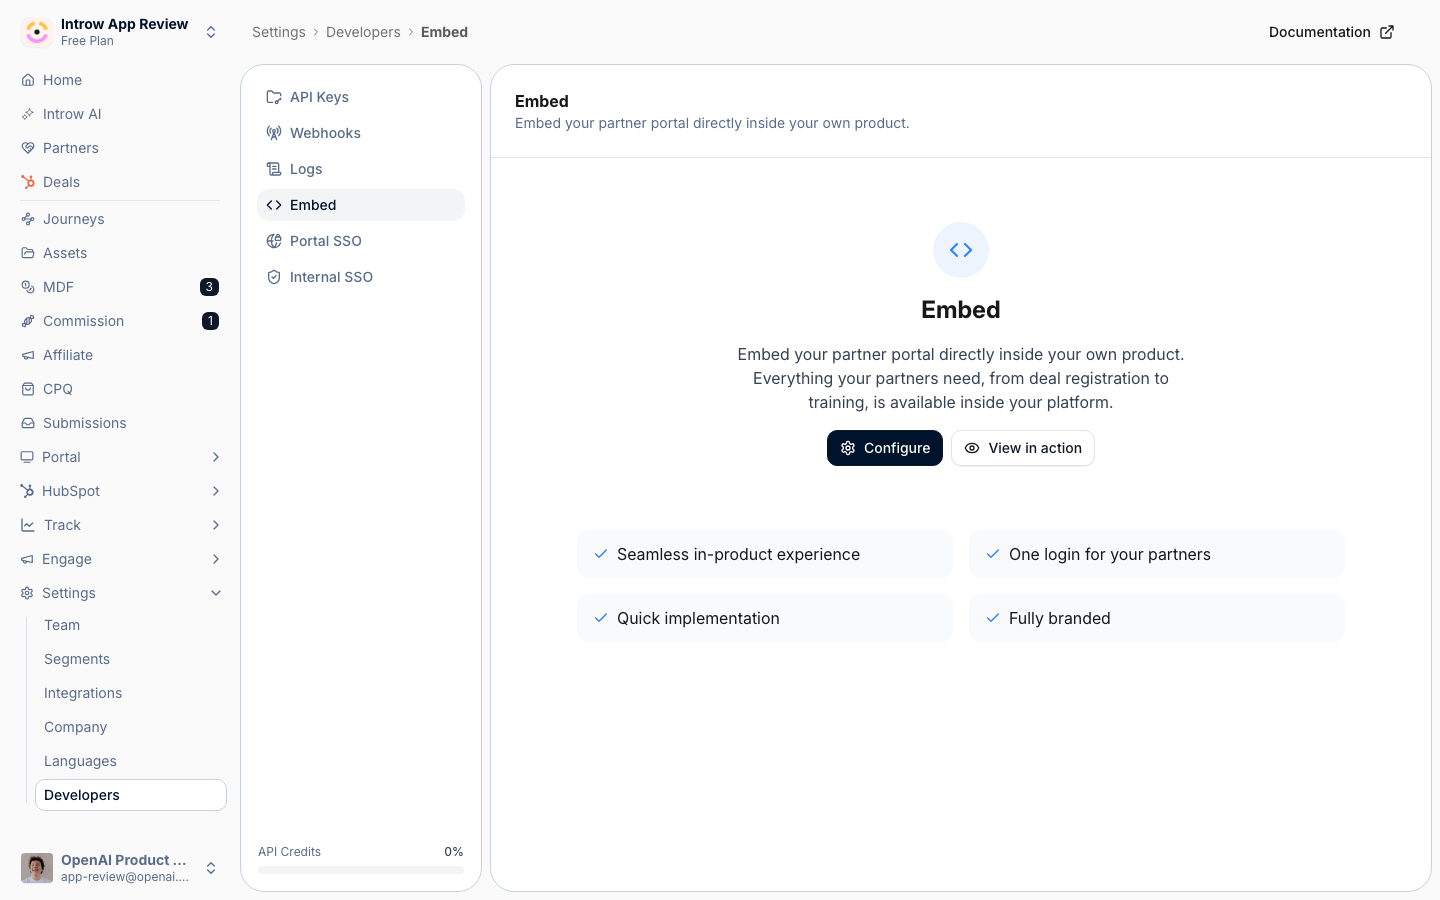
2
Allow the domains that can embed the portal
In Allow your domains to embed Introw, add each domain where your product runs (for example 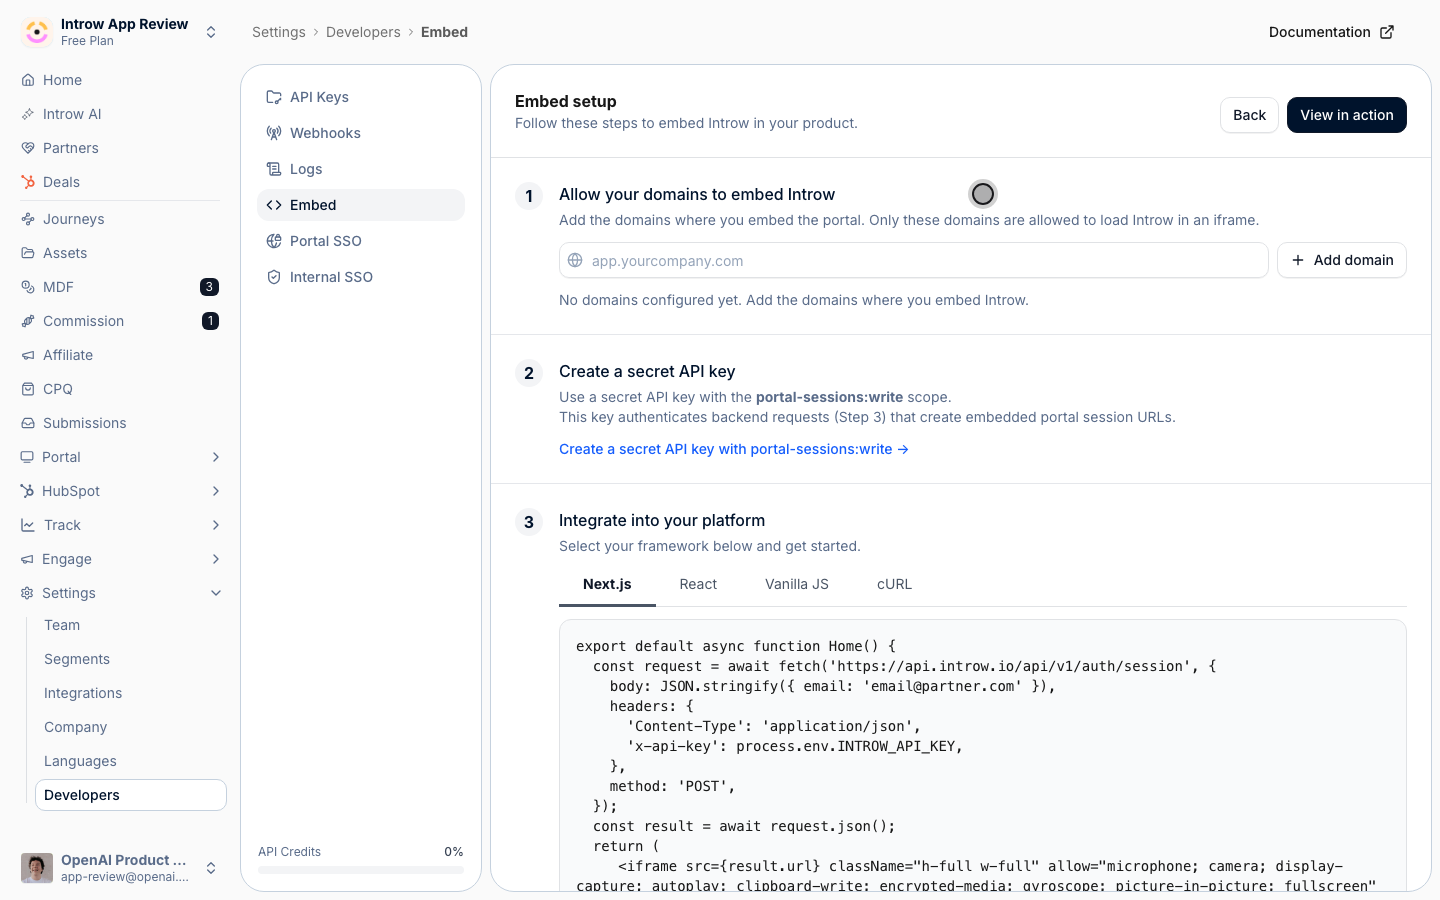
app.yourcompany.com) and select Add domain. The portal only loads inside an iframe on these domains, so anything not on the list is blocked, which is what stops other sites from framing your portal.- Add every domain and subdomain your product is served from; a domain that is missing here will show a blank or blocked frame.
- Remove a domain from its row when it no longer needs access, so the allow-list stays tight.
3
Create a portal-session API key
Create a secret API key with the Portal sessions write permission. Your backend uses this key to mint authenticated portal session links (the next step), so it must stay server-side and never be exposed in the browser. Follow Create and manage API keys, granting only the portal sessions scope, and copy the secret when it is shown.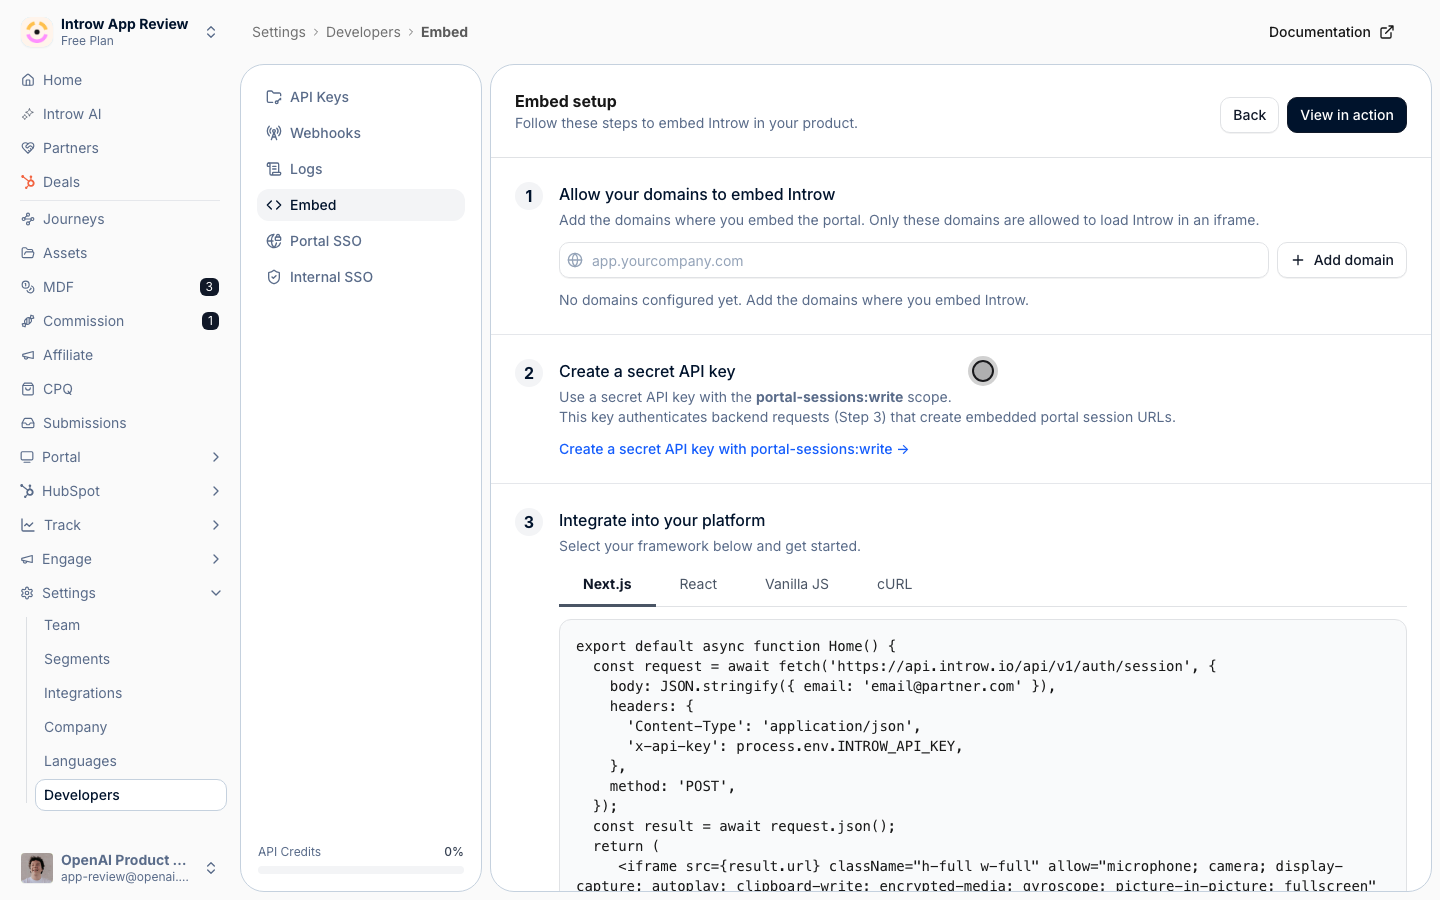
4
Integrate the code into your product
From your backend, create an authenticated session for the signed-in user by sending their email and your key to the session endpoint, then render the returned URL in an iframe. Pick the sample that matches your stack from the embed setup and drop it in.
- Session call - send a
POSTtohttps://api.introw.io/api/v1/auth/sessionwith thex-api-keyheader set to your portal-session key and a JSON body of{ "email": "[email protected]" }. The response contains aurlfor that user’s portal session. - Keep the key on the server - in browser frameworks, call the endpoint from your own backend route and proxy the result to the client; the key must never ship to the browser. In Next.js, set
INTROW_API_KEYin your server environment variables. - Render - load the returned
urlin an<iframe>sized to your layout.
Verify it worked
A logged-in user opens your product and lands directly in the embedded portal with no second sign-in, on a domain you authorized. The session call returns aurl, and the iframe renders the portal. On a domain that is not on the allow-list, the frame is blocked, which confirms the allow-list is doing its job.
Related
Create and manage API keys
Create the portal sessions key this flow needs.
Embed Introw in your CRM
Meet partners inside HubSpot and Salesforce instead.
Implementation reference
Embed settings, limits, and troubleshooting.
Embed overview
The session endpoint and iframe pattern.