

What you’ll achieve
A connected Stripe account importing billing data into Introw, ready to map and link to partners so commission plans can pay on actual revenue.Before you start
1
Enable the billing module
Billing integrations are a paid add-on. If the Stripe tile shows Upgrade plan, the billing integrations module is not enabled on your plan; contact Introw to add it.
2
Confirm access
You need permission to connect integrations in Introw and admin access to the Stripe account you are connecting.
Steps
1
Open the Billing integrations
Go to Integrations and stay on the Billing category, where the Stripe and Chargebee tiles live.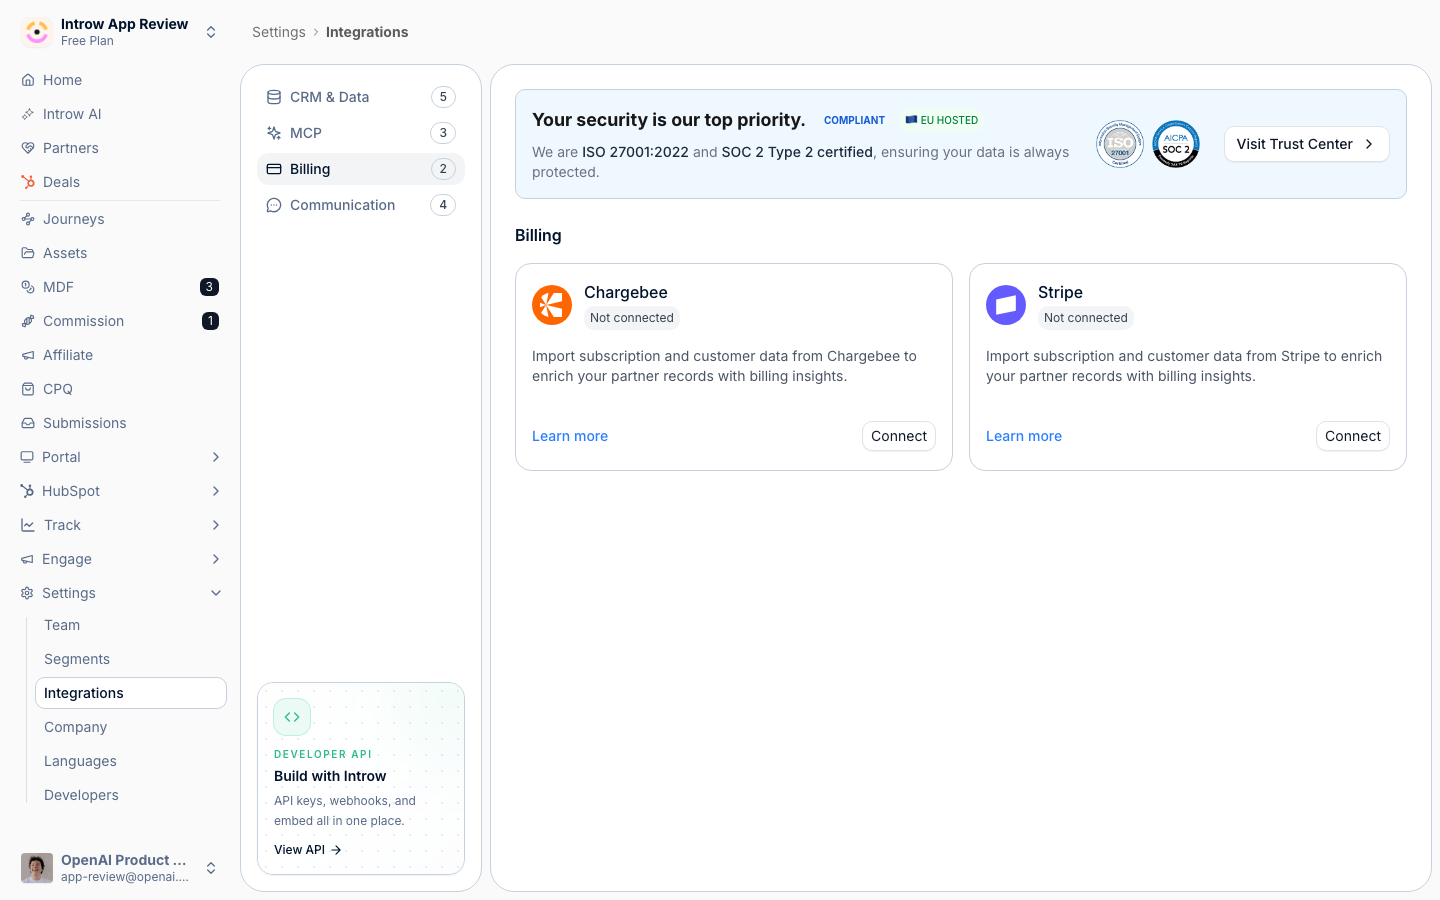
2
Choose live or test mode
On the Stripe tile select Connect to open the Connect Stripe dialog, then decide the mode:
- Use Test Mode - toggle this on to connect Stripe test data (useful for setup and QA, and it never affects your live Stripe account), or leave it off to connect your live production account where synced customers, subscriptions, and invoices reflect real billing. The connect button reads Connect Test Mode or Connect Live to match. Use test mode to validate the setup, but run real commissions on live data.
3
Authorize Stripe
Select the connect button and complete Stripe’s authorization in Stripe’s own consent screen. Introw returns with Stripe shown as Connected and drops you on the billing configuration page.
4
Map and link the data
The configuration page opens on an Object Linking panel that is empty, and that is the important part: authorizing Stripe imports nothing on its own. Until you add at least one object and tell Introw which property identifies the partner, no customers, subscriptions, or invoices come in, no partner is attributed, and Stripe cannot be used by a commission plan.Follow Connect your billing data for that step. It also covers the payoff: once Invoice is mapped, a commission plan can select Stripe as its source and condition on real Stripe fields, so partners are paid on invoices whose Status is
paid rather than on every invoice raised.Verify it worked
Stripe shows as Connected on the Billing integrations page, and its configuration page opens with Connected by you in the header and an empty Object Linking panel ready for mapping. Treat that empty panel as “connected, not finished”: the Stripe source only becomes selectable when building a commission plan after you have mapped an object and linked partners to it.Related
Connect your billing data
Map billing objects and link records to partners.
Connect Chargebee billing
Use Chargebee instead of Stripe.
Build and launch a commission plan
Pay partners on the imported billing data.
Implementation reference
Full configuration options.