

For partner ops and partner managers who need every submission reviewed, signed off by the right people, and answered.Some submissions cannot be accepted on the spot - they need sign-off, the right people alerted, and the partner told what happened. This guide builds that whole loop: an approval gate with ordered steps, optional AI that clears the routine cases, notifications to your team and the partner, and the day-to-day review where you accept, decline, return, or reopen each submission. The result is consistent, auditable handling instead of submissions waiting on whoever happens to notice them.
What you’ll achieve
A form where every submission routes through the approvers you choose, AI optionally handles confident cases on its own, your team is alerted on submit, and partners receive a clear outcome - all reviewed from one Submissions inbox. Nothing stalls unseen and nothing is rubber-stamped.Before you start
1
Confirm access
You need access to the Submissions inbox and write access to the form you configure.
2
Know your approvers and recipients
Decide who must approve (specific team members, partner team roles, or anyone) and who should be alerted when a submission arrives.
Steps
Set up the approval gate
1
Enable the approval gate
Go to Forms, open the form, and on the Automation tab select Approval gate. Turn on the switch so submissions are held as pending until they are approved, rather than accepted automatically. Switching it on lands on AI Assisted and adds a first step set to Anyone, so you tighten it from there. Use a gate whenever a submission needs a human (or AI) decision before it counts.
2
Add ordered approval steps
Under Approval steps, choose Add approval step for each level of sign-off. Steps run in order: each must approve before the next is asked, which is how you model a two-stage review (for example a reviewer then a manager). For each step:
- Name the step so approvers understand its purpose.
- Pick the approvers - specific team members, a partner team role, or Anyone in your organisation. If you add no steps at all, any team member can approve, so add steps when you need specific sign-off.
3
Write the partner outcome messages
Set the Accept and Decline messages partners receive, so each outcome guides them on what happens next instead of being a bare status change. You can still edit these per submission at review time.
Let AI clear the routine cases (optional)
1
Choose how much Introw AI owns
Under How much of the review should Introw AI own?, pick a card. Manual sends every submission to your approvers with no AI. AI Assisted has Introw AI pre-check and recommend while your approvers decide. Autonomous AI (Agentic) lets it decide when it is confident and escalates the rest. AI review is what collapses approval time on high-volume, rule-based forms.
2
Give the AI guidance
Under Guidance for Introw AI, enter the policy it should apply: what to accept, decline, or return. Use Generate with AI to draft guidance from the form’s fields, then refine them to your risk tolerance and must-have criteria (for example, decline submissions missing timeline details, return ones without target-account fit).
3
Set how autonomously it acts
On Autonomous AI (Agentic), one slider sets the threshold between More cautious and More autonomous. Above it, Introw AI accepts, declines, or returns the submission itself; below it, the submission still goes to your approval steps. Start with AI Assisted or a cautious threshold, watch the results, then loosen it as you build trust.
Notify the right people
1
Alert your team on submit
Still on the Automation tab, open Notify your team. Pick the partner team roles to email on submit, and use Add partnership manager fallback so an alert still goes out when no team member can be determined. Add anyone else who should know with Add recipient. This is what keeps response time short - a submission no one is told about waits.
2
Confirm partner outcome emails
Partner emails for outcomes are managed centrally, not on the form. Go to Default settings, open the Notifications tab, and under the Submissions group give Form submission accepted, Form submission declined, and Form submission returned their recipients, so partners are automatically told when their submission is resolved.Each event takes one value rather than an on/off switch: All partners, Collaborating only, or Disabled. Outcome emails go to the person who submitted, so All partners is the setting that answers them. To vary it for one audience, override the event on that segment’s own Notifications tab.
Notification settings is the report on what your program sent, not the place to change it. Recipients are set on the default and per segment.
Review and resolve submissions
1
Open the inbox
Go to Submissions to see incoming submissions with their status - Pending, Accepted, Auto accepted, Declined, or Returned - alongside the form, partner, and submitter.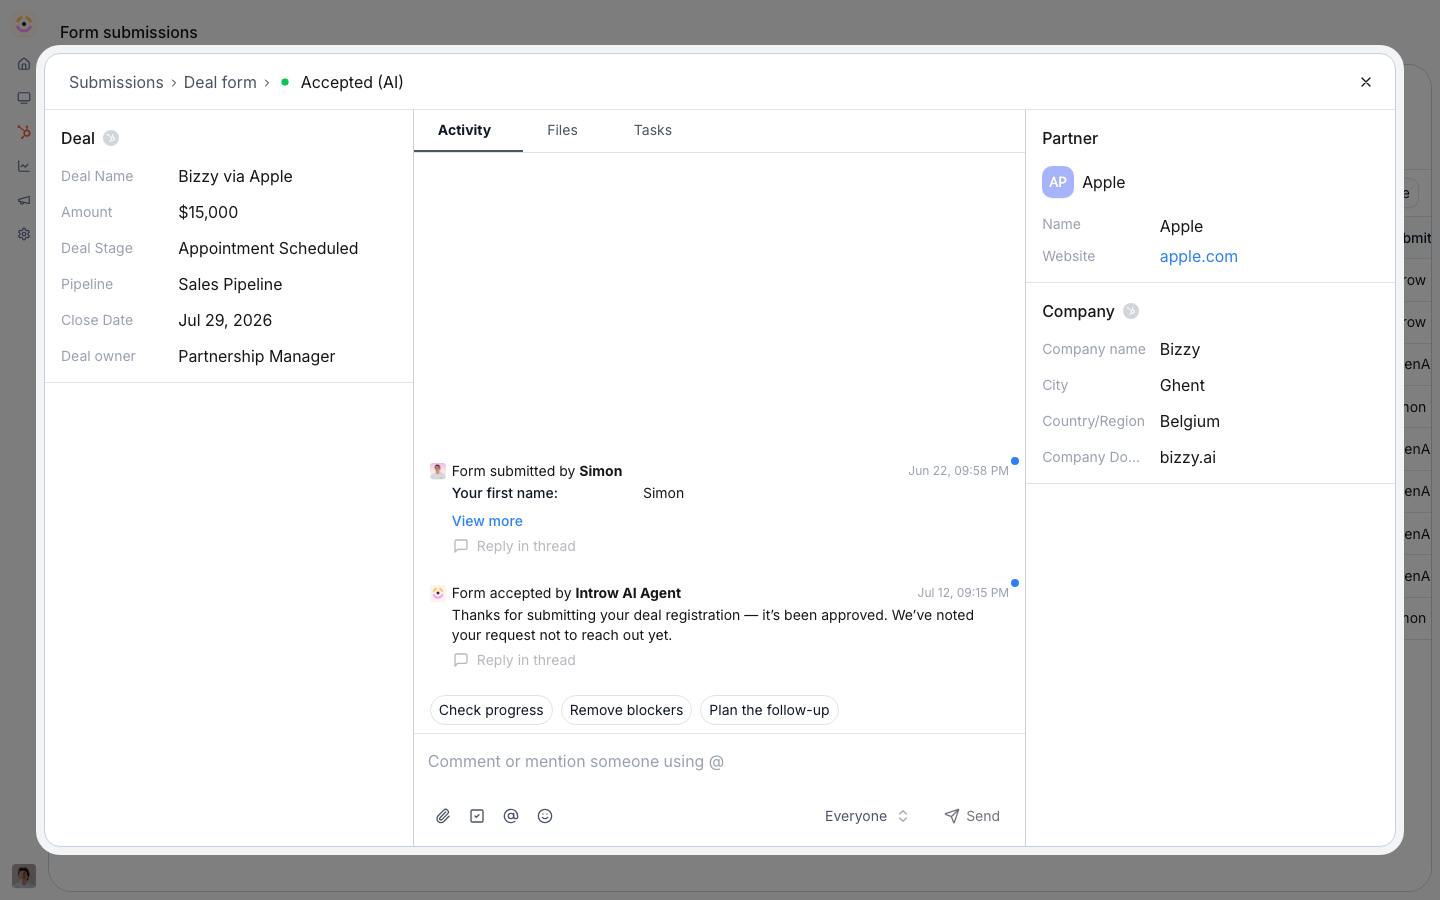
2
Open a submission and choose an outcome
Open a pending submission to see its full detail and act:
- Accept - approve it; the partner is notified and any CRM automations run.
- Decline - reject it with your decline message.
- Return - send it back asking for more information; the partner can edit and resubmit.
3
Correct a submission before you decide
If an answer is wrong, edit the submission instead of returning it. On a form with an approval gate, saving keeps it in review, and when you approve the current step the Accept dialog opens so you can finish straight away. On a form without a gate, saving resubmits it as Auto accepted and the corrected values go to your CRM. Editing an Error submission is the retry. Accept, Decline and Return only show to the approvers of the current step.
4
Clear a batch that deserves the same answer
When a run of submissions gets the same decision - a distributor’s weekly order forms, a backlog after a campaign - handle them together instead of one at a time. Select them with the checkbox on each row (the checkbox in the selection bar takes every row loaded in the table, so filter or search first to scope the batch), then choose Accept or Decline.One dialog covers the batch: write the Message to partners once, prefilled with the form’s accept or decline message, and every partner in it gets that message. Each submission still runs its own automations and notifications, and on a form with an approval gate your bulk accept counts as your approval on the current step rather than skipping the gate.Introw processes only what qualifies and tells you what it skipped - anything not pending, and for Accept, anything with no partner linked yet. Handle those individually. Return is deliberately per submission, since it asks one partner for something specific.
5
Reopen a declined submission (if needed)
A decline is not final. Open a declined submission and choose Reopen at the top of the submission to send it back to Pending for another decision - it re-enters the approval gate from the first step, and AI validation runs again if enabled. Add a note explaining why, then review it to a fresh outcome. Use this when something changes after you declined.
Verify it worked
Submit a test: it arrives as Pending (or Auto accepted if AI cleared it), your team receives the on-submit alert, and stepping it through approval changes its status. When you accept, decline, or return it, the partner receives the matching email and the inbox reflects the new status. Returned submissions reappear once the partner resubmits.Related
Customize the submissions inbox
Review by the columns you care about.
Build and publish a form
Create the form this workflow reviews.
Implementation reference
Full configuration options.