

What you’ll achieve
Each partner has a clear owner, and that ownership flows automatically into the portal points of contact, the sender and reply-to on partner communications, the issuer on certificates, and form approval routing. Change the assignment and every downstream surface follows, with no per-partner editing.Before you start
1
Confirm access
You need permission to edit a partner and manage its team.
2
Have partner team roles defined
The partner team roles you assign (for example lead partner manager, technical contact) should already exist. See Team Management.
Watch it
- Video
- Click through
Steps
Assign the team
1
Open the partner's Team card
Go to Partners, open the partner, and find its Team card. This card lists the people from your side who own the relationship.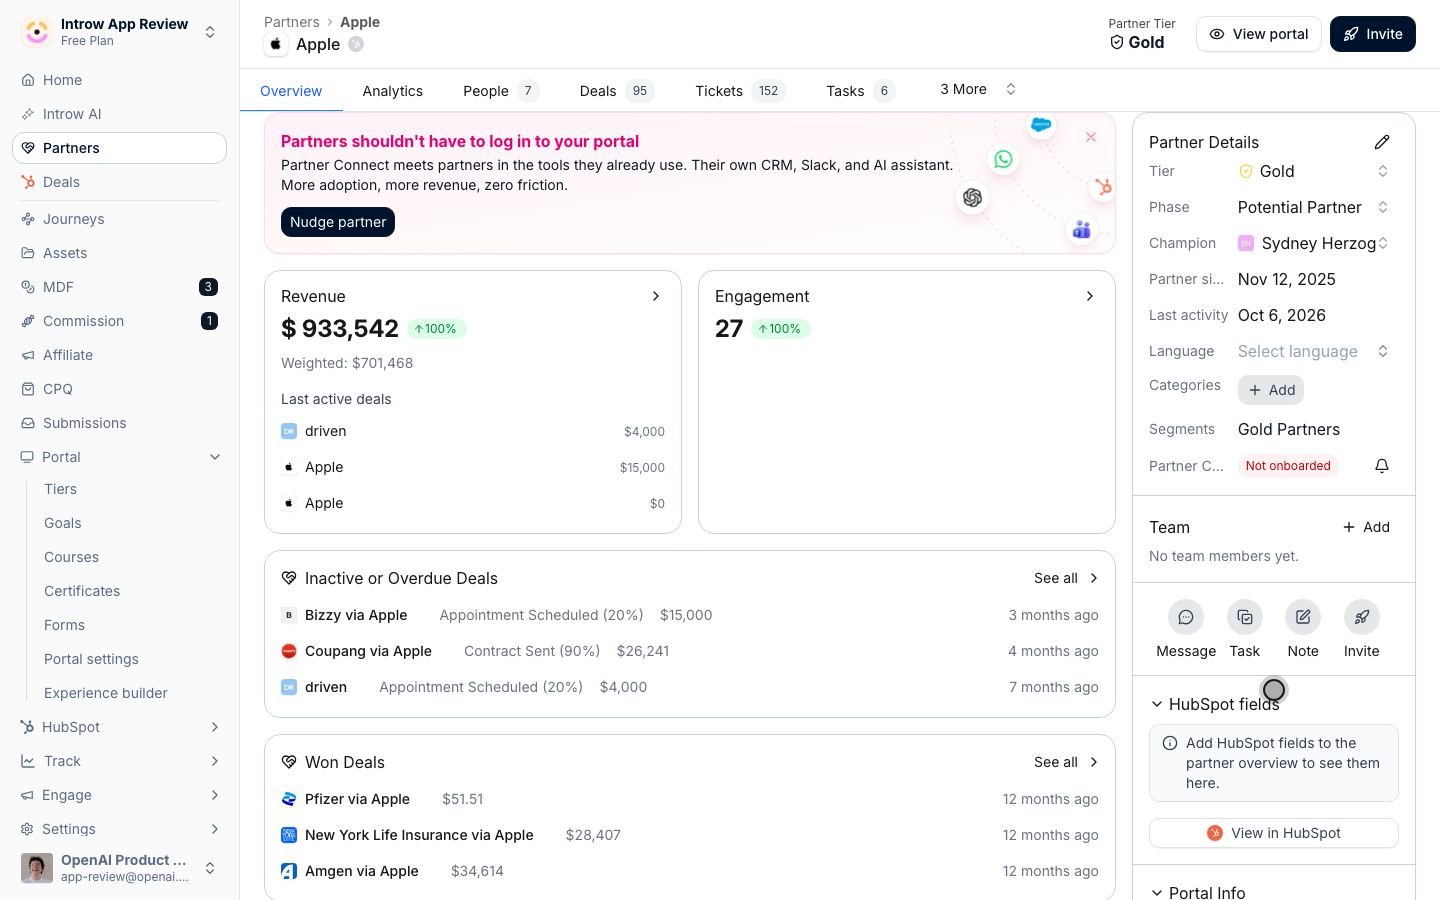
2
Add a member and role
Add a team member and choose the partner team role they hold, such as lead partner manager or technical contact. The role is what downstream surfaces key on (the partnership manager step, for example, resolves to whoever holds the lead role).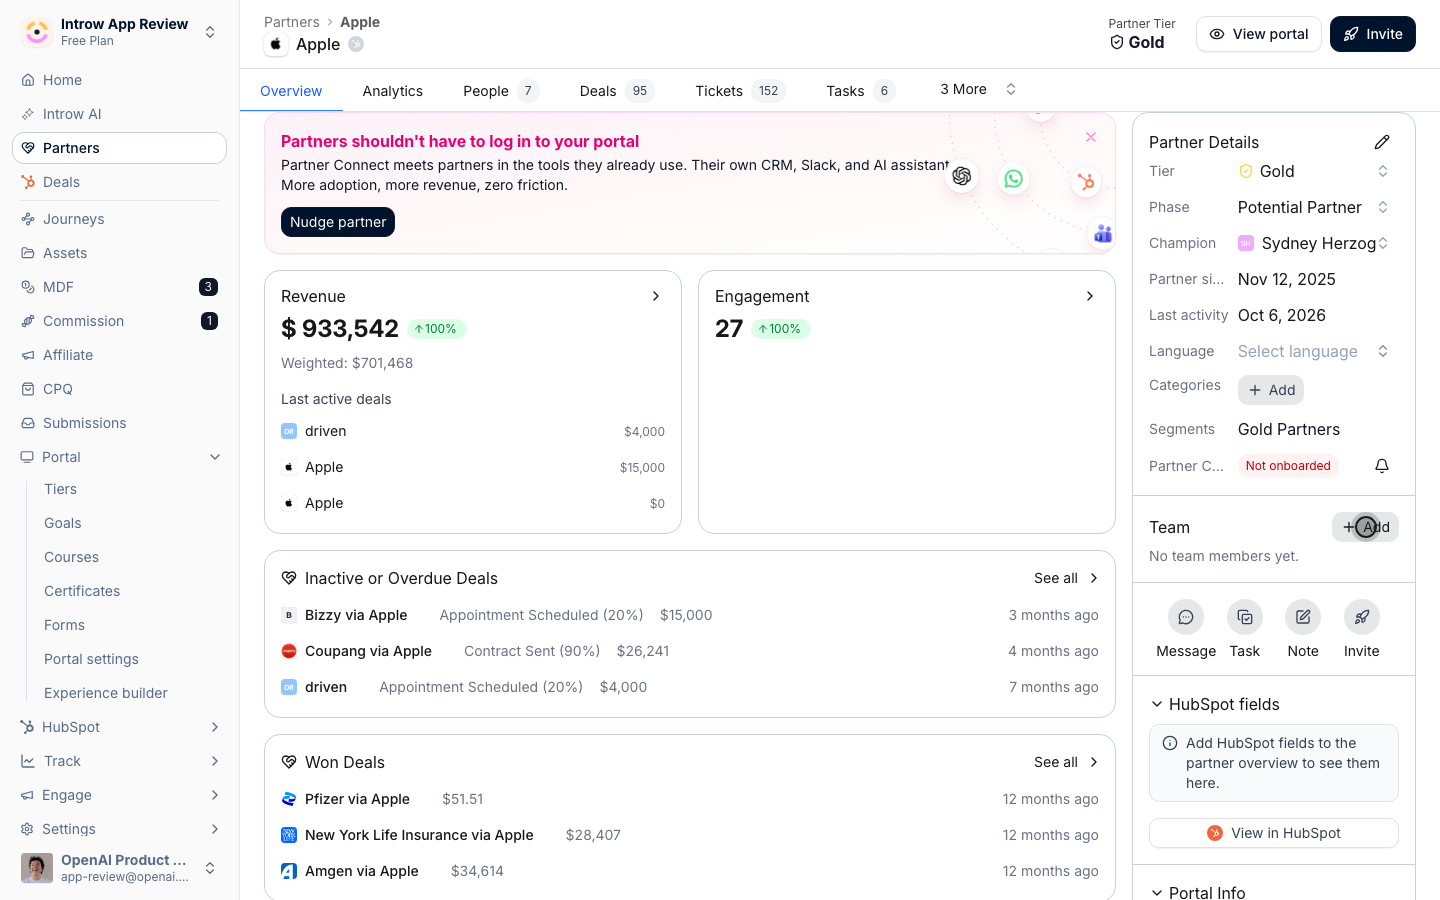
3
Handle single-member roles
Some roles allow only one member, such as a single lead manager. Adding another prompts you to replace the current one. Set the lead deliberately, since the sender, issuer, and approver routing all resolve to the assigned manager.
Wire the downstream surfaces
1
Show points of contact in the portal
In Experiences, add a partner profile or team section to the experience so the logged-in partner sees their assigned team. The names update automatically as you change the assignment, so you build it once. Preview as a partner, then publish.
2
Set the communication sender
On a partner-facing communication, set the sender to the partner’s assigned manager rather than a fixed address, so it resolves per partner and replies reach the owner. Set it on Announcements and on partner notifications. Reply-to follows the same assigned manager.
3
Name the certificate issuer
On a certificate, set the Issued by field to the team member who should appear as the issuer, such as the partner’s assigned manager, so credentials are signed by the right person. Open the certificate in Certificates and save so new awards carry it.
4
Route form approvals to the manager
On a form’s automation, enable the approval gate and add an approver step set to the partnership manager, which resolves to the partner’s assigned manager at submission time. Open the form in Forms, add the step, and save so new submissions route to whoever owns the partner.
Verify it worked
The partner’s Team card lists the assigned members with their roles. The portal shows those people as points of contact, a delivered communication shows the assigned manager as sender and reply-to, a new certificate names them as issuer, and a test submission routes its approval to the partner’s manager. A partner with no team assigned falls back to org defaults instead.Related
Create a partner team role
Define the roles you assign here.
Configure partner notifications by email
Use the assigned manager as the email sender.
Work a partner record
Manage the rest of the partner’s fields.
Implementation reference
Full configuration options for partner team ownership.