

What you’ll achieve
A partners list that answers the right question for each team: saved views (shared or private) with the columns and filters they care about, lifecycle phases that show where every partner sits as a pipeline board, and bulk actions that update a whole cohort without opening each record. Partner managers see at a glance who needs a push, and leadership can read program health from the board.Before you start
1
Confirm access
You need write access to Partners to configure views, phases, and run bulk actions. A connected CRM is not required to organize the list, but CRM-backed properties only appear as columns when a CRM is connected.
2
Know your lifecycle
Decide the stages a partner moves through (for example potential, onboarding, active, churned) so the phases you create match how your program actually works.
Watch it
- Video
- Click through
Steps
Build a view
1
Open the configure panel
Go to Partners and open the configure panel for the current view. This is where you choose the columns, filters, and sharing that define how this view of the list looks.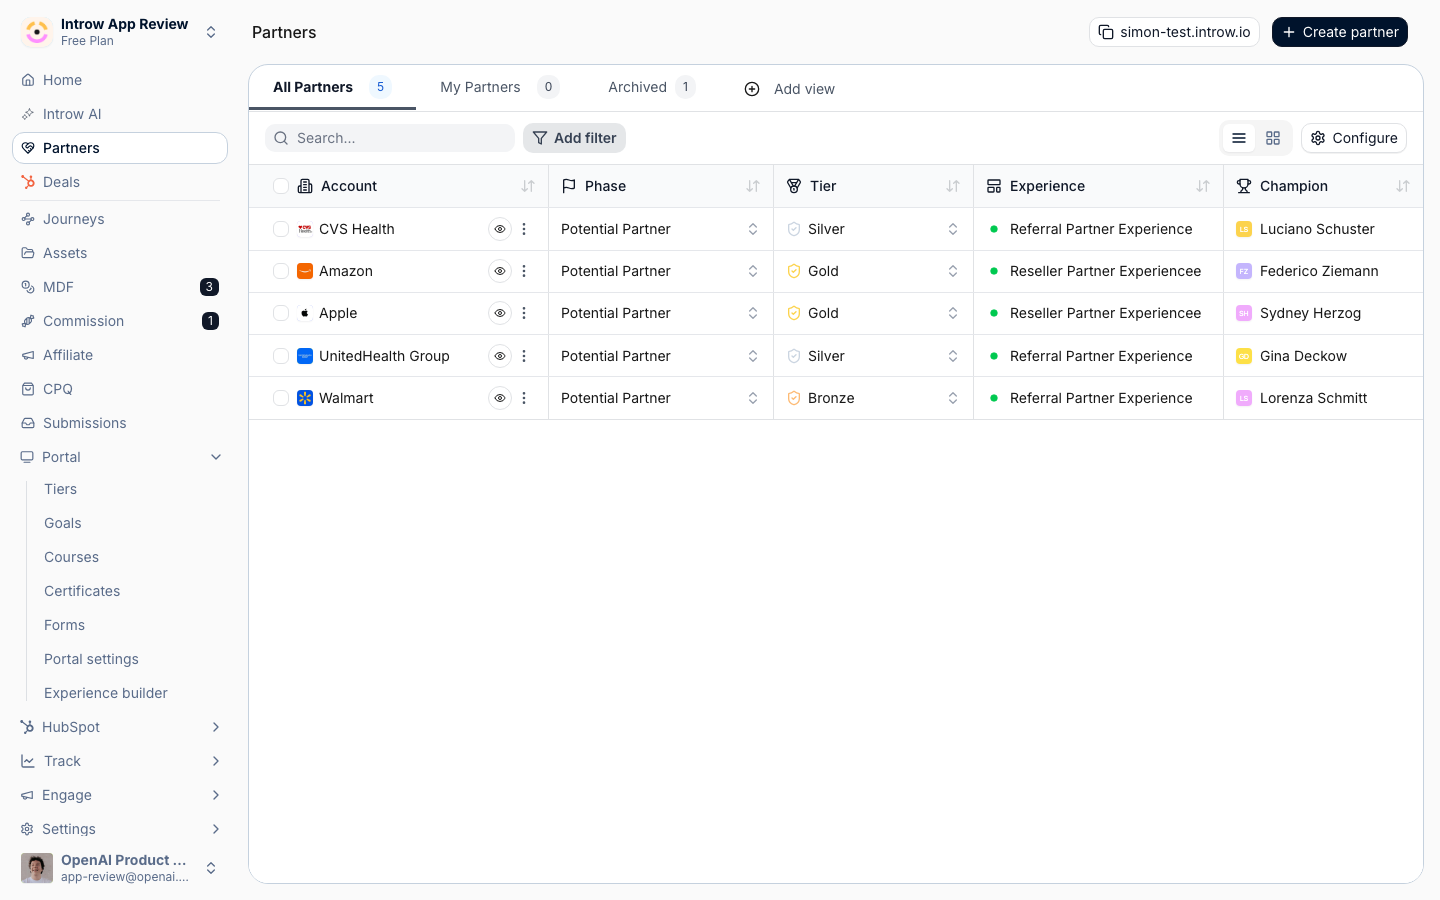
2
Choose the columns
Decide which partner properties show as columns, then use Add property to add more.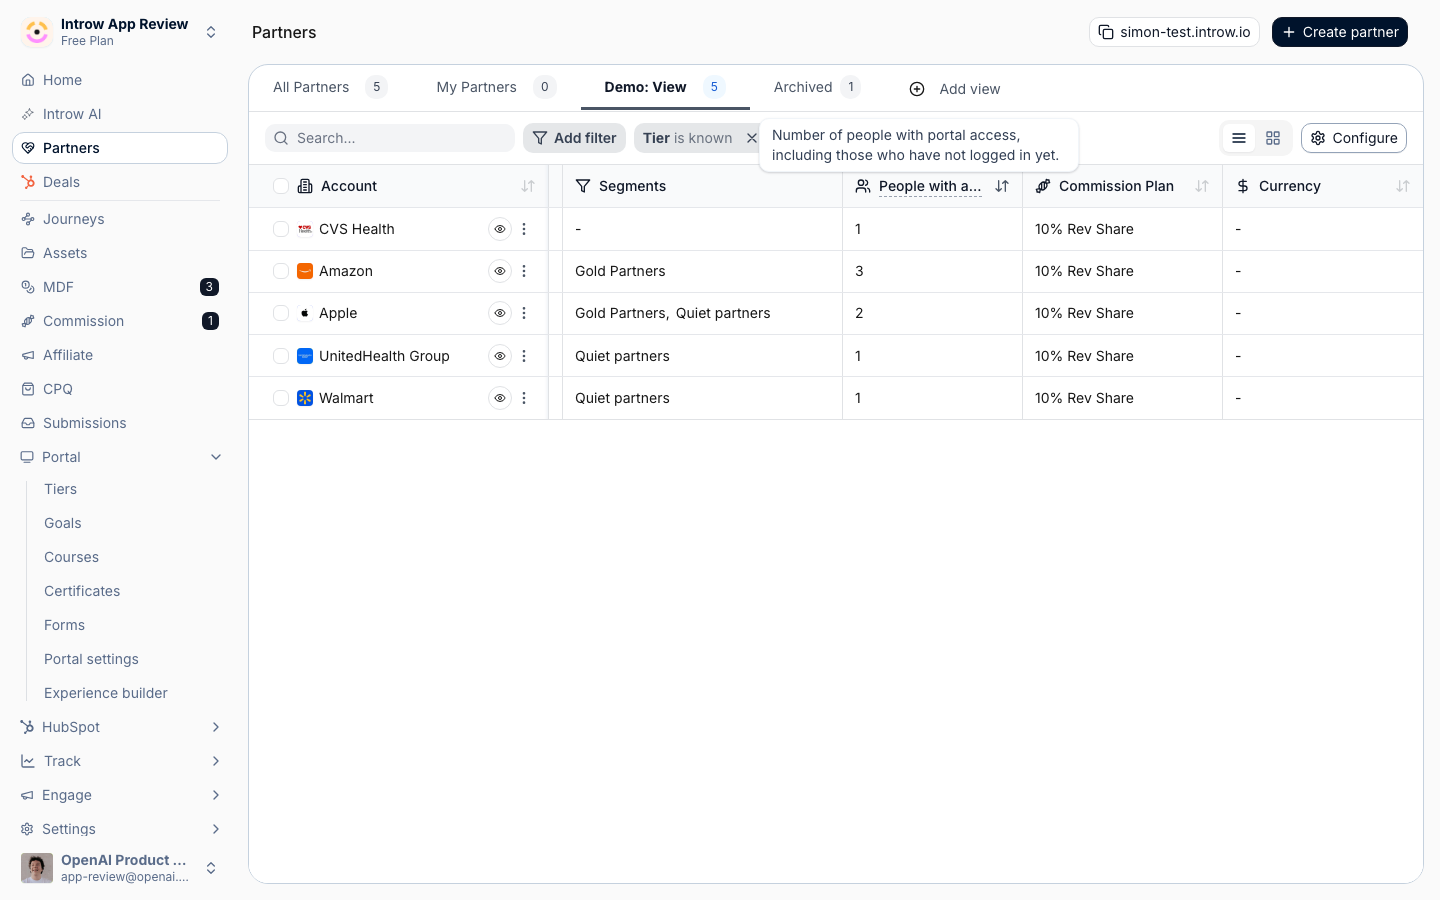
- Built-in properties - fields Introw tracks directly, such as phase, tier, champion, and language. Add the ones the team scans on every partner. People with access is on by default and counts the partner’s contacts who can sign in to the portal, including the ones who have not logged in yet; remove it and it stays removed. Experience names the experience the partner is on.
- A HubSpot custom partner object’s stage - when your partners live on a HubSpot custom object with a pipeline, its stage shows as the stage name, and you can filter on it and edit it from the list and the partner’s profile.
- CRM-backed properties - fields that live in your CRM. Add these when a team needs to filter or sort on data you maintain in HubSpot or Salesforce. They appear only when a CRM is connected. On a CRM property, Is not known also matches a partner that has no CRM record yet, so an unlinked partner shows up when you filter for a missing value.
3
Add filters
Narrow the view to the partners it is about - for example a single phase, a tier, or a segment. A filtered view stays focused on one question (such as “who is mid-onboarding”) instead of showing every partner at once.
4
Set sharing
Choose who sees the view.
- Private - the view stays visible only to you. Use it for a personal working slice.
- Shared with team - colleagues see the same columns, filters, and layout. Use it for the views a whole team relies on, so everyone reads partners the same way.
5
Save the view
Save the view to keep it. It appears as a tab on the partners list for quick switching, and teammates see it too when it is shared. Create as many views as you have distinct questions to answer.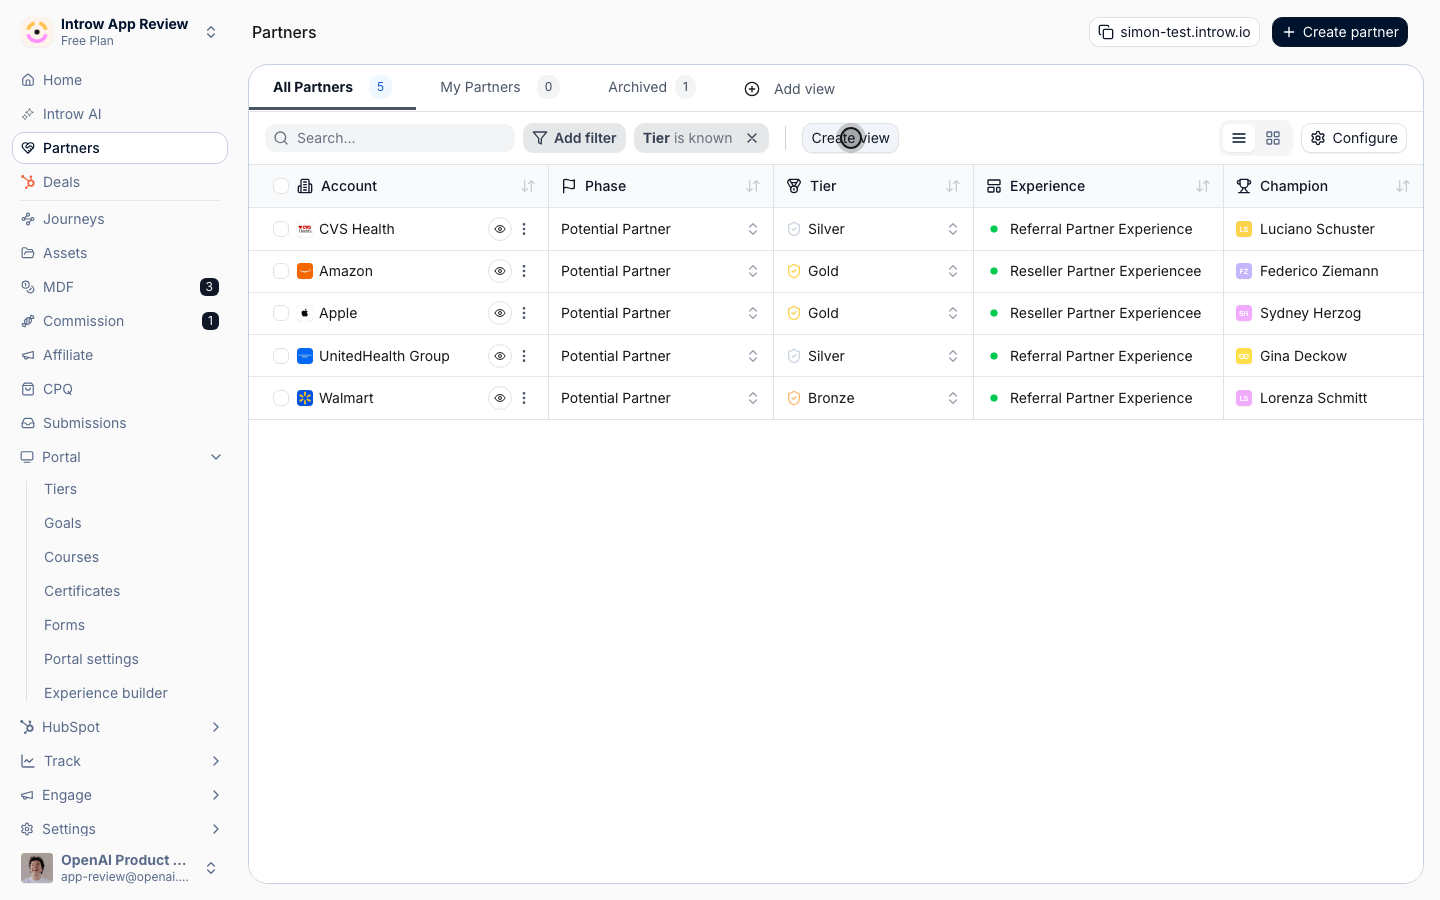
Organize partners into phases
1
Open the phases section
In the configure panel for the list, find the phases section. A default set of phases already exists, running from a potential partner through to won and lost, so you can adapt rather than start from nothing.
2
Add and name phases
Add a phase and give it a clear name that matches your program, such as a stage between first contact and signed. Each phase becomes a column in grid view, so name them the way you would describe the pipeline out loud. Repeat for every stage you track.
3
Order the phases
Drag phases into the sequence partners move through, so the board reads left to right like your real lifecycle. Order is what makes the grid tell a pipeline story.
4
Switch to grid view and place partners
Use Grid view to see one column per phase, then drag partners into the right column. You can also set the Phase field on a partner’s detail page. Changes save immediately, and the choice between List view and Grid view is remembered for you.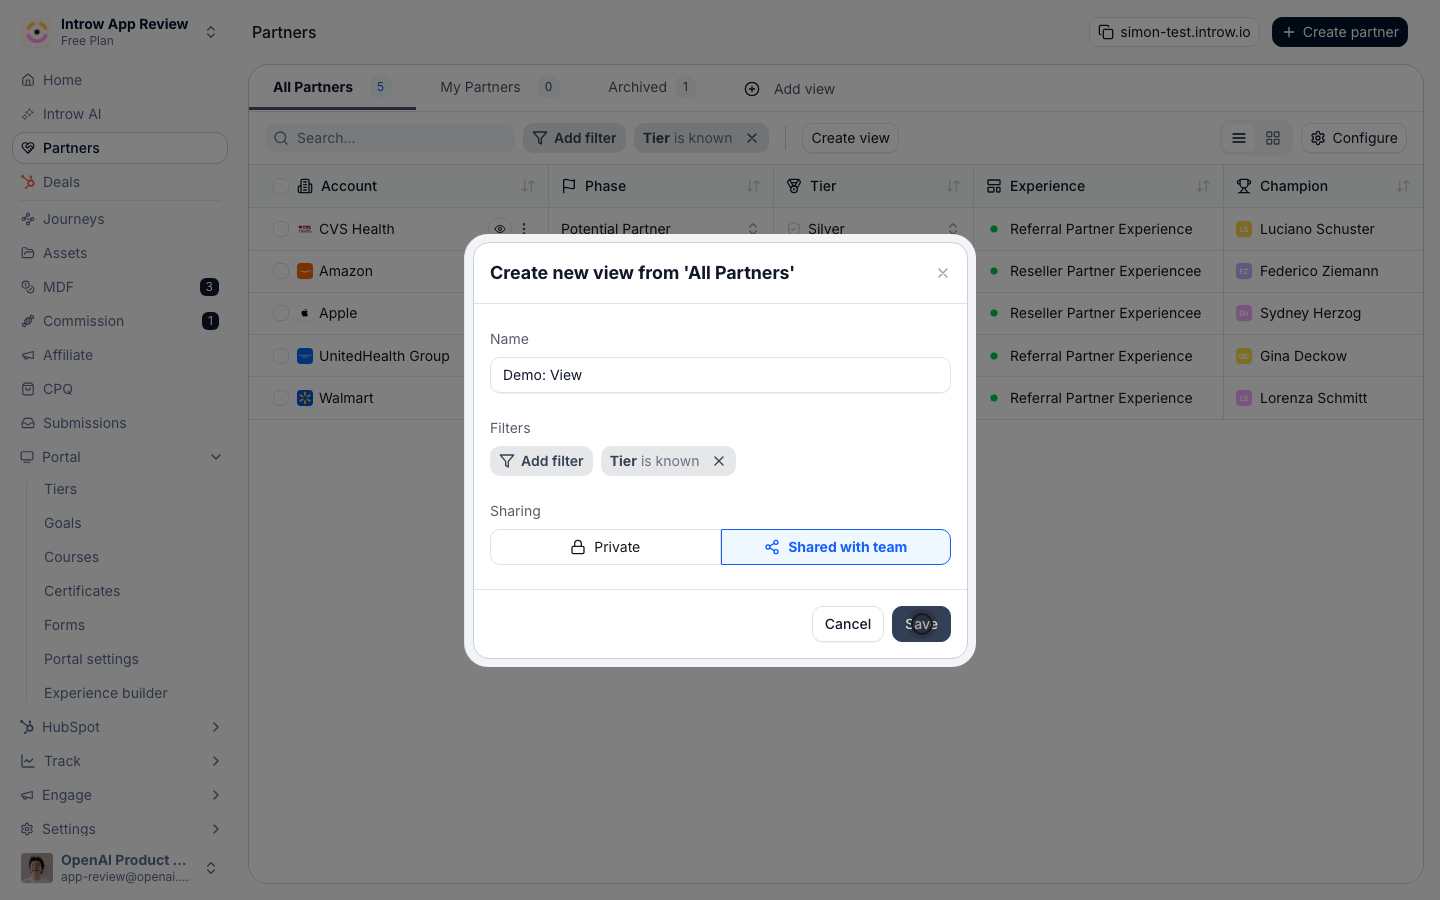
5
Remove a phase if needed
To delete a phase, first choose another phase to move its partners into, then remove it. Introw requires the migration so no partner is ever left without a phase.
Act on a cohort in bulk
1
Select the partners
Filter the list to the cohort you want (a view or a quick filter helps), then use the row checkboxes to select partners. The header shows how many are selected and reveals the bulk actions bar.
2
Choose a bulk action
The bulk actions bar acts on every selected partner at once.
- Update experience - swap which experience the selected partners are published with, updating their existing portals.
- Apply experience - publish the selected partners with an experience, creating their partner portals in one pass.
- Comment - post an internal comment across the selected partners to flag follow-up for your team.
- Edit - open the bulk edit dialog to change a property (tier, commission plan, currency, or a team role) for the whole selection. See Bulk update partners for the full walkthrough.
3
Confirm the action
Run the action. Introw applies it to every selected partner and clears the selection when it finishes, so the bulk actions bar disappears.
Verify it worked
Your saved view appears as a tab on Partners, and teammates see it too when it is shared. Grid view shows one column per phase with partners in the stages you assigned. After a bulk action, the selected partners show the new state in the list and the selection clears.Related
Bulk update partners
Change tier, commission plan, currency, or team roles for a whole cohort.
Work a partner record
Set phase, tier, and the other fields on a single partner.
Create a dynamic segment
Turn a filter into a reusable audience.
Show & rename CRM fields
Add any CRM field as a column here, on object overviews, and on partner-facing views - renamed for partners.
Implementation reference
Full configuration options for the partners list.