

What you’ll build
A tasks section in a portal experience that includes one or more journeys and auto-assigns their tasks to each partner who gets the experience.Before you start
1
Confirm setup
The journey and its
tasks should be ready, and you should have a portal experience you can edit.
Watch it
- Video
- Click through
Steps
1
Open the experience builder
Go to Portal and edit the experience that partners
receive.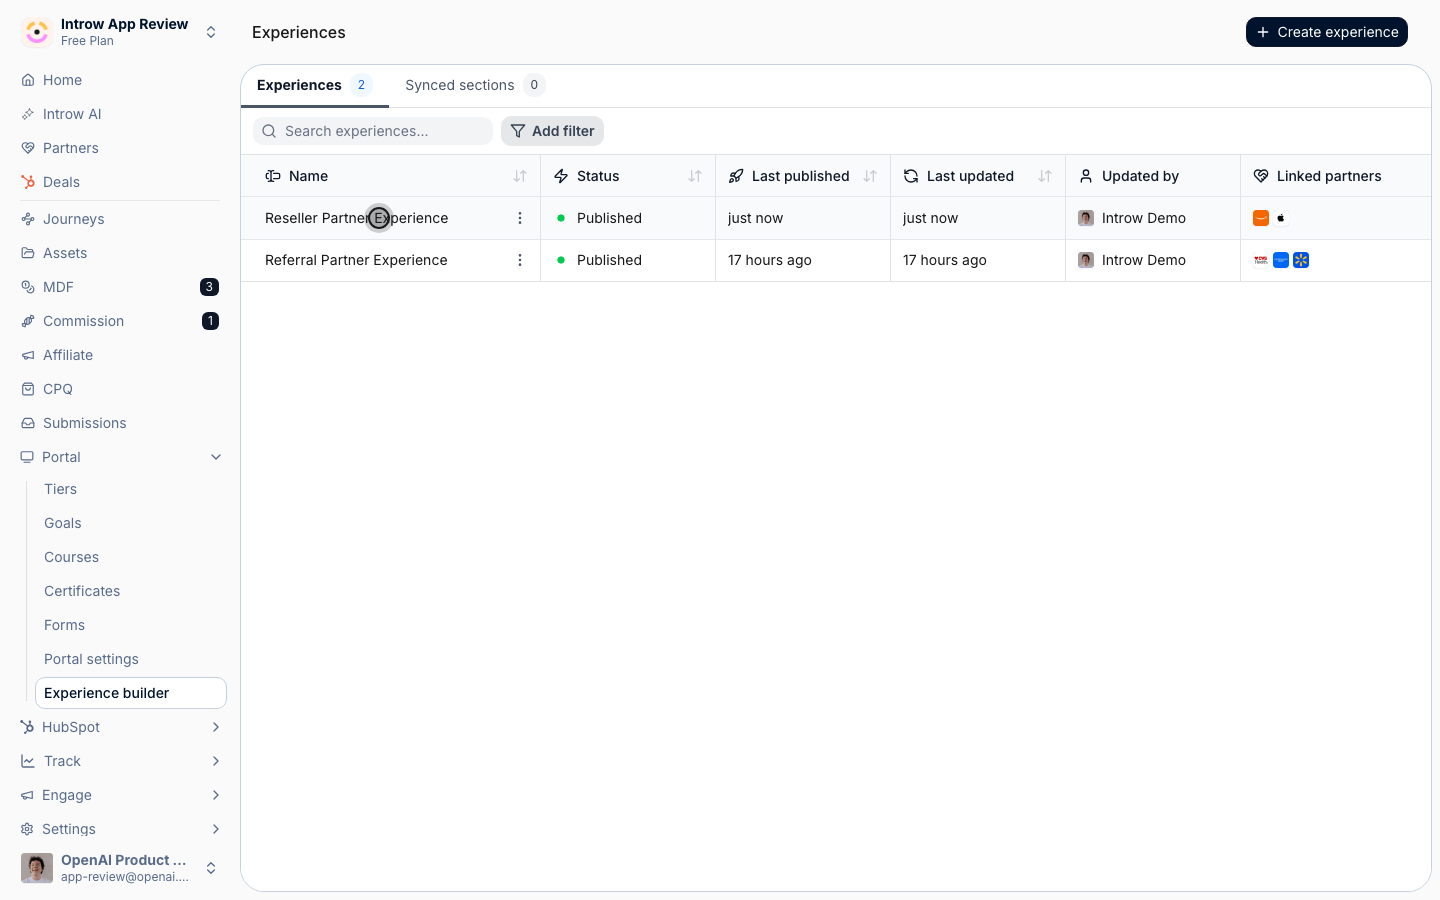
2
Add a tasks section
Add the Tasks block to a section of the experience.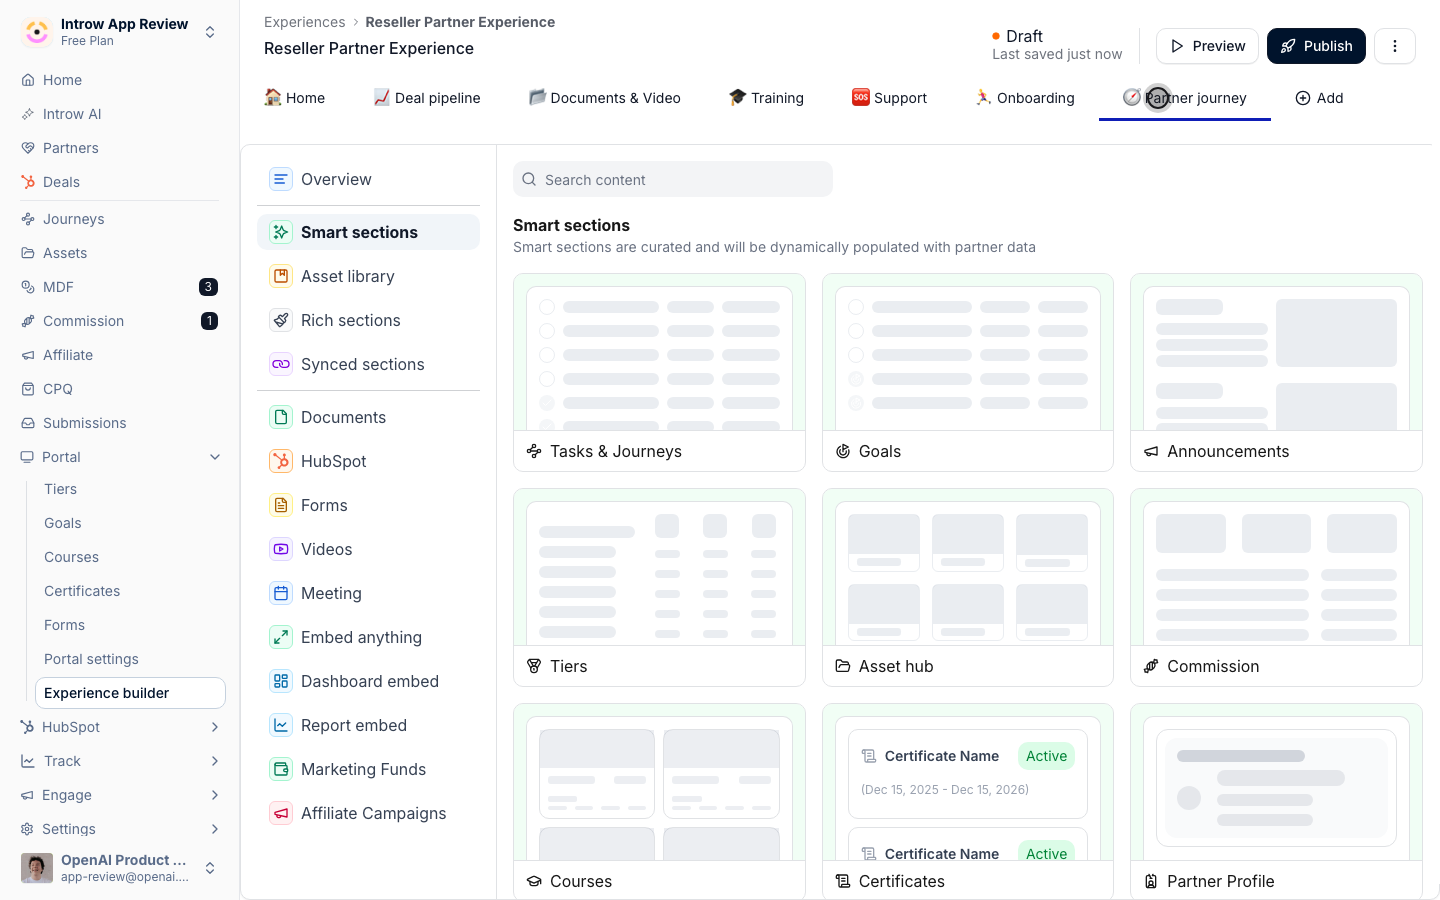
3
Open the tasks configuration
Open the block’s settings to reach the Configure Tasks panel.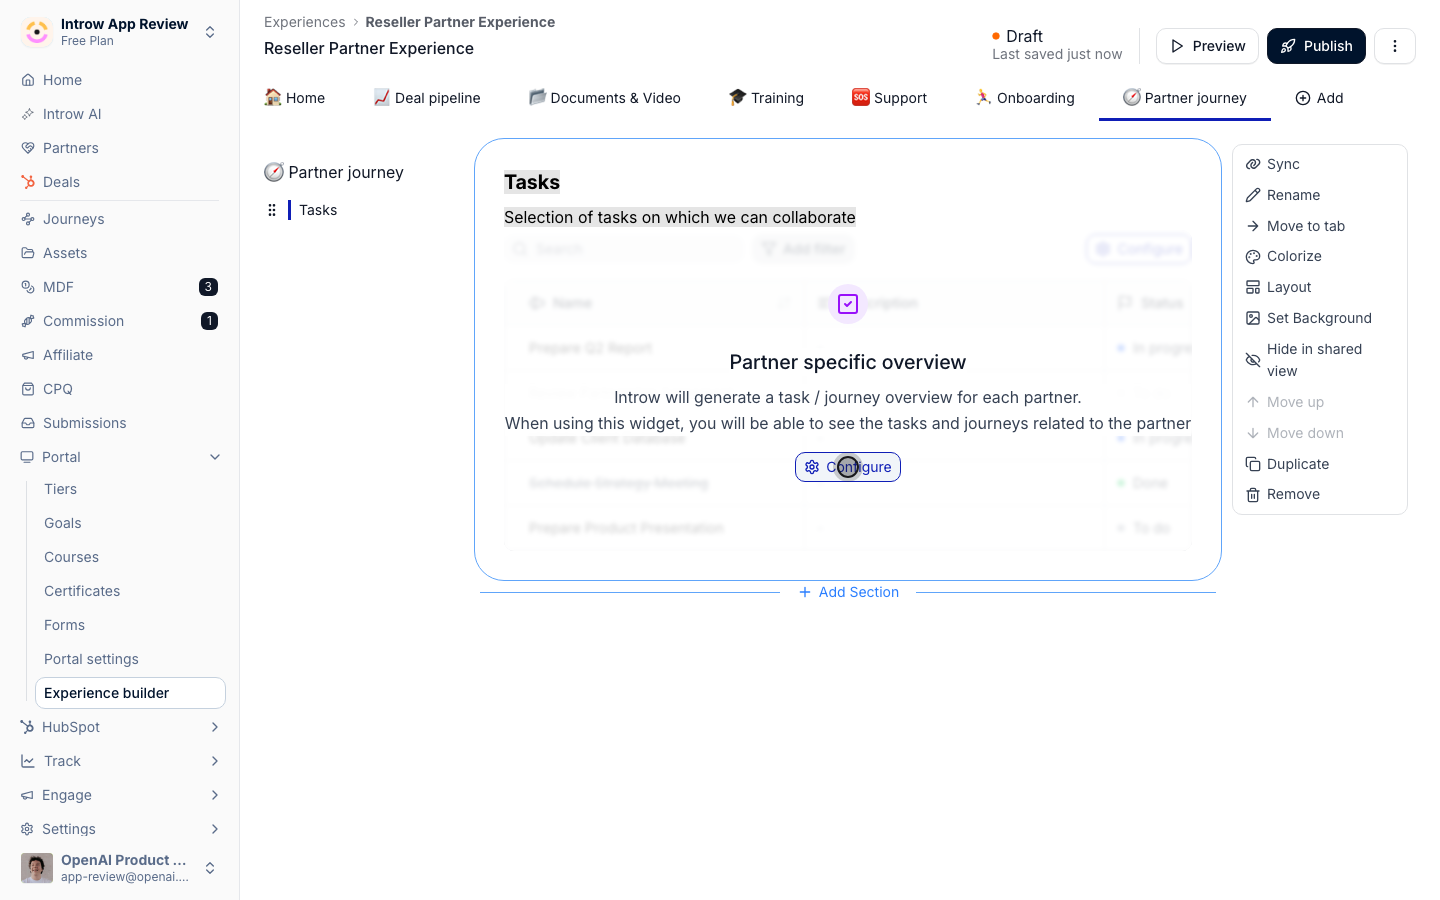
4
Choose which journeys to include
Under Journey, search for and select each journey you want shown here. Turning on
Include tasks in this widget adds that journey’s tasks to the section. Pick
Standalone tasks if you also want ad-hoc tasks to appear.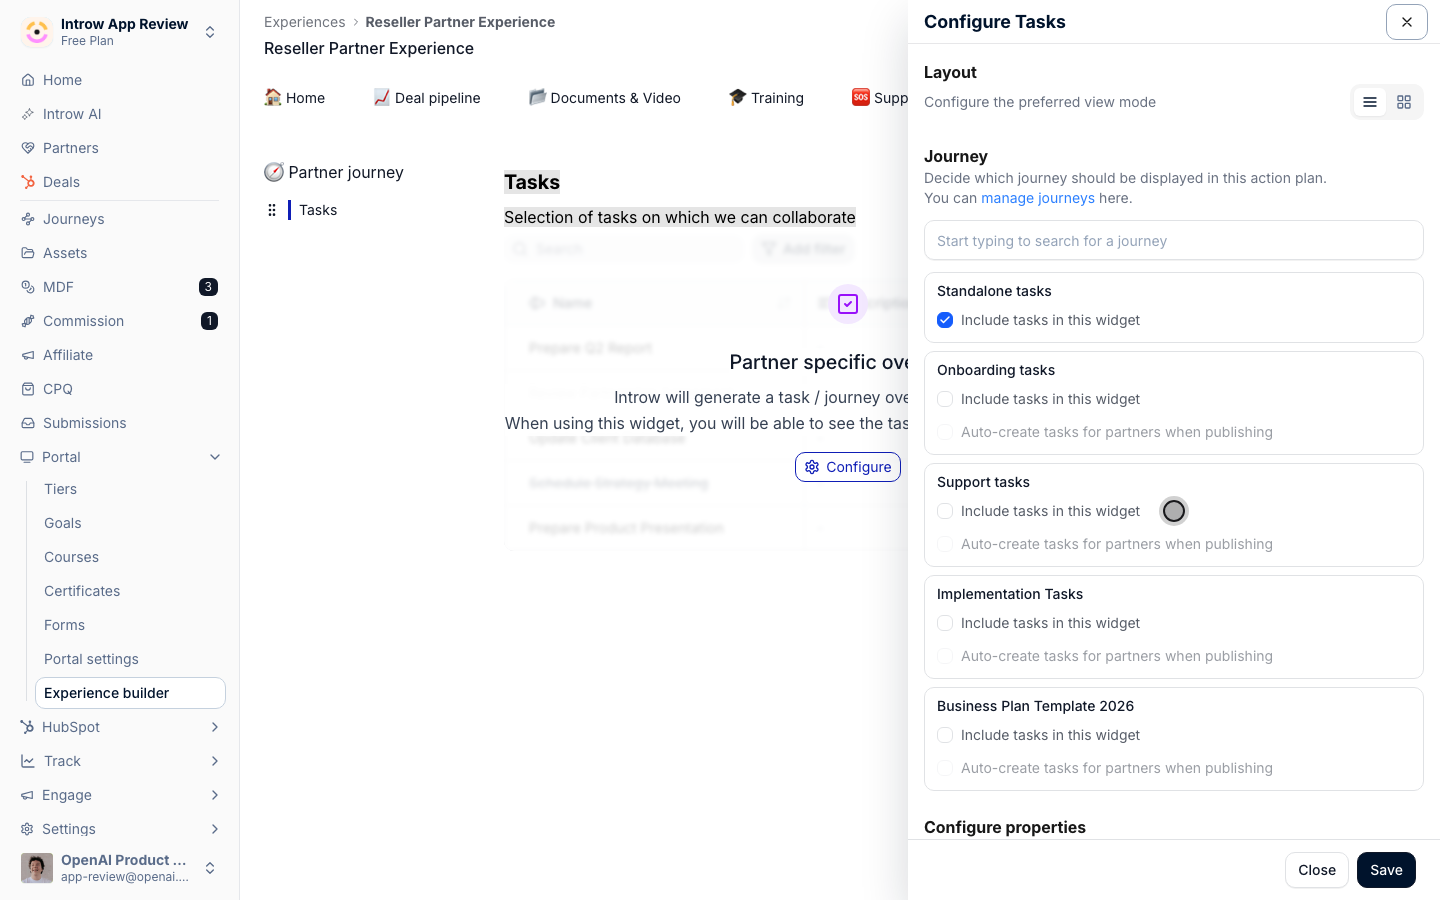
5
Decide whether to auto-assign
For each included journey, set Auto-create tasks for partners when publishing: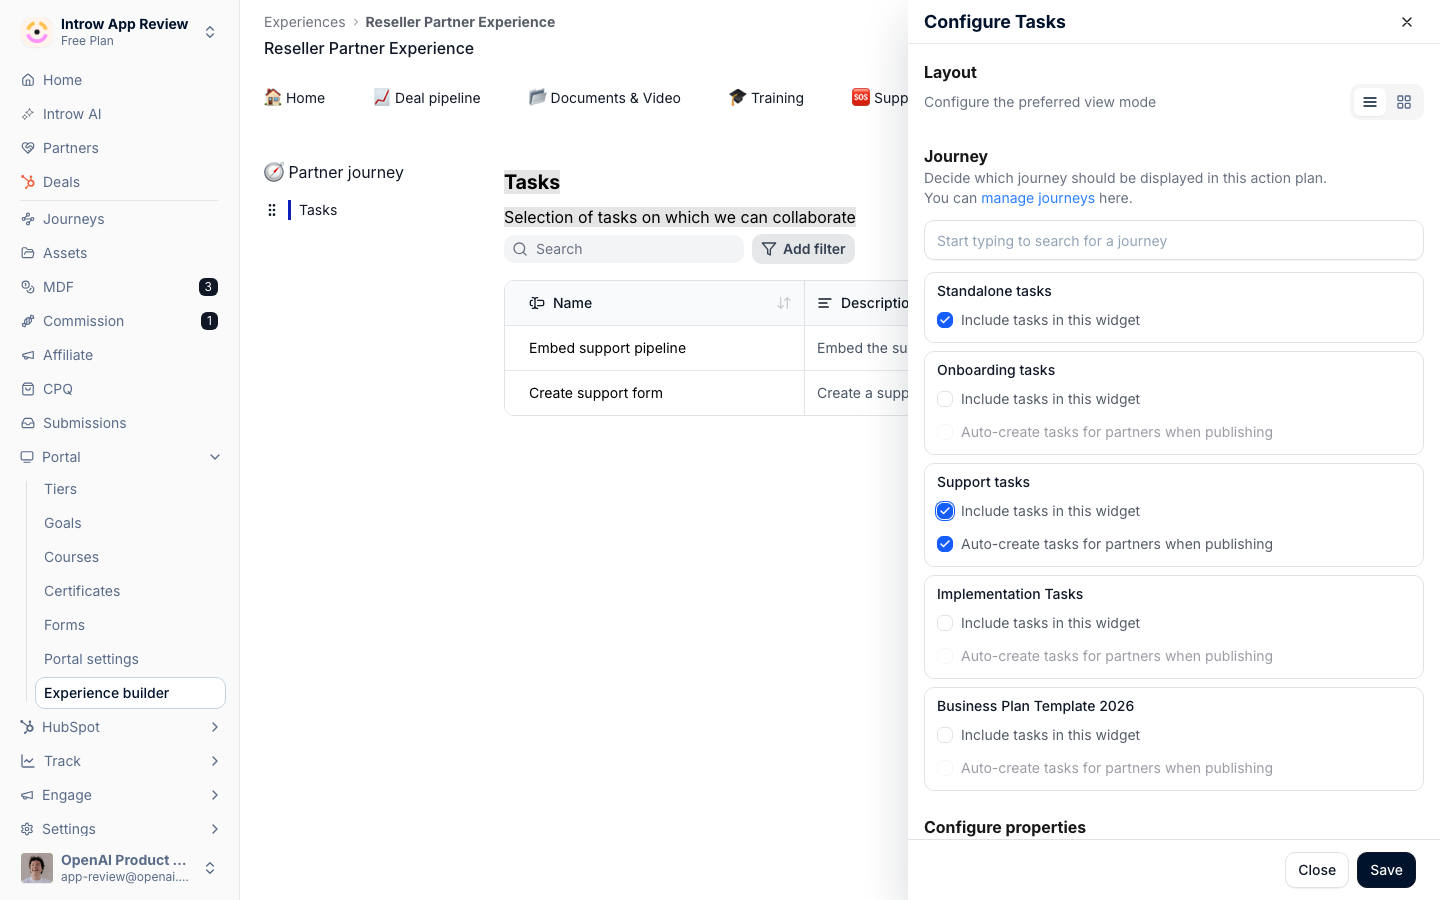
- On - every partner who gets this experience is automatically enrolled in the journey and receives its tasks. This is the auto-apply behavior. On a tab restricted to segments, only partners in those segments are enrolled, and a partner who joins one of those segments later is enrolled the moment they do.
- Off - the section only displays journey tasks a partner already has; it does not enroll anyone.
6
Save and publish
Save the configuration, then publish the experience so the rule takes effect for
partners who receive it.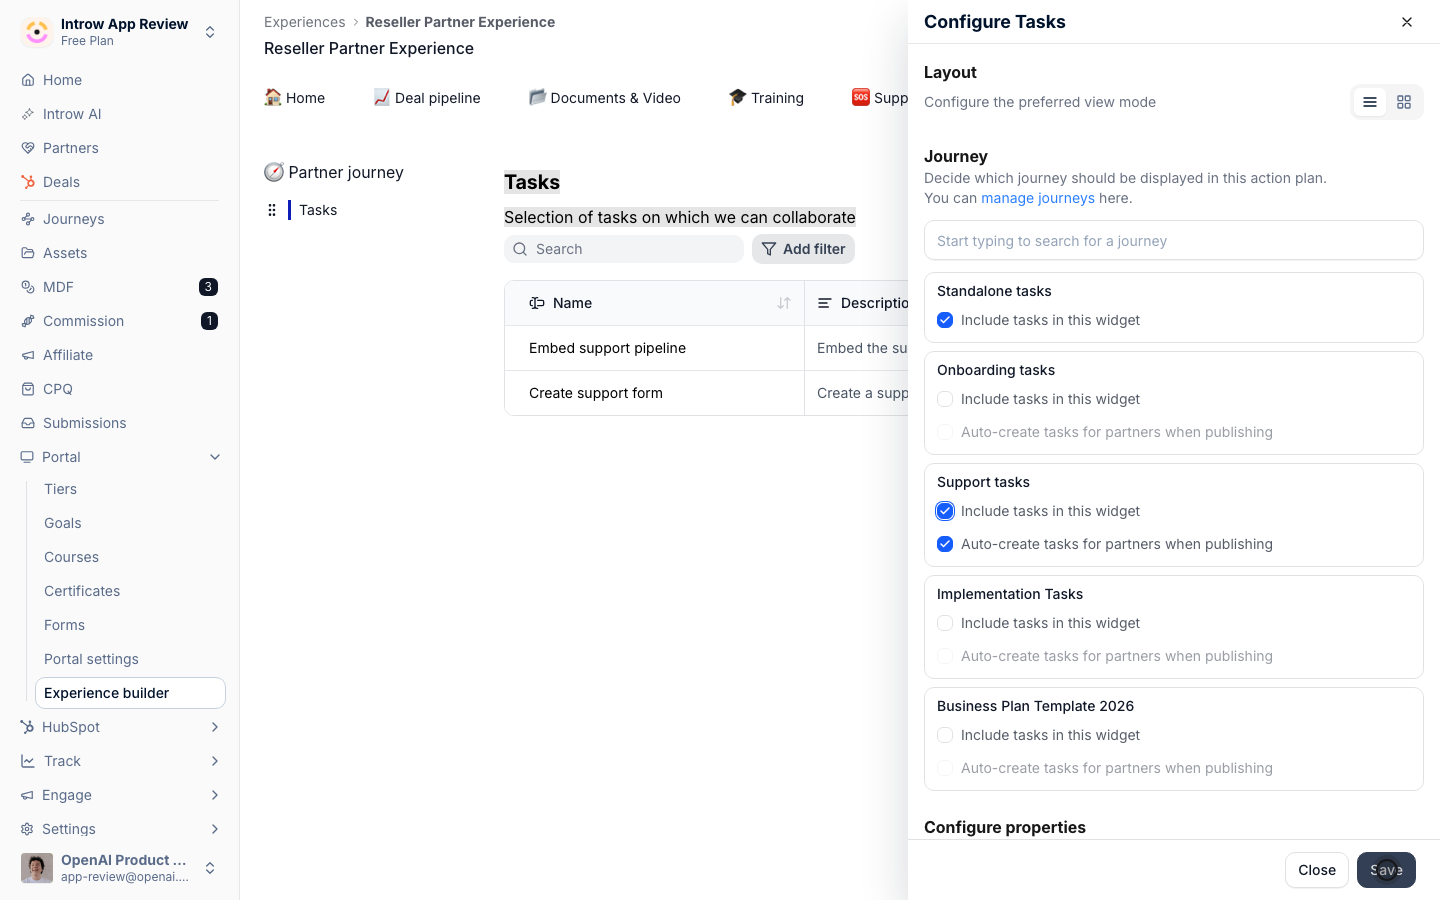
Verify it worked
A partner who receives the experience automatically has the included journey’s tasks on their task list, without anyone applying the journey by hand.Limits & gotchas
Related
Assign a journey and track progress
Push a journey to a chosen set of partners manually and follow their progress.
Create and show partner tasks
Show partners their tasks inside the portal.