

What you’ll achieve
A published announcement delivered to the partner segments you chose, across the portal feed and any other channels you picked, attributed to the right author with replies routed to the right person. You can then see who engaged and nudge the rest.Before you start
1
Confirm access
You need access to announcements to create and send them.
2
Define your audience segments
Targeting uses segments, so create the segments for the partners you want to reach before you send.
3
Connect chat if you will use it
To deliver into Slack and/or Microsoft Teams, connect that integration first; otherwise that channel is unavailable.
Watch it
- Video
- Click through
Steps
Compose the announcement
1
Start a new announcement
Go to Announcements and create one. You can start from scratch, or generate a draft with AI and refine it here.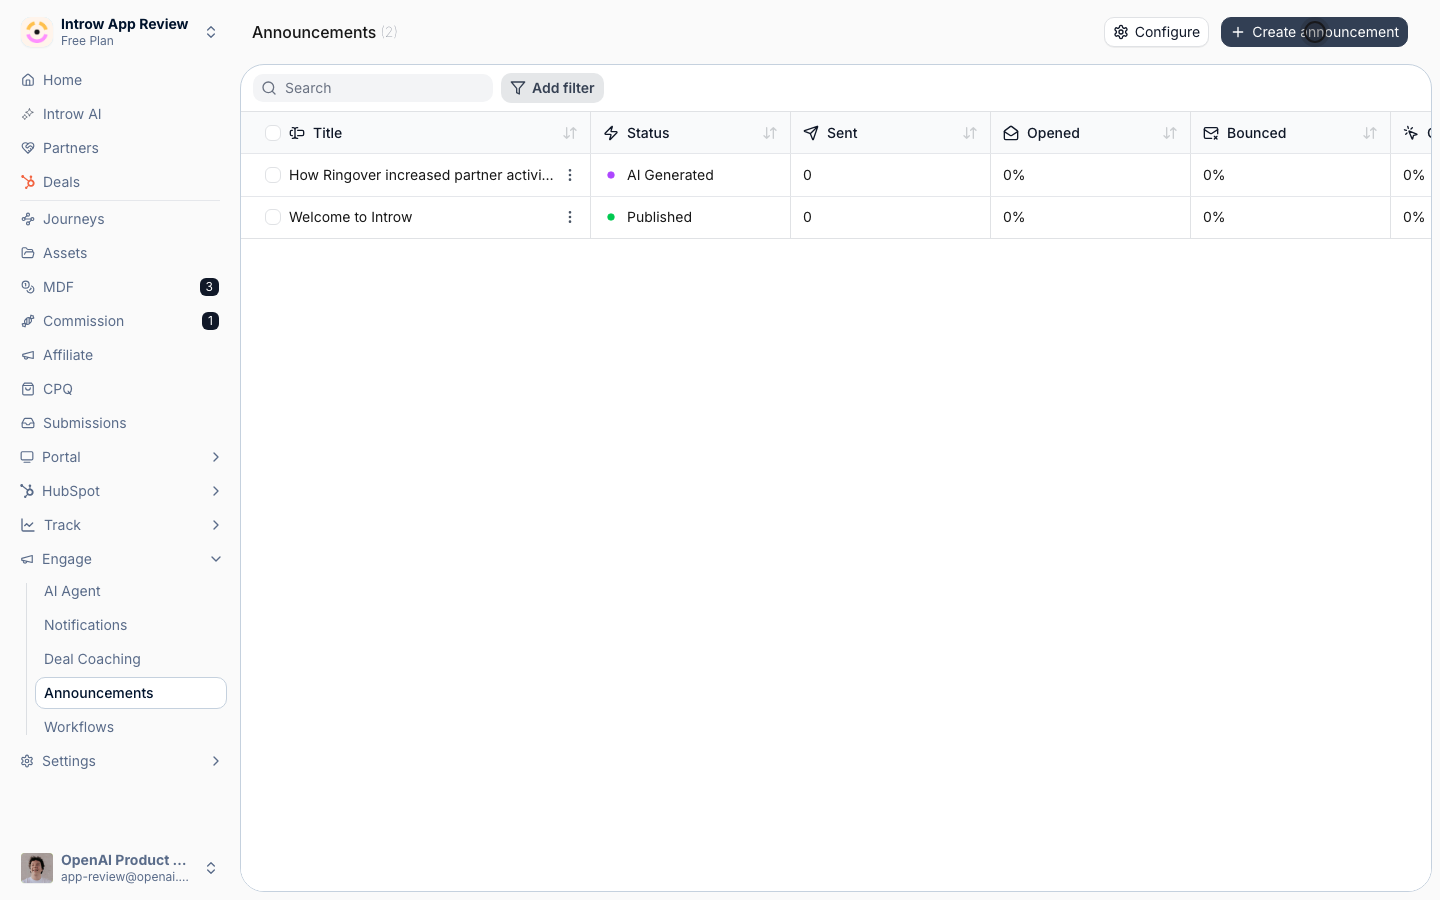
2
Write the message
Give the announcement a clear title and write the body in the editor. Add headings, links, and media so the update is scannable and the action is obvious. Edits save as you go.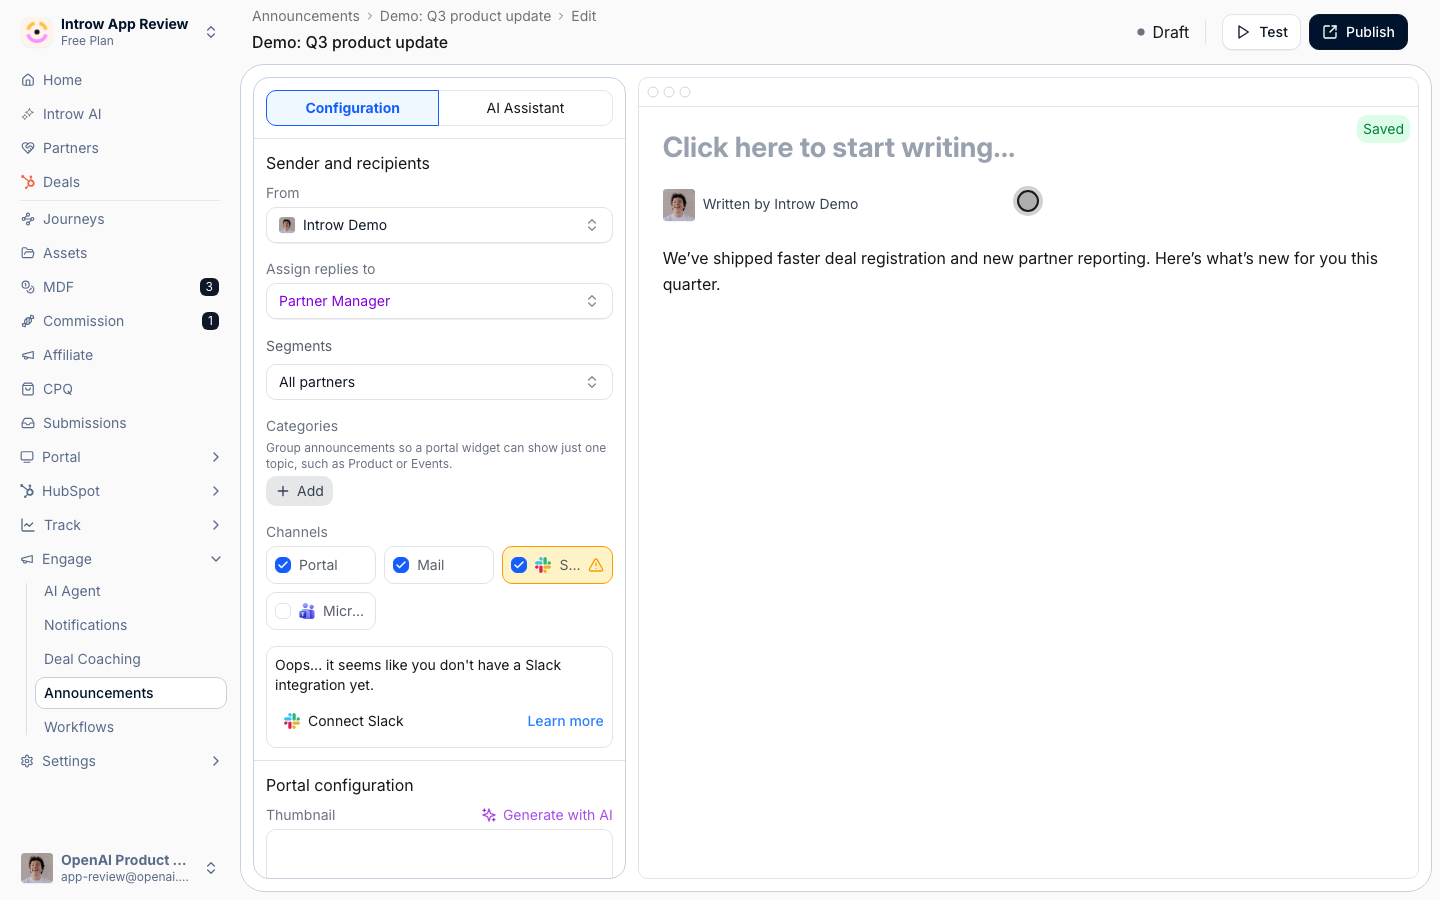
3
Set attribution and a thumbnail
These details shape how the announcement feels to partners:
- From - the team member the announcement appears to come from. Choose someone partners recognise so the message feels personal rather than system-generated. The email itself goes out from your verified sending domain when you have one, and from the shared Introw address when you do not.
- Assign replies to - the user who receives and handles partner replies. Set this to whoever owns follow-up so responses do not go unanswered.
- Thumbnail - the image on the announcement card in the portal feed. It appears under Portal configuration once Portal is one of the channels, and it is optional. Introw crops it to 16:9, so upload a landscape image (1200×675 is a safe size) and use the crop-and-zoom step to pick the part that shows. Or select Generate with AI: Introw reads this announcement’s title and body plus your brand colors and creates a 16:9 image about what you just wrote. The thumbnail is card artwork only: it is not inserted at the top of the announcement body, and it is not used in the email version, so keep anything essential in the content itself.
4
Add categories
Under Categories, below the segments it targets, select Add and tag the announcement with the topics it belongs to, such as Product releases, Events or Partner program. Pick from the categories your team already uses, or type a new one and press Enter to create it. Pick from the list where you can: a different spelling or capitalisation makes a second category.The announcements list filters on categories, and a portal announcements section can be pointed at them, so partners read a Product feed and an Events feed side by side. Leave it empty and the announcement still shows in every section that is not filtered, and in sections that tick Without a category.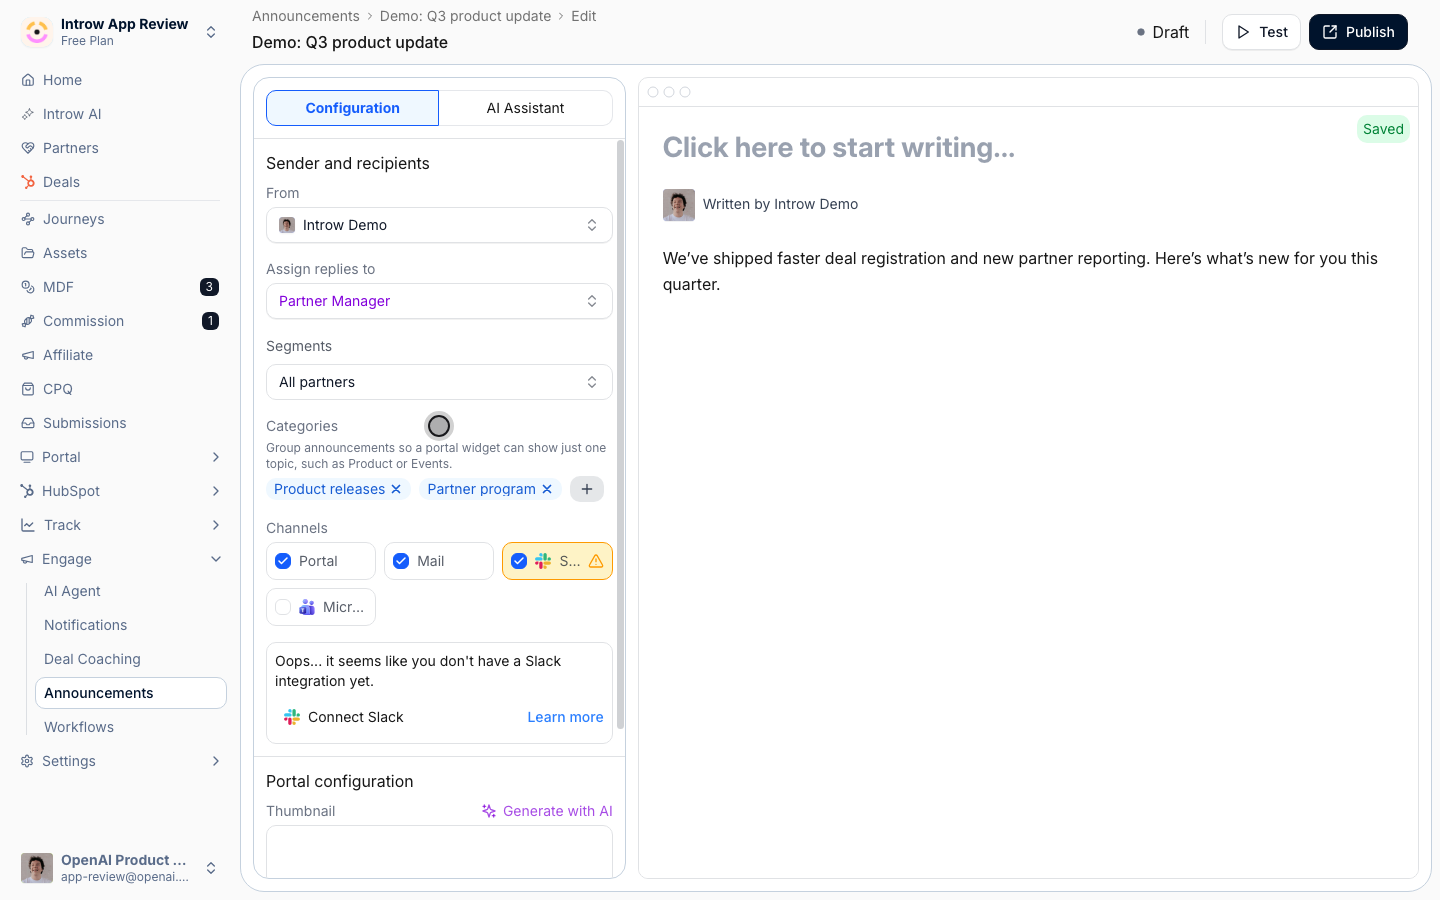
Target and choose channels
1
Target recipients
Choose the partner Segments that should receive the announcement. Targeting keeps updates relevant rather than blasting every partner with everything, so pick the segments the news actually applies to.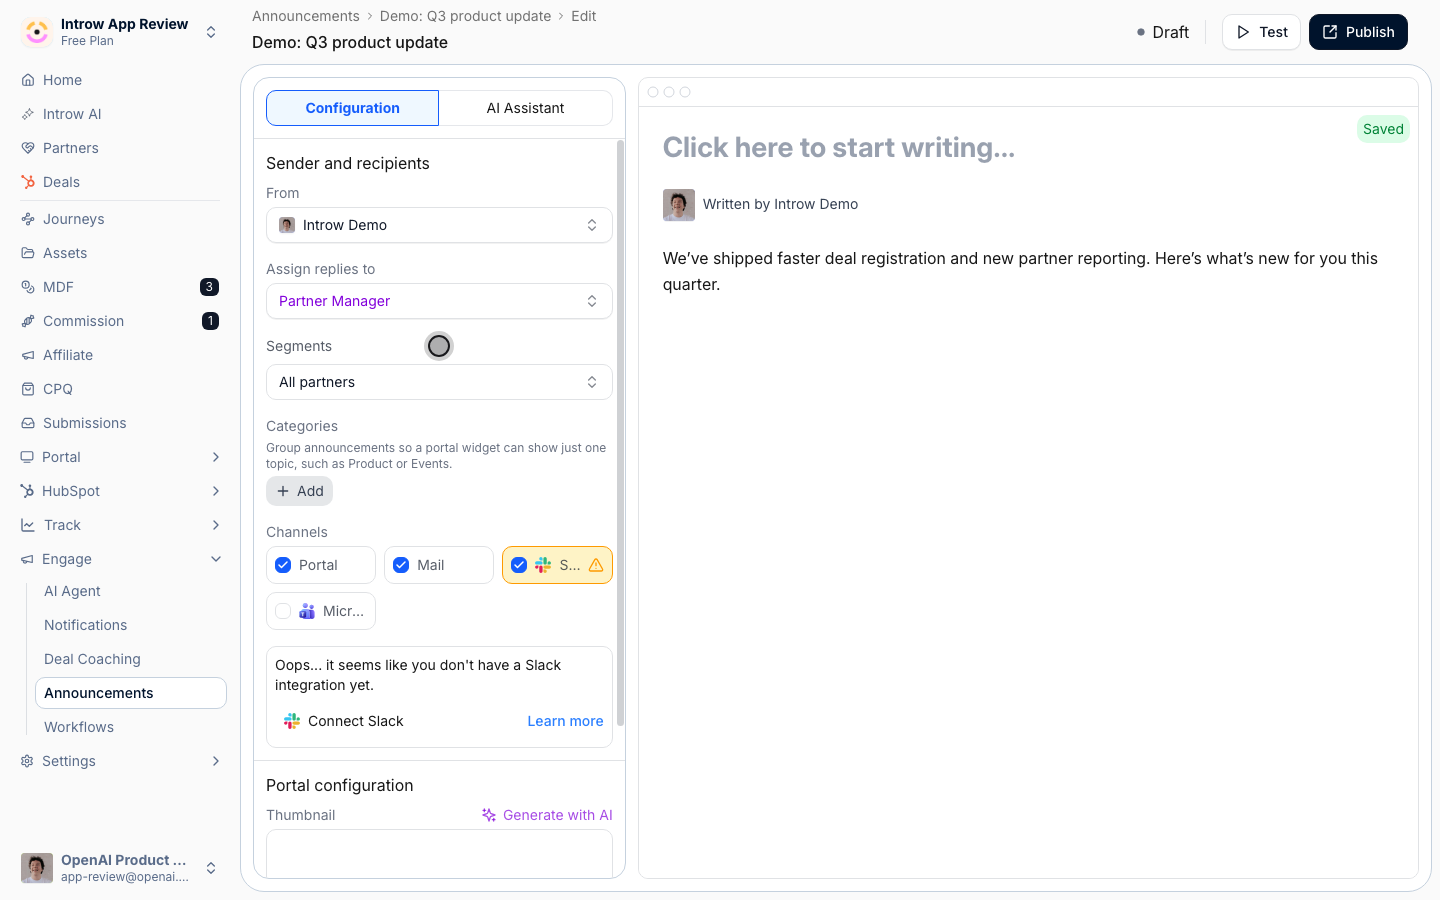
2
Pick delivery channels
Select where the announcement is delivered. A single publish fans it out across every channel you pick, at the same time, so combining channels increases the chance partners see it: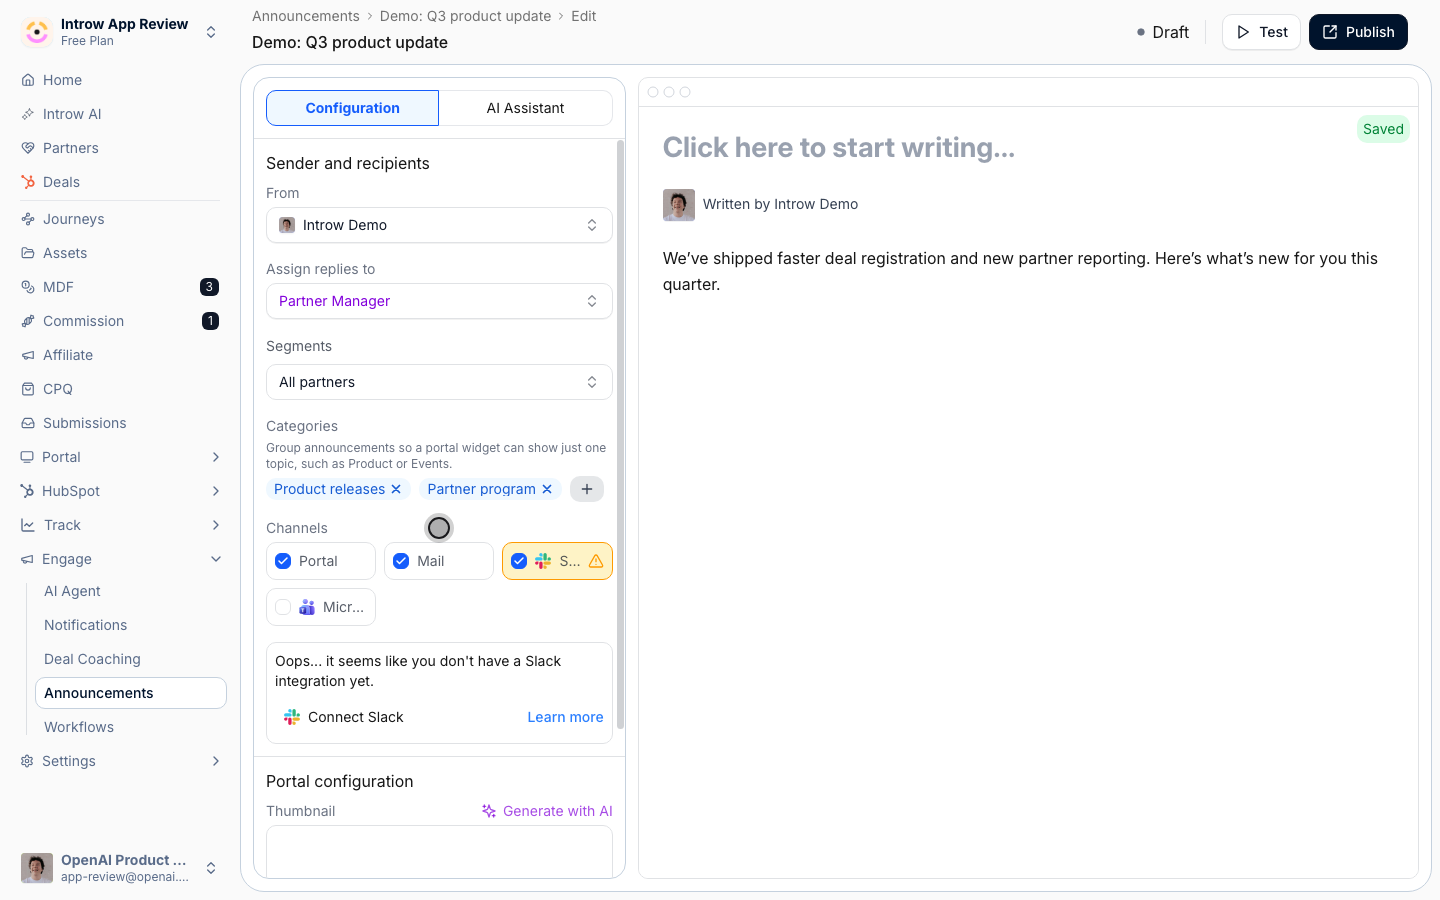
- Portal - posts to the portal feed of every targeted partner. This is the always-available channel.
- Email - emails every contact at the targeted partners, reaching them off-portal where much of their attention is.
- Slack - posts into each targeted partner’s connected shared Slack channel(s). Available when Slack is connected.
- Microsoft Teams - posts into each targeted partner’s connected Teams channel(s). Available when Teams is connected.
3
Decide on a pop-up
Optionally turn on the pop-up option so the announcement appears as a prominent pop-up the next time targeted partners open the portal. Reserve it for updates that genuinely need immediate attention so it keeps its impact.
Publish and follow up
1
Send yourself a test
Select Test in the header to see the email before partners do. Send test email to starts with your own address; press Enter or type a semicolon after each extra address and it becomes a pill, so a reviewer and a colleague get the same test. Under Preview the test email as, pick a partner and one of their contacts to fill the variables with that contact’s details. Then select Send. A test goes only to the addresses you entered, never to partners, and it arrives even if an address unsubscribed from announcements before.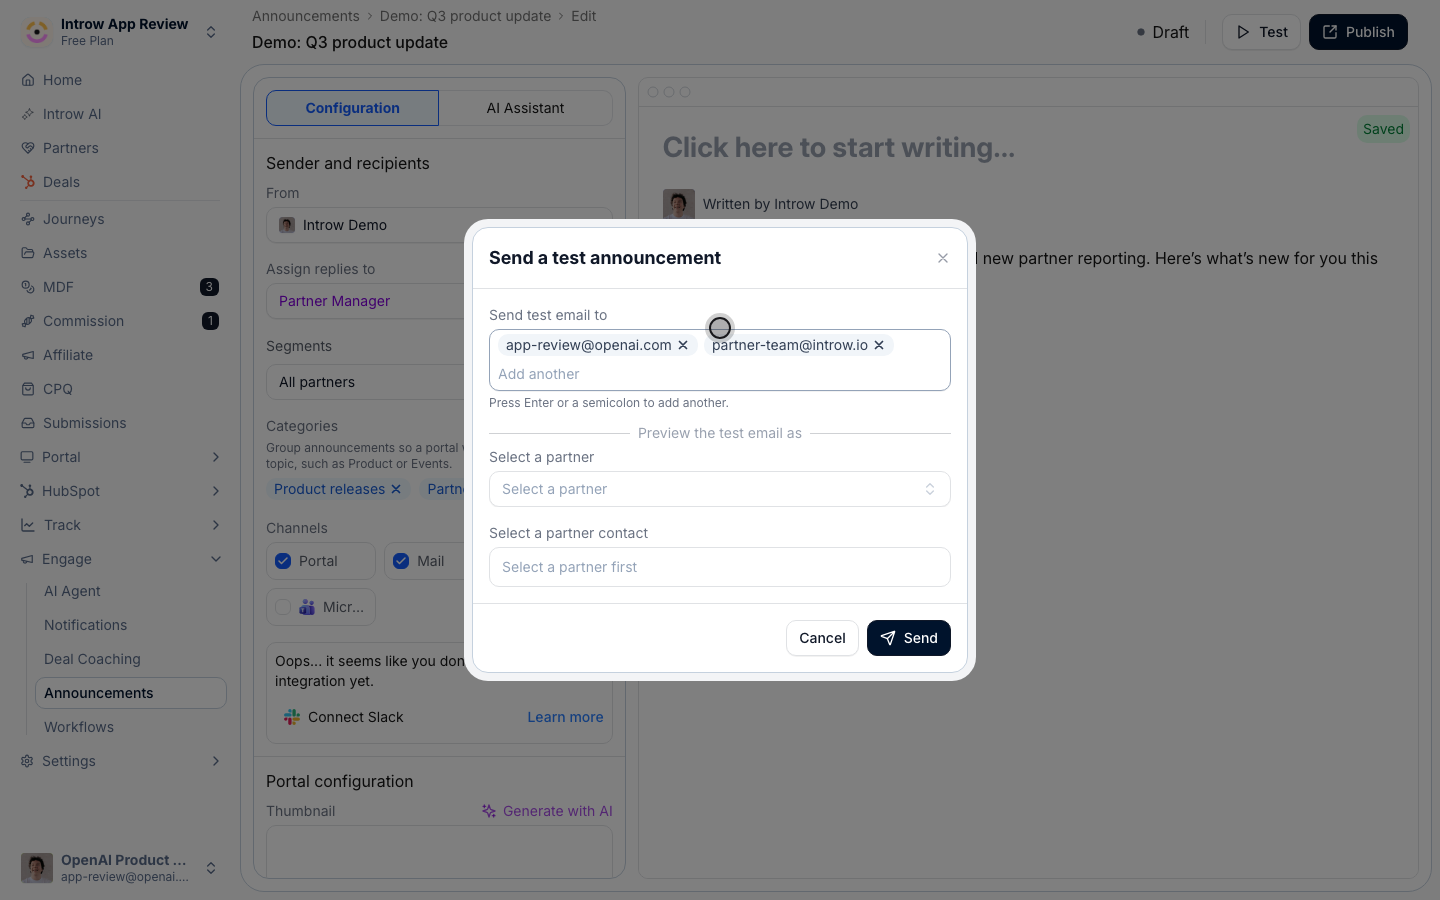
2
Publish
Select Publish to send it across the channels you selected to the targeted segments. The dialog shows the email as partners receive it. Email and chat delivery reach partners off-portal and cannot be unsent, so proofread once more before publishing.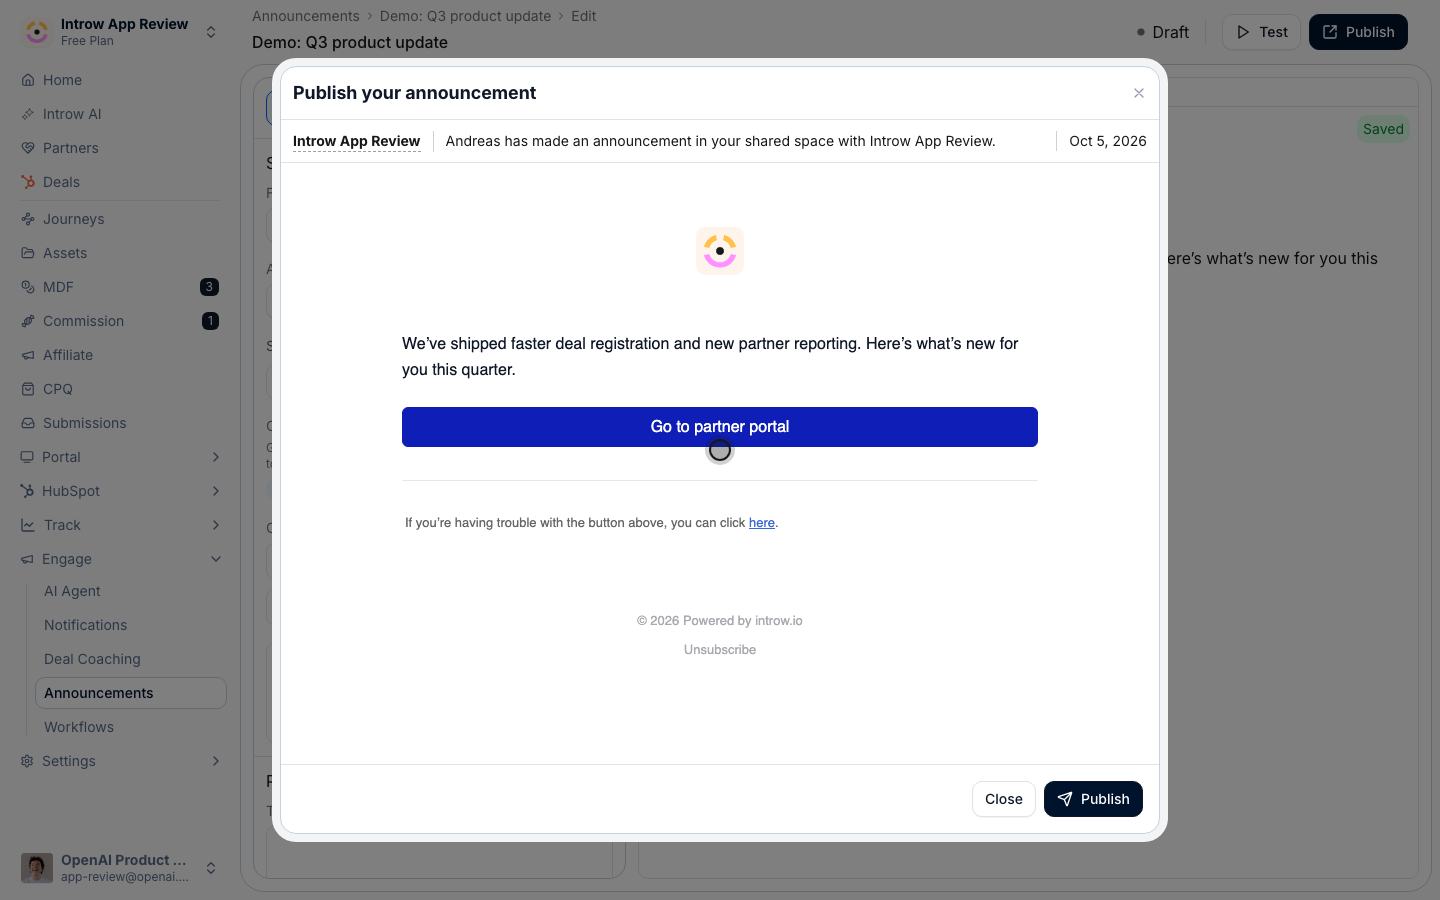
3
Nudge non-responders
After it is out, send a nudge to remind the targeted partners who have not engaged yet, without resending to everyone. Use it once engagement plateaus rather than immediately after sending. The announcement’s page shows under To how many partners and people it reaches. That count leaves out contacts who turned announcements off, exactly as the send does, and counts a person in several partner portals once.
Verify it worked
The announcement shows as published and appears in the portal feed for targeted partners, with the sender and thumbnail you set. Partners on the chosen channels receive it by email or chat, replies route to the assigned user, and the announcement’s engagement view begins recording who was sent it, opened it, and clicked.Related
Generate an announcement with AI
Draft an announcement fast from a URL or prompt.
Review announcement engagement
See who was sent, opened, and clicked.
Brand email notifications
Make the emailed announcement on-brand.
Implementation reference
Full announcement configuration options.