> ## Documentation Index
> Fetch the complete documentation index at: https://docs.introw.io/llms.txt
> Use this file to discover all available pages before exploring further.
# Set a custom fiscal year
> Define your fiscal year start date so Introw dashboards, analytics, and time ranges align with your internal reporting periods.
Not every company runs its financial reporting on a January to December calendar. If yours doesn't, Introw's time ranges like "This fiscal year" and "This fiscal quarter" need to know when your fiscal year begins. This guide sets your fiscal year start date once, so dashboards and analytics line up with your internal reporting periods and period-over-period comparisons are accurate.
## What you'll achieve
A fiscal year start date configured for your organisation, so Introw adds fiscal time ranges to its selectors and aligns dashboards and analytics with how your business actually reports, making pipeline, revenue, and partner performance comparable period over period.
## Before you start
Have the month your fiscal year begins ready (for example April 1, July 1, or October 1).
Setting the fiscal year is an organisation-wide setting, so you need access to company settings.
## Watch it
## Steps
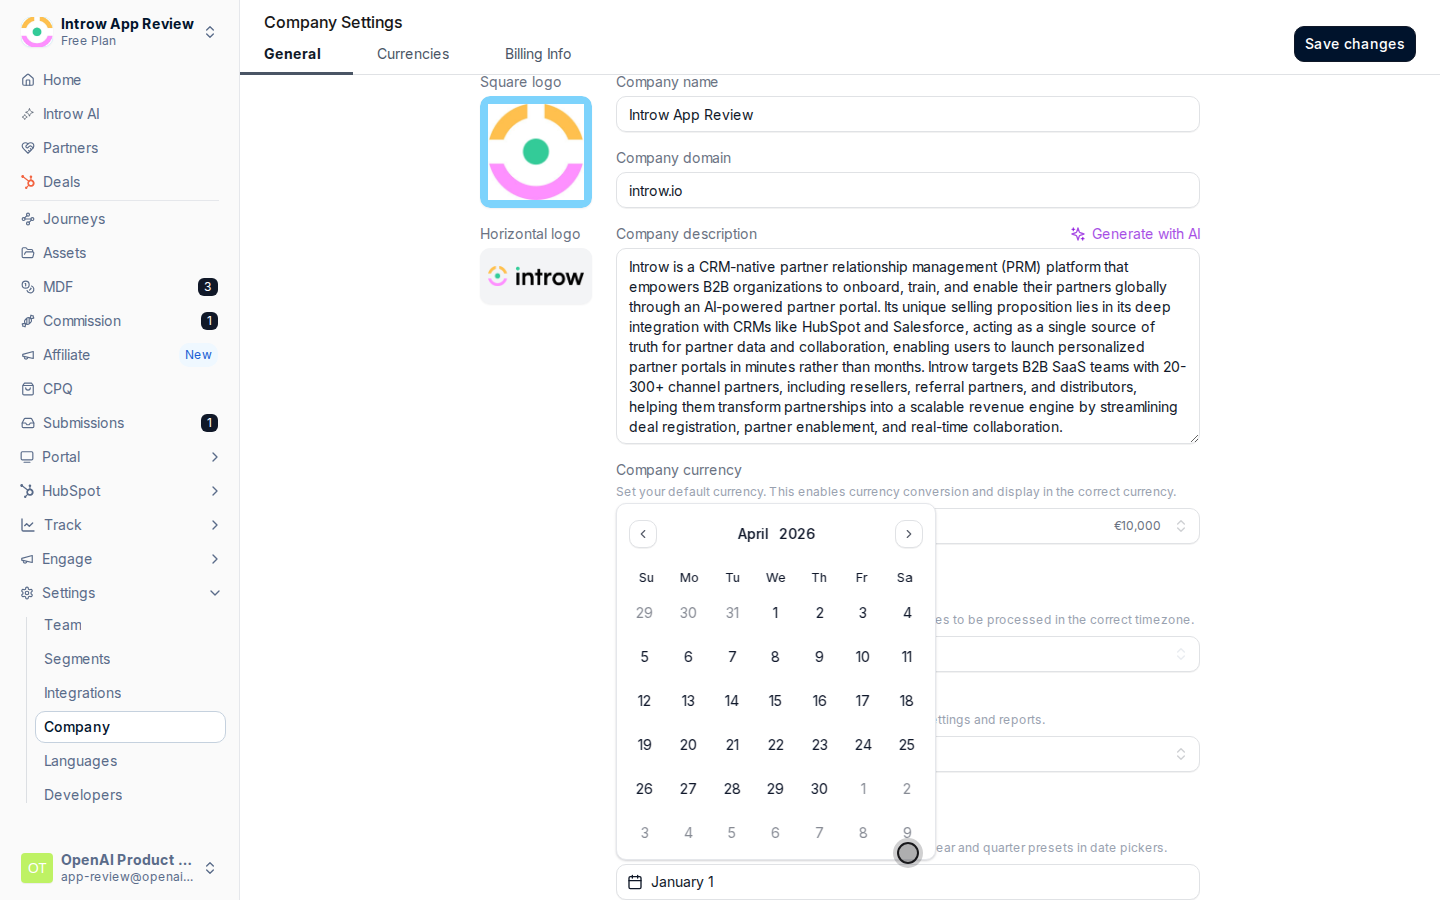
Go to [Company settings](https://app.introw.io/settings/company) in Introw. This is where organisation-wide preferences, including the fiscal year, live.
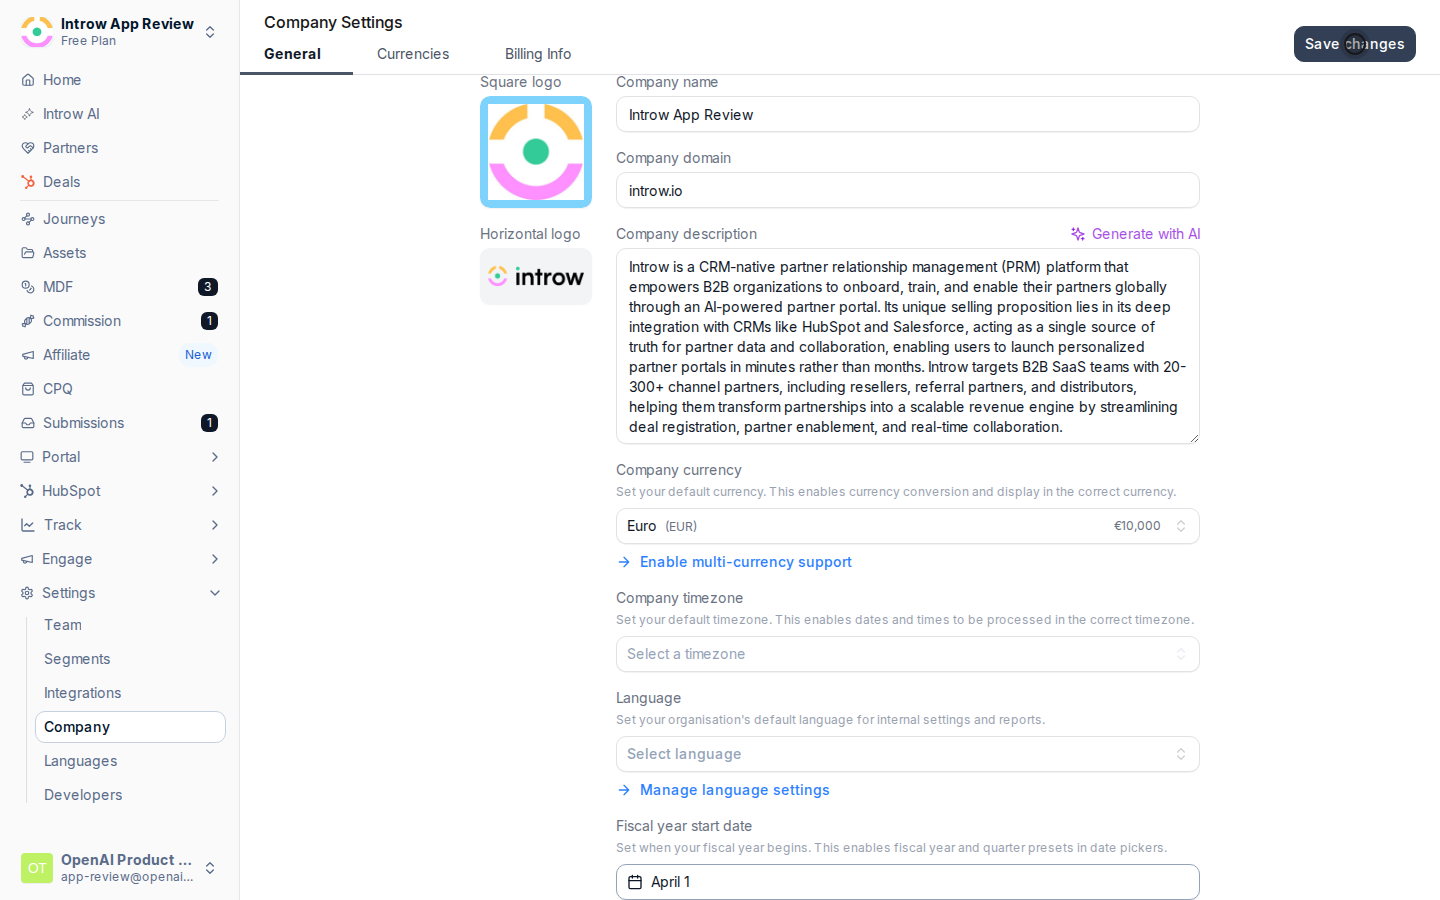
Find **Fiscal year start date** and select the date your fiscal year begins. This is the anchor Introw uses to calculate every fiscal time range, so pick the first day of your fiscal year (for example April 1).
 Save. Introw immediately adds fiscal options to the time range selectors: **This fiscal year**, **This fiscal quarter**, **Next fiscal year**, and **Next fiscal quarter**. Changes apply going forward and update all fiscal-based views automatically.
 ## Verify it worked
Open a dashboard or an analytics page and open the time range selector: the fiscal options (This fiscal year, This fiscal quarter, and the next-period equivalents) now appear and span your configured fiscal year rather than the calendar year. Selecting one scopes the data to your internal reporting period.
## Related
Build the dashboards these fiscal ranges apply to.
Control the default view on your home dashboard.
Full configuration options.
## Verify it worked
Open a dashboard or an analytics page and open the time range selector: the fiscal options (This fiscal year, This fiscal quarter, and the next-period equivalents) now appear and span your configured fiscal year rather than the calendar year. Selecting one scopes the data to your internal reporting period.
## Related
Build the dashboards these fiscal ranges apply to.
Control the default view on your home dashboard.
Full configuration options.