> ## Documentation Index
> Fetch the complete documentation index at: https://docs.introw.io/llms.txt
> Use this file to discover all available pages before exploring further.
# Build and publish a portal experience
> Create an experience, structure it into stages, fill it with sections and calls to action, then assign it to partners and publish.
> For partner marketing and partner ops building the portal partners actually log in to.
An experience is the master layout your partner portals are built from. This guide takes the whole job end to end: create the experience, structure it into the tabs partners navigate, fill those tabs with the right content blocks and a clear call to action, preview it, then assign it to partners and publish so it goes live. Build it once and every partner you assign it to gets a portal based on it, and every later edit ships to them when you publish.
## What you'll achieve
A published portal experience with the tabs and content you designed, assigned to the right partners, and live in their portals. Partners log in to a structured, on-brand portal that leads with the action you want them to take.
## Before you start
You need write access to experiences to build, assign, and publish them.
Partners can only reach the portal once it is unlocked with a subdomain or a verified custom domain. See [Connect a custom domain](/features/portal/custom-domains/guides/connect-a-custom-domain).
If you plan to restrict tabs to certain partner types, create those segments first so they are ready to apply.
## Watch it
## Steps
### Create the experience
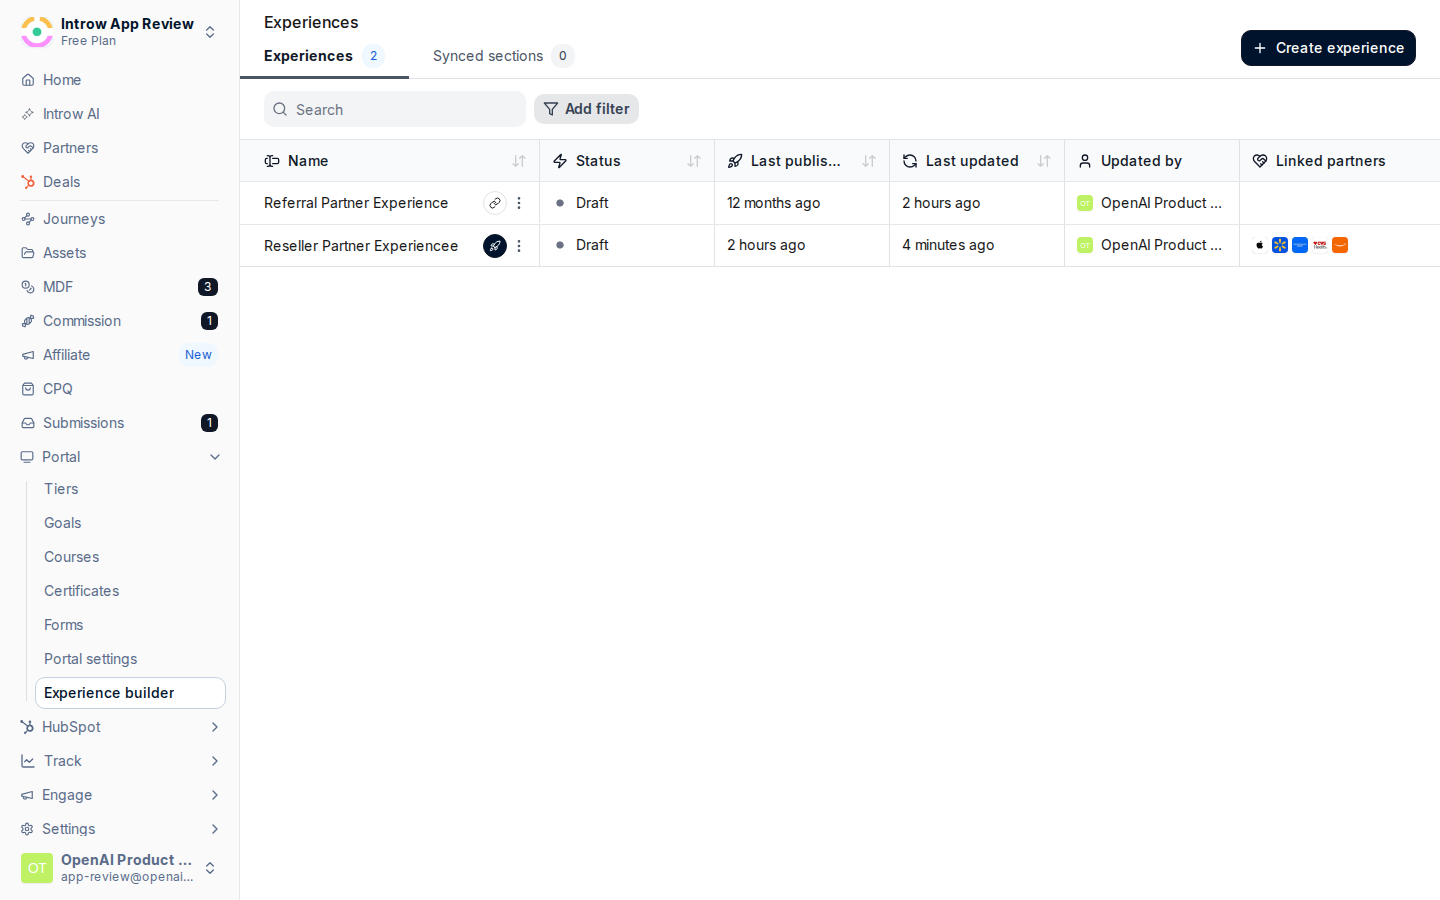
Go to [Experiences](https://app.introw.io/templates). This lists your experiences with their status, when each was last published, and how many partners are linked to it.
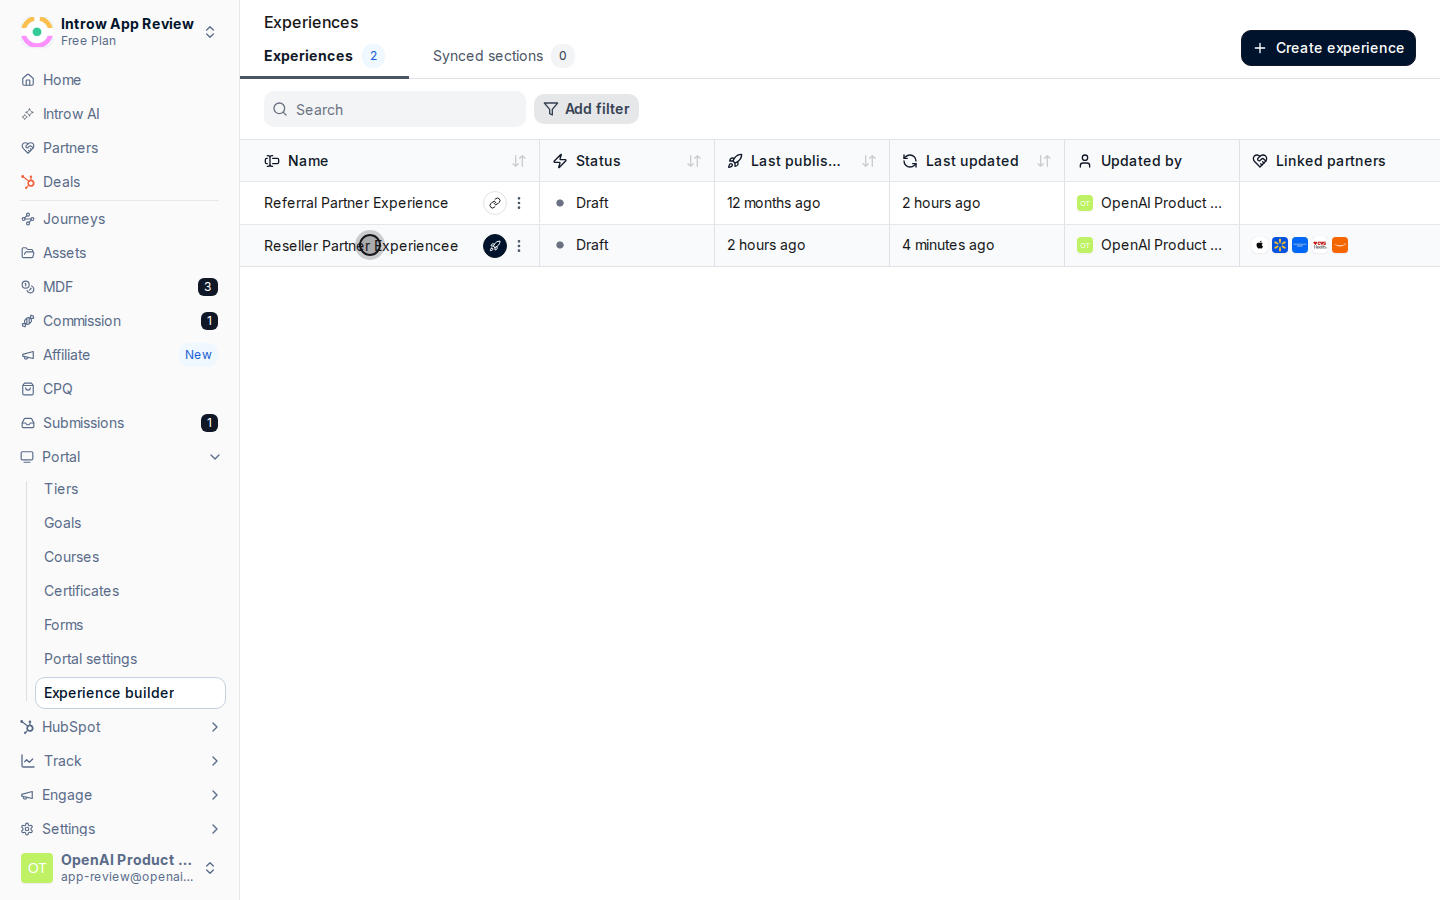
 Create a new experience and give it a **Name**. Name it for the audience or purpose it serves, for example "Reseller portal" or "Onboarding", so it is easy to find and assign later. The new experience opens in the builder as a draft.
 ### Structure it into stages
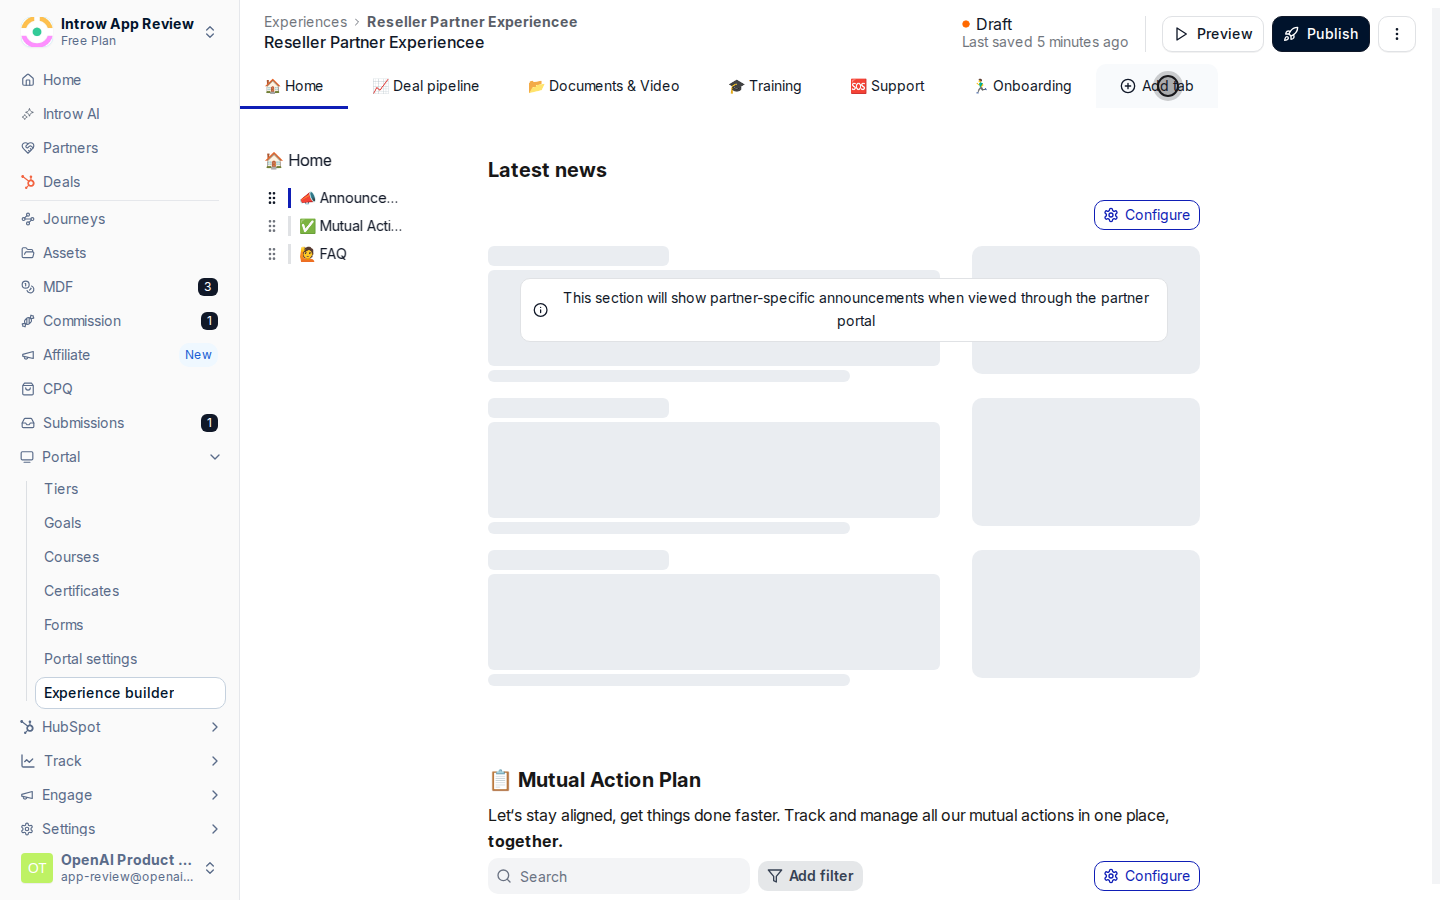
Stages are the tabs across the top of the portal. Add a stage for each major area, for example Home, Deals, Content, and Training. Keep the set small and ordered so partners find things fast; drag tabs to reorder them.
### Structure it into stages
Stages are the tabs across the top of the portal. Add a stage for each major area, for example Home, Deals, Content, and Training. Keep the set small and ordered so partners find things fast; drag tabs to reorder them.
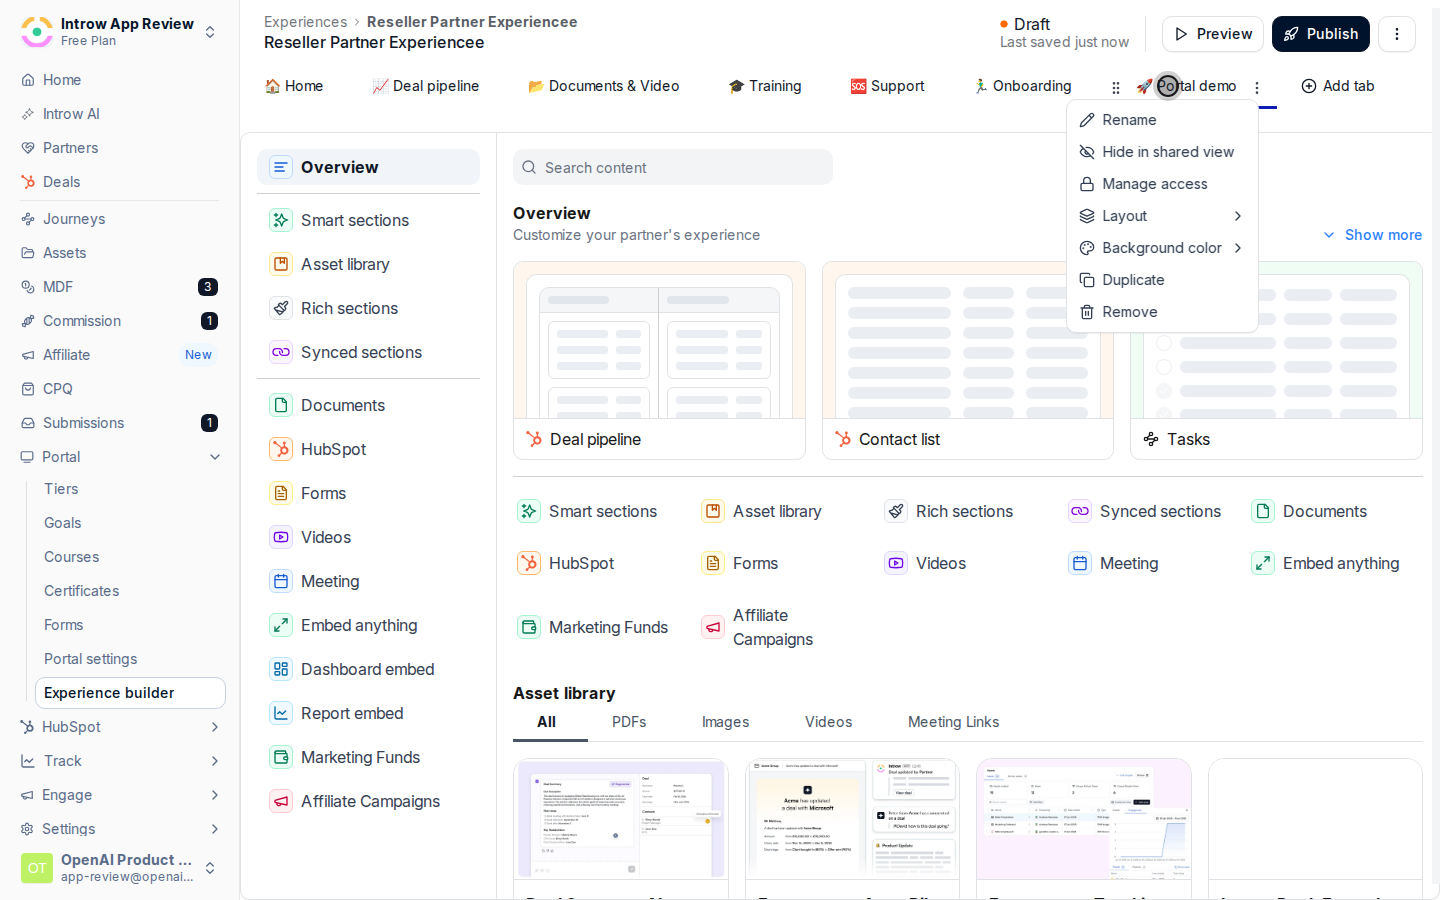
 Open a stage's menu to set how it behaves. Walk these options:
* **Rename** - set the tab label partners see. Use plain words partners recognise.
* **Layout** - how content is arranged on the tab. Choose **Centered** for a focused single column, **Grow right** for a main column with a side area, or **Full** to use the full width. Pick based on how much content the tab holds.
* **Visibility** - hide a stage from the shared view while you are still building it, so partners do not see an unfinished tab.
* **Manage access** - keep the tab open to **Anyone** with portal access, or set it to **Restricted** and choose the segments that may see it. Use this to show a tab only to the partner types it is meant for.
* **Duplicate** or **Remove** - copy a stage as a starting point for another, or delete one you no longer need.
Open a stage's menu to set how it behaves. Walk these options:
* **Rename** - set the tab label partners see. Use plain words partners recognise.
* **Layout** - how content is arranged on the tab. Choose **Centered** for a focused single column, **Grow right** for a main column with a side area, or **Full** to use the full width. Pick based on how much content the tab holds.
* **Visibility** - hide a stage from the shared view while you are still building it, so partners do not see an unfinished tab.
* **Manage access** - keep the tab open to **Anyone** with portal access, or set it to **Restricted** and choose the segments that may see it. Use this to show a tab only to the partner types it is meant for.
* **Duplicate** or **Remove** - copy a stage as a starting point for another, or delete one you no longer need.
 ### Fill stages with sections
Within a stage, add sections from the section picker. It groups blocks by type so you can pick what fits:
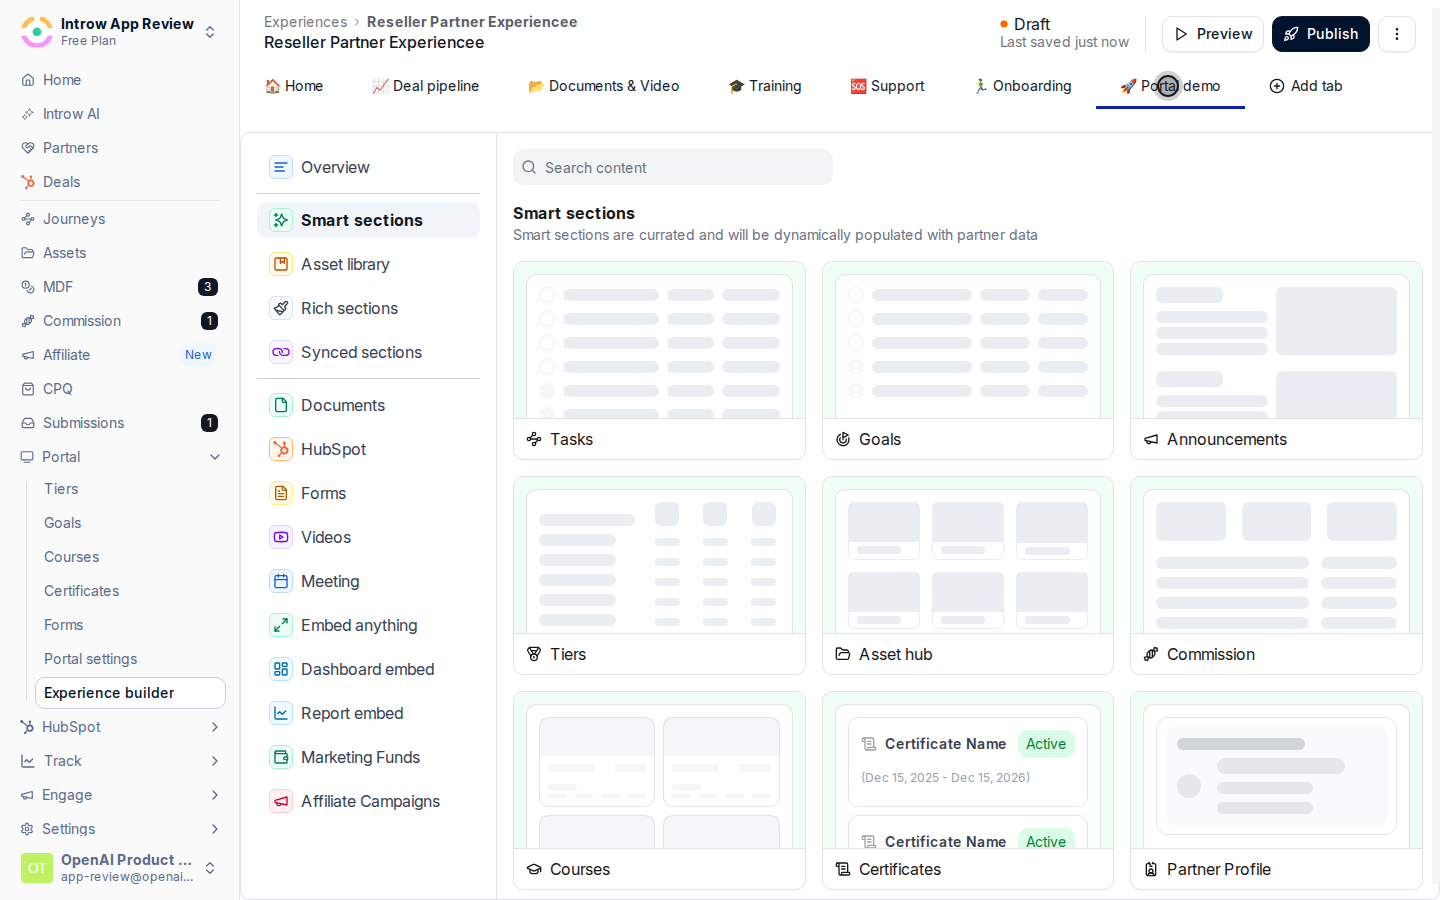
* **Smart sections** - dynamic blocks tied to Introw data, such as Tasks, Goals, Announcements, Tiers, Asset hub, Commission, Courses, Certificates, and Partner profile. These render each partner's own data automatically.
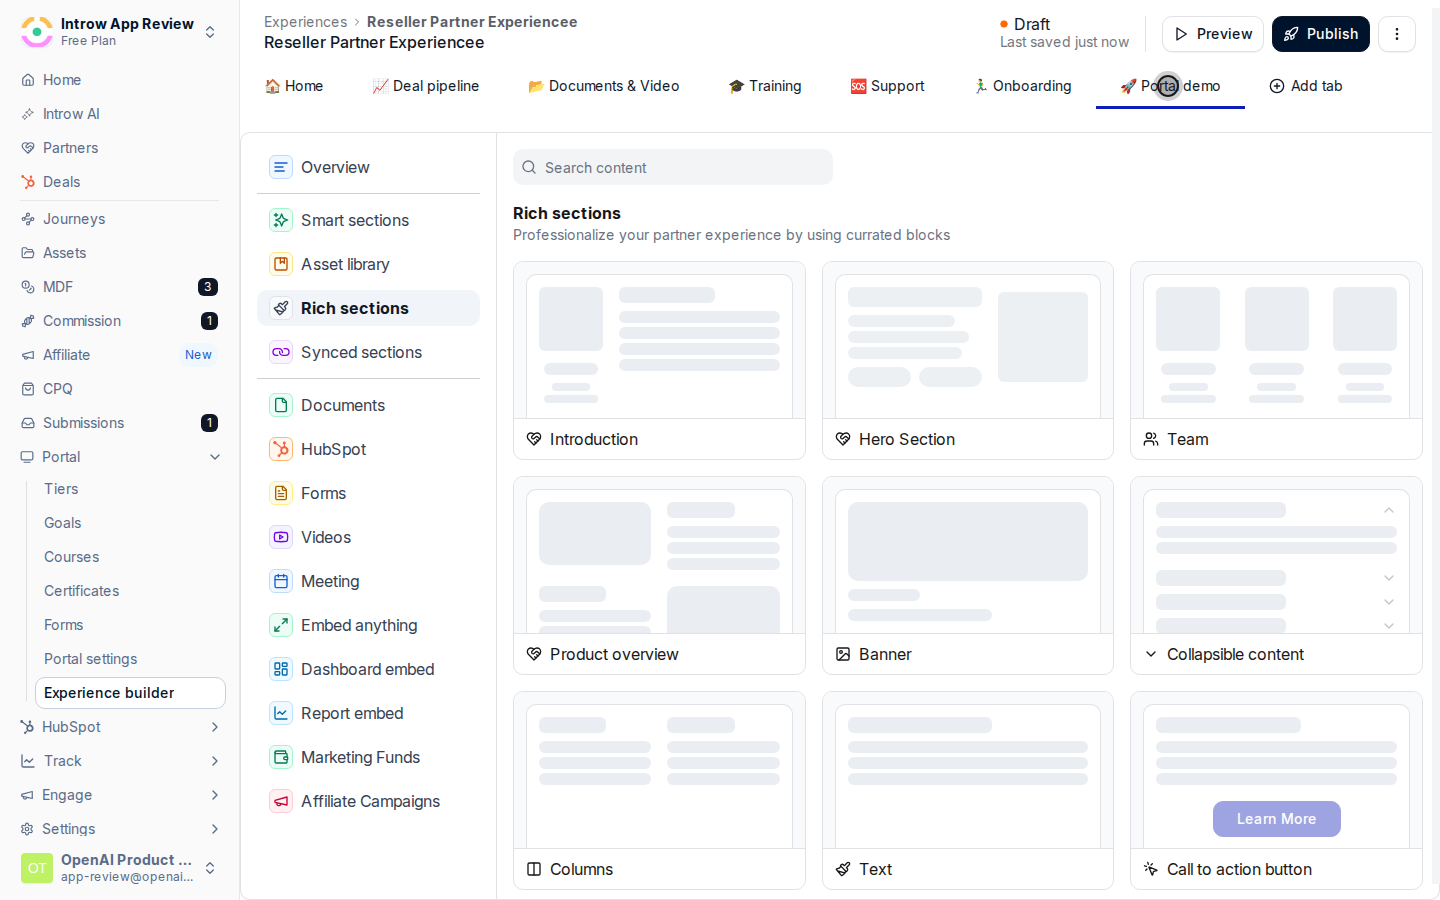
* **Basic sections** - layout and content blocks like Introduction, Hero section, Text, Columns, Collapsible content, Banner, Team, and Product overview. Use these to frame and explain.
* **Documents and videos** - embed Google Slides, Sheets, and Docs, or Loom, Vimeo, YouTube, and Vidyard, inline.
* **Meeting links** - embed a HubSpot, Calendly, or Cal.com scheduler so partners can book time without leaving the portal.
* **CRM sections** - surface CRM records such as Deals, Contacts, Companies, and Tickets relevant to the partner.
### Fill stages with sections
Within a stage, add sections from the section picker. It groups blocks by type so you can pick what fits:
* **Smart sections** - dynamic blocks tied to Introw data, such as Tasks, Goals, Announcements, Tiers, Asset hub, Commission, Courses, Certificates, and Partner profile. These render each partner's own data automatically.
* **Basic sections** - layout and content blocks like Introduction, Hero section, Text, Columns, Collapsible content, Banner, Team, and Product overview. Use these to frame and explain.
* **Documents and videos** - embed Google Slides, Sheets, and Docs, or Loom, Vimeo, YouTube, and Vidyard, inline.
* **Meeting links** - embed a HubSpot, Calendly, or Cal.com scheduler so partners can book time without leaving the portal.
* **CRM sections** - surface CRM records such as Deals, Contacts, Companies, and Tickets relevant to the partner.
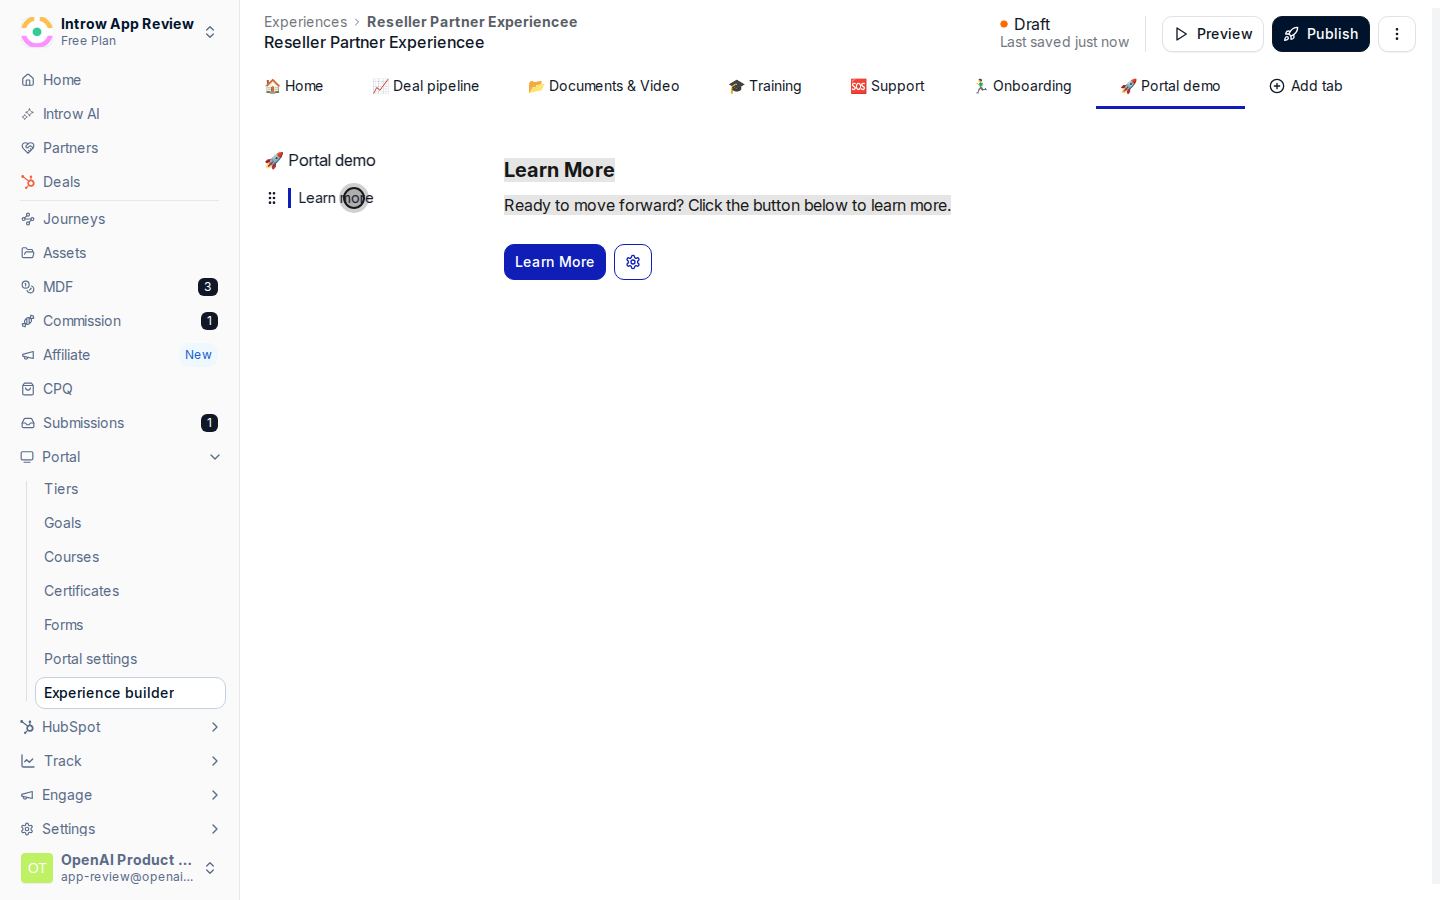
 Add a **Call to action button** section near the top of the most important tab and point it at the action you want partners to take, such as registering a deal or finishing onboarding. Set the button label so the action is unmistakable. A clear lead action is the single biggest driver of partner engagement.
 Reorder sections so the page reads top to bottom in priority order, and keep each tab focused on one job rather than crowding everything onto one page.
 ### Preview, assign, and publish
Preview the experience to see exactly what a partner will see. Previewing before you publish prevents partners from seeing in-progress edits.
### Preview, assign, and publish
Preview the experience to see exactly what a partner will see. Previewing before you publish prevents partners from seeing in-progress edits.
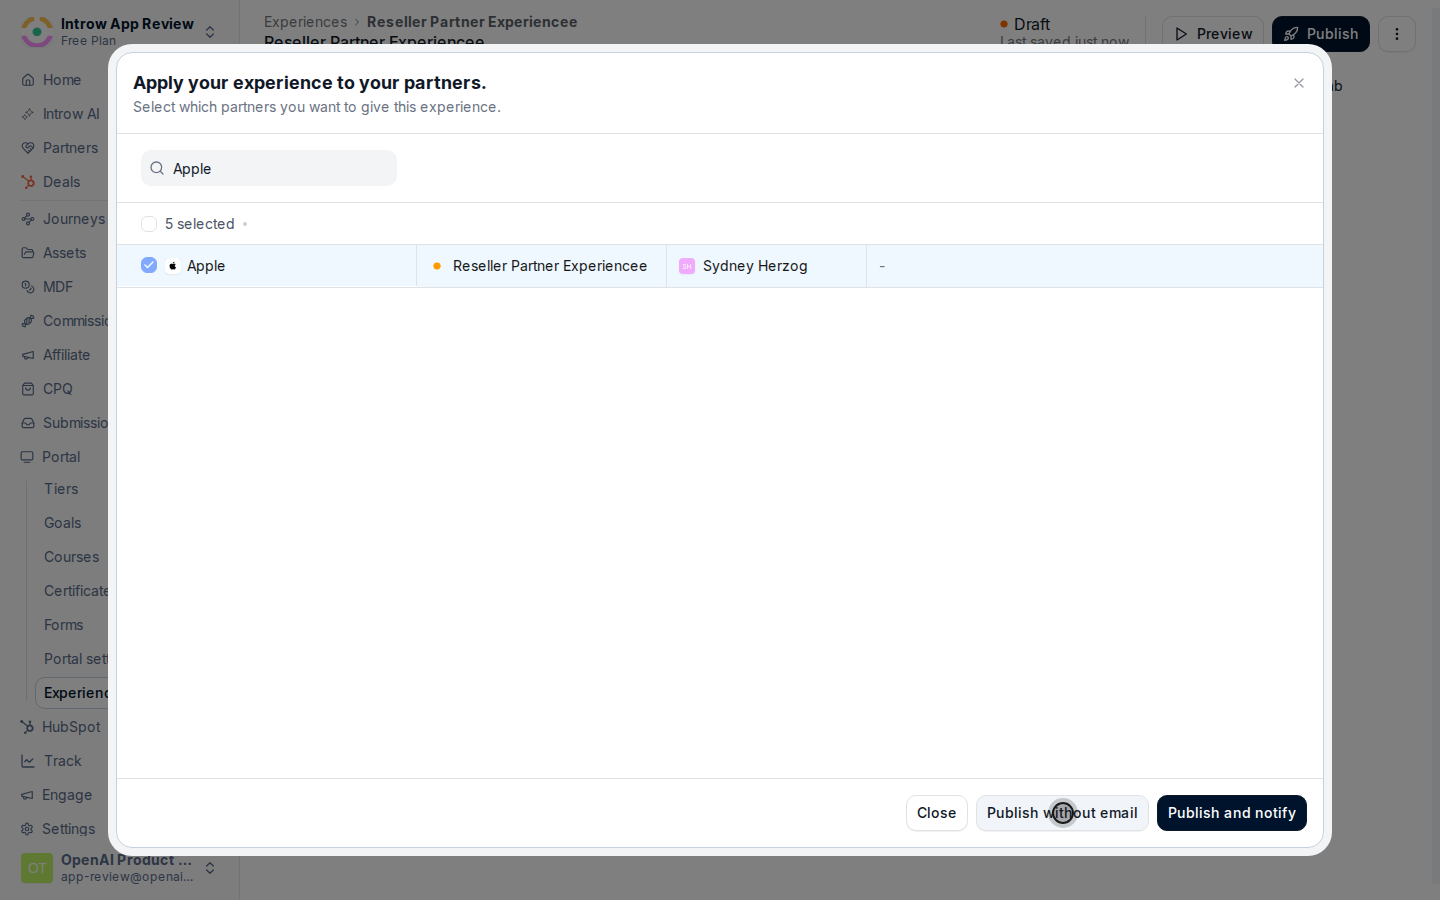
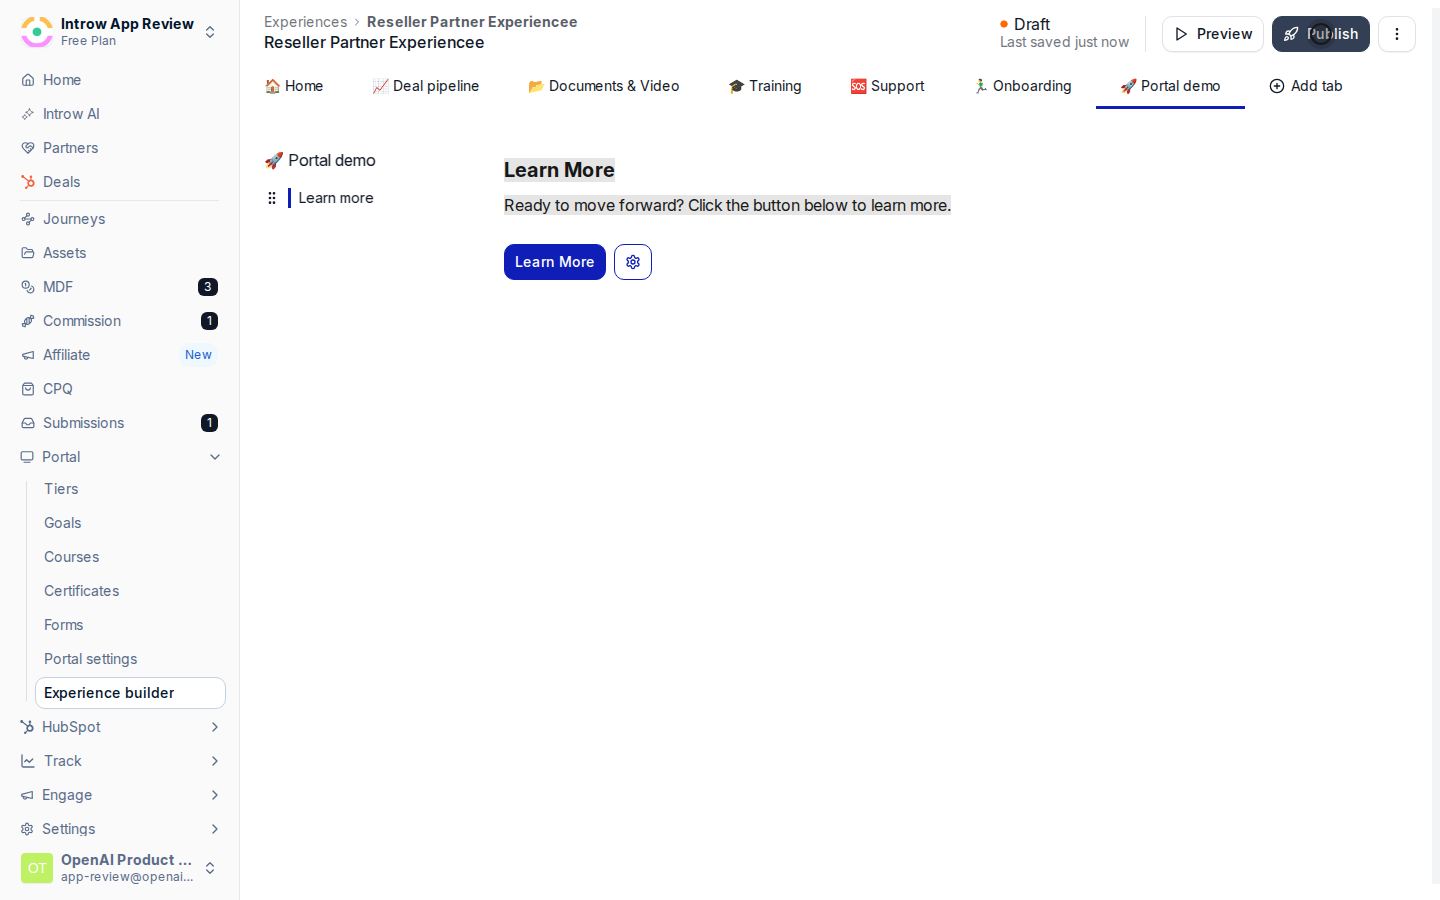 Publish the experience and choose the partners to link it to. You then decide how it goes out:
* **Publish without notifying** - push the experience to the linked partner portals silently. Use this for edits to a portal partners already have.
* **Publish and notify** - push the experience and send the linked partners an email invite. You can review the email and add a **Personal message** before it sends, so the first touch feels human.
Each linked partner counts toward your plan's portal usage, shown in the publish dialog.
Publish the experience and choose the partners to link it to. You then decide how it goes out:
* **Publish without notifying** - push the experience to the linked partner portals silently. Use this for edits to a portal partners already have.
* **Publish and notify** - push the experience and send the linked partners an email invite. You can review the email and add a **Personal message** before it sends, so the first touch feels human.
Each linked partner counts toward your plan's portal usage, shown in the publish dialog.
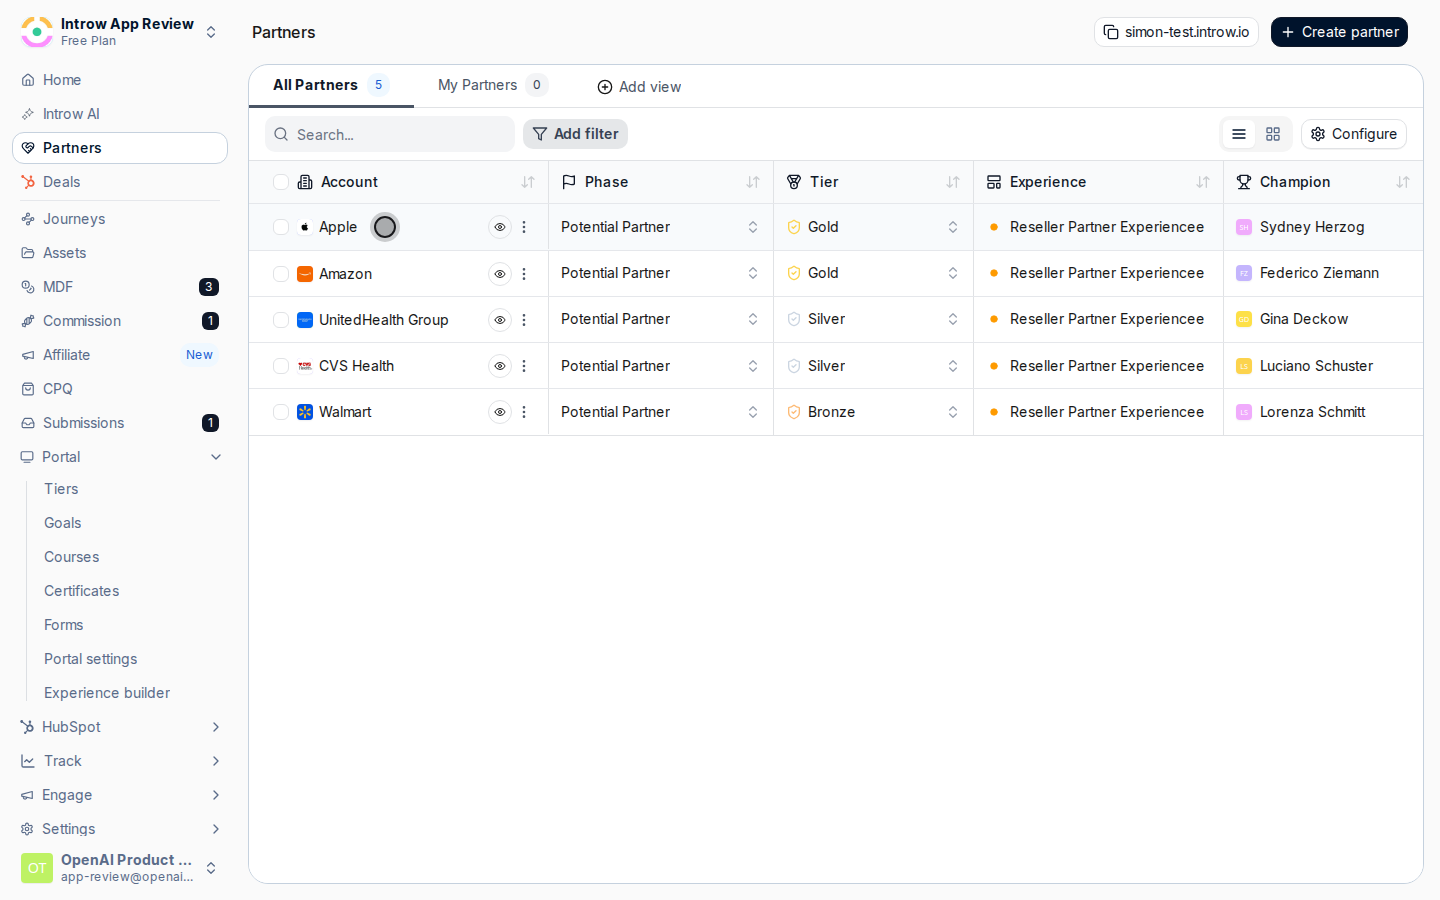
 After publishing, open one linked partner's portal to confirm the tabs, sections, and access all landed as you designed them.
 ## Verify it worked
The experience shows as published on the Experiences list with its linked partner count. A partner you assigned can log in and see the tabs you built, the sections render their own data, restricted tabs appear only for the right segments, and the lead call to action is front and center. Later edits reach them the next time you publish.
## Related
Personalize the experience with each partner's own details.
Bring documents, videos, and schedulers into a stage.
Tailor which partners see each tab.
Full experience configuration options.
## Verify it worked
The experience shows as published on the Experiences list with its linked partner count. A partner you assigned can log in and see the tabs you built, the sections render their own data, restricted tabs appear only for the right segments, and the lead call to action is front and center. Later edits reach them the next time you publish.
## Related
Personalize the experience with each partner's own details.
Bring documents, videos, and schedulers into a stage.
Tailor which partners see each tab.
Full experience configuration options.