> ## Documentation Index
> Fetch the complete documentation index at: https://docs.introw.io/llms.txt
> Use this file to discover all available pages before exploring further.
# Work a partner record
> Open a partner, set every field that drives their experience, keep their contacts current, and capture the context your team needs.
{/* A partner is an organization, but you work with people and details. This guide walks
the whole partner record: the fields that decide their tier, experience, and language;
the contacts who get portal access and notifications; and the notes that let anyone on
your team pick up where the last conversation left off. Reach for it whenever you onboard
a new partner or keep an existing relationship current. */}
## What you'll achieve
A partner record that is fully set up and current: the right tier, phase, champion, language, currency, and categories so their experience and commissions behave correctly; an accurate set of contacts with the right portal access; and a running history of notes your whole team can see. Everything you set here drives what the partner experiences in their portal and how Introw attributes their deals.
## Before you start
Know which partner organization you are working. You need write access to Partners.
Tiers, commission plans, and experiences must already exist for the values you want to apply. Currency only appears when multi-currency is enabled for your organization, and language options come from the languages your organization has turned on.
## Watch it
## Steps
### Set the partner's core fields
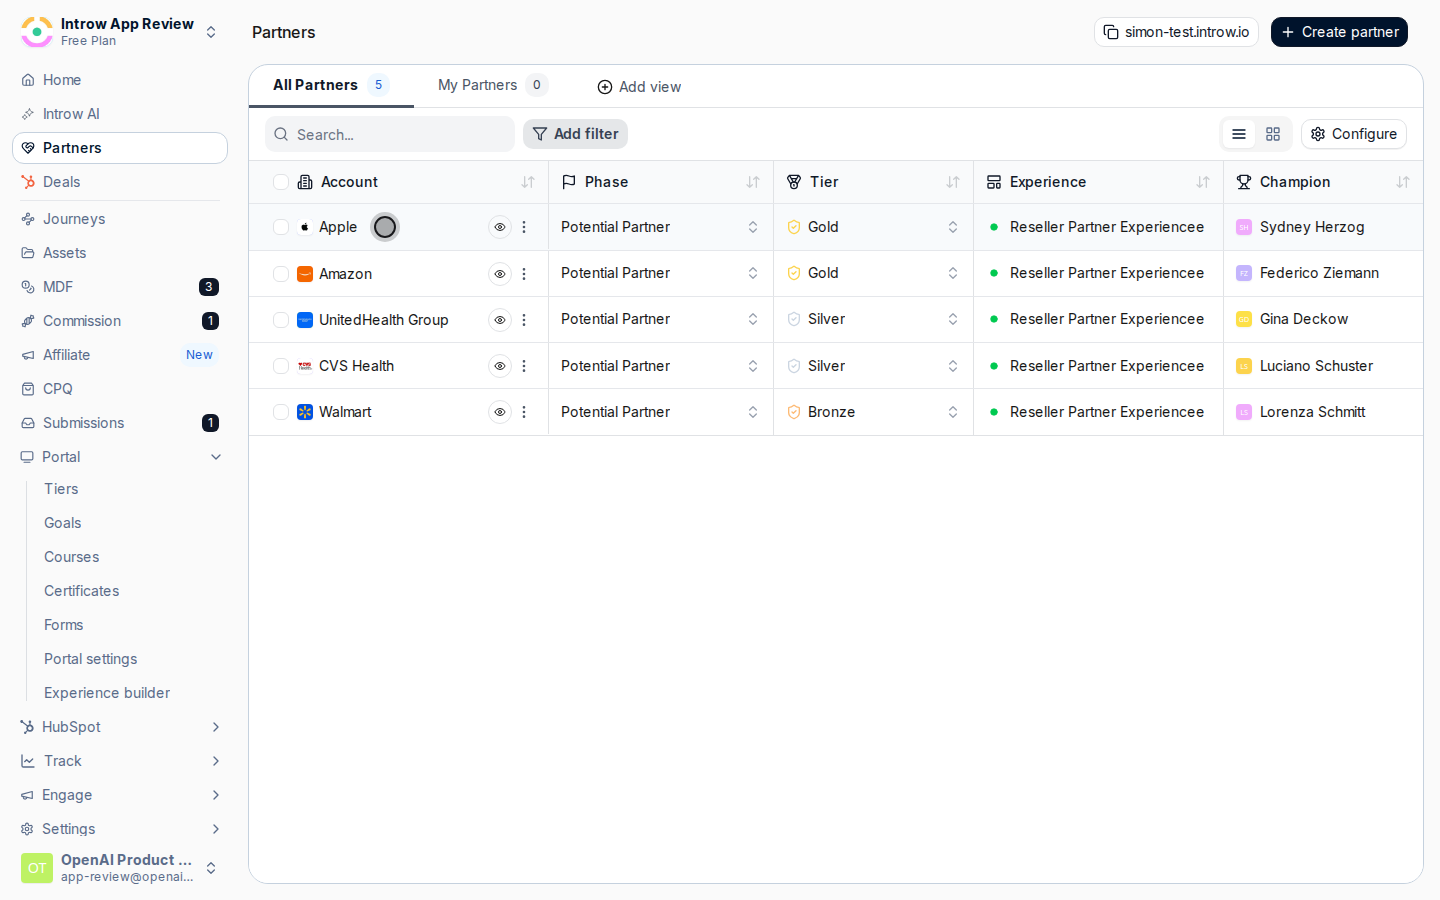
Go to [Partners](https://app.introw.io/partners) and open the partner. The detail page opens on the **Partner Details** card, where the fields that drive their relationship live.
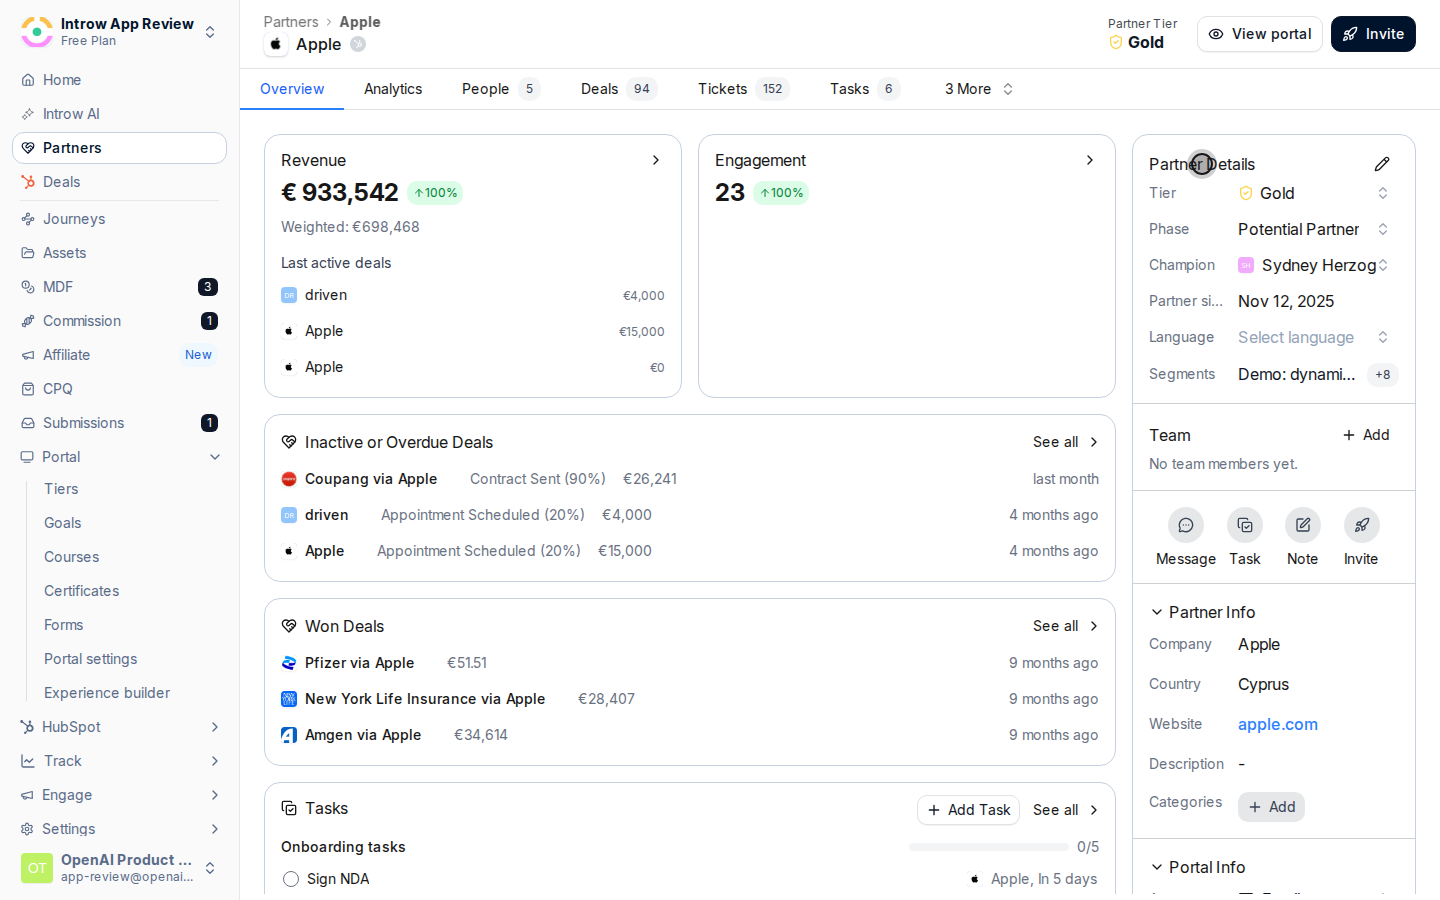
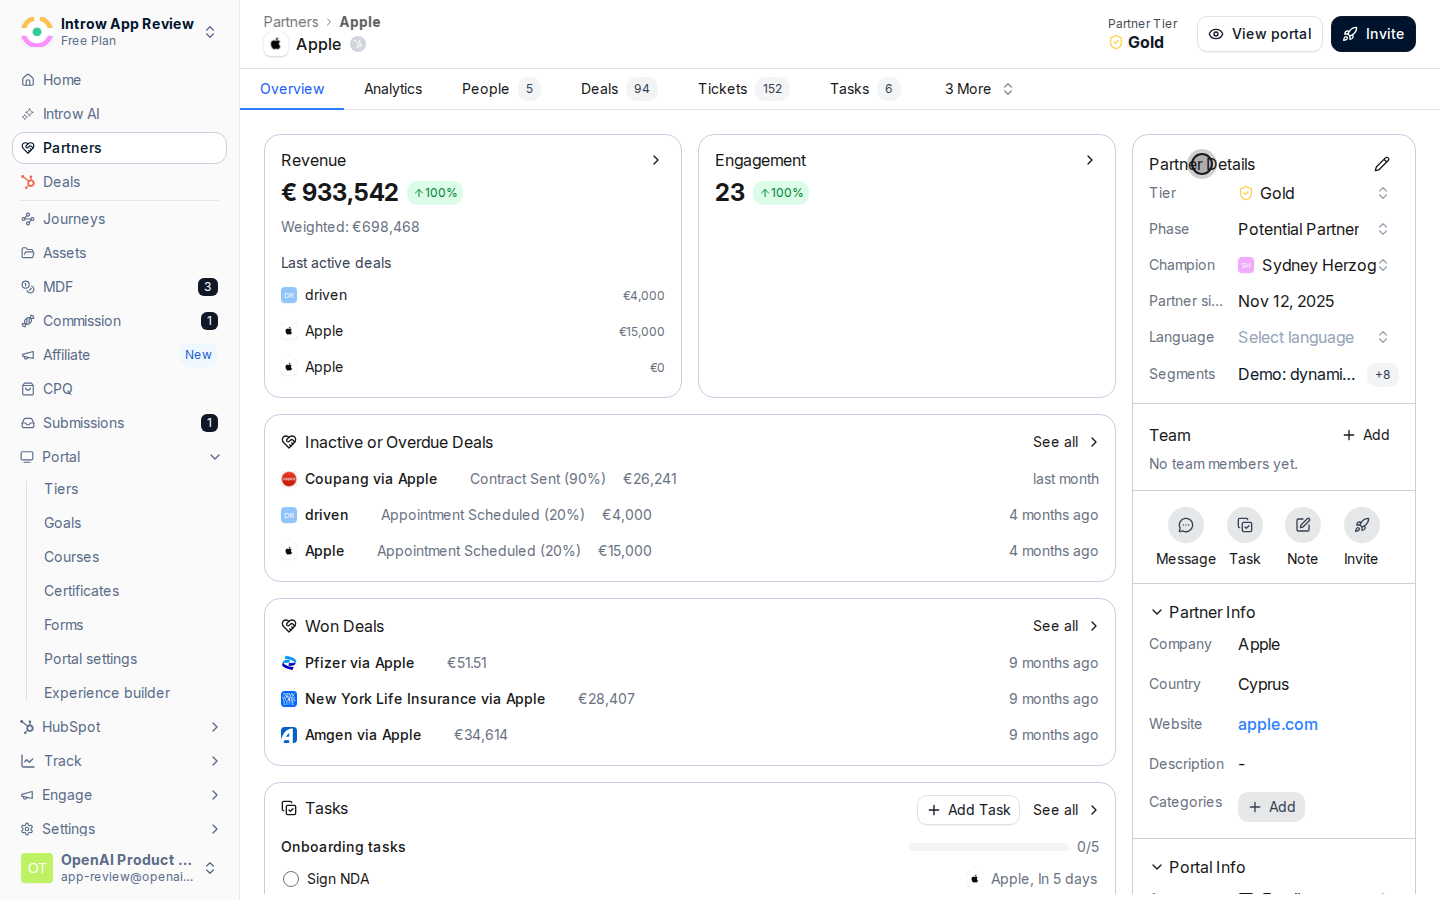
 On the **Partner Details** card, set the fields that decide how this partner is treated:
* **Tier** - the partner's program tier. It governs the benefits, requirements, and badge they get, and other features read it. Pick the tier that matches their current standing.
* **Phase** - the lifecycle stage they sit in (the column they appear in on the grid view). Set it so the pipeline board reflects reality.
* **Champion** - the main contact at the partner organization. Choose from the people associated with the partner; this is who your team treats as the relationship owner on the partner side.
* **Currency** - the currency their commissions and revenue are shown in. It appears only when multi-currency is enabled. Leave it unset to use the organization default, or set it for partners who transact in another currency.
* **Language** - the language their portal and communications render in. Choose from your enabled languages; leave it on the default to inherit the organization language.
On the **Partner Details** card, set the fields that decide how this partner is treated:
* **Tier** - the partner's program tier. It governs the benefits, requirements, and badge they get, and other features read it. Pick the tier that matches their current standing.
* **Phase** - the lifecycle stage they sit in (the column they appear in on the grid view). Set it so the pipeline board reflects reality.
* **Champion** - the main contact at the partner organization. Choose from the people associated with the partner; this is who your team treats as the relationship owner on the partner side.
* **Currency** - the currency their commissions and revenue are shown in. It appears only when multi-currency is enabled. Leave it unset to use the organization default, or set it for partners who transact in another currency.
* **Language** - the language their portal and communications render in. Choose from your enabled languages; leave it on the default to inherit the organization language.
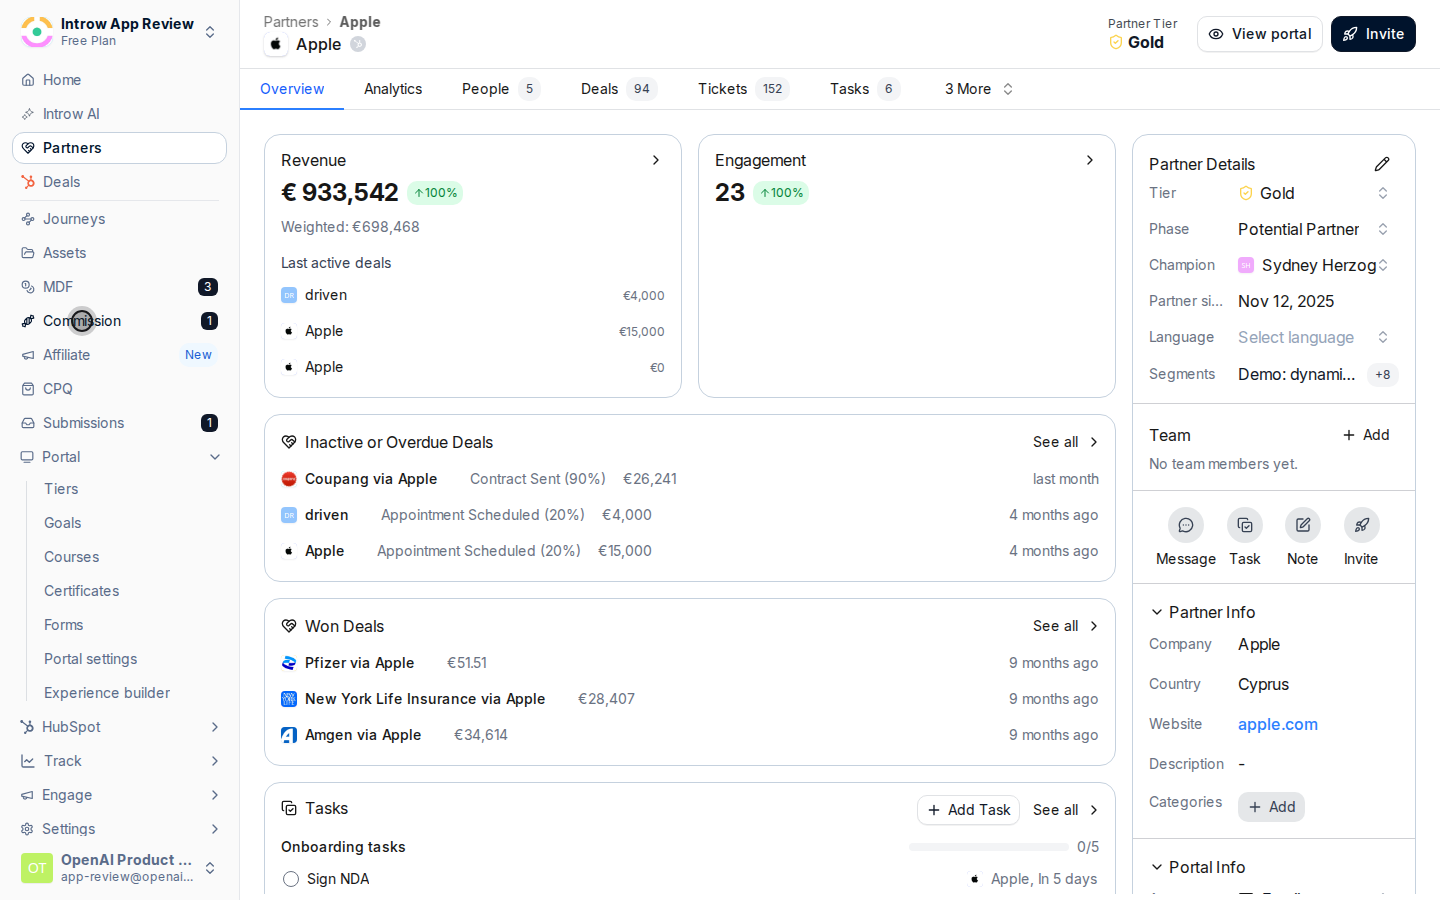
 Open the **Partner Info** section and set **Categories** to tag the partner (for example by region, industry, or partner type). Categories help you slice the list and target segments, so apply the tags your program filters by.
 Open the **Portal Info** section to control what the partner gets:
* **Experience** - the experience the partner's portal is published with. Choosing one creates or updates their portal. Pick the branded experience that fits their partner type.
* **Commission Plan** - the commission plan(s) that apply to this partner. Set it so their conversions and payouts calculate against the right plan.
To change the linked company or CRM record, use the edit control on the **Partner Details** card to pick a different company or partner object, or to enter a company name and domain directly.
Open the **Portal Info** section to control what the partner gets:
* **Experience** - the experience the partner's portal is published with. Choosing one creates or updates their portal. Pick the branded experience that fits their partner type.
* **Commission Plan** - the commission plan(s) that apply to this partner. Set it so their conversions and payouts calculate against the right plan.
To change the linked company or CRM record, use the edit control on the **Partner Details** card to pick a different company or partner object, or to enter a company name and domain directly.
 ### Manage the partner's people
Open the partner's **People** tab to see everyone associated with the partner organization. This is the list of contacts who can be given portal access and notifications.
### Manage the partner's people
Open the partner's **People** tab to see everyone associated with the partner organization. This is the list of contacts who can be given portal access and notifications.
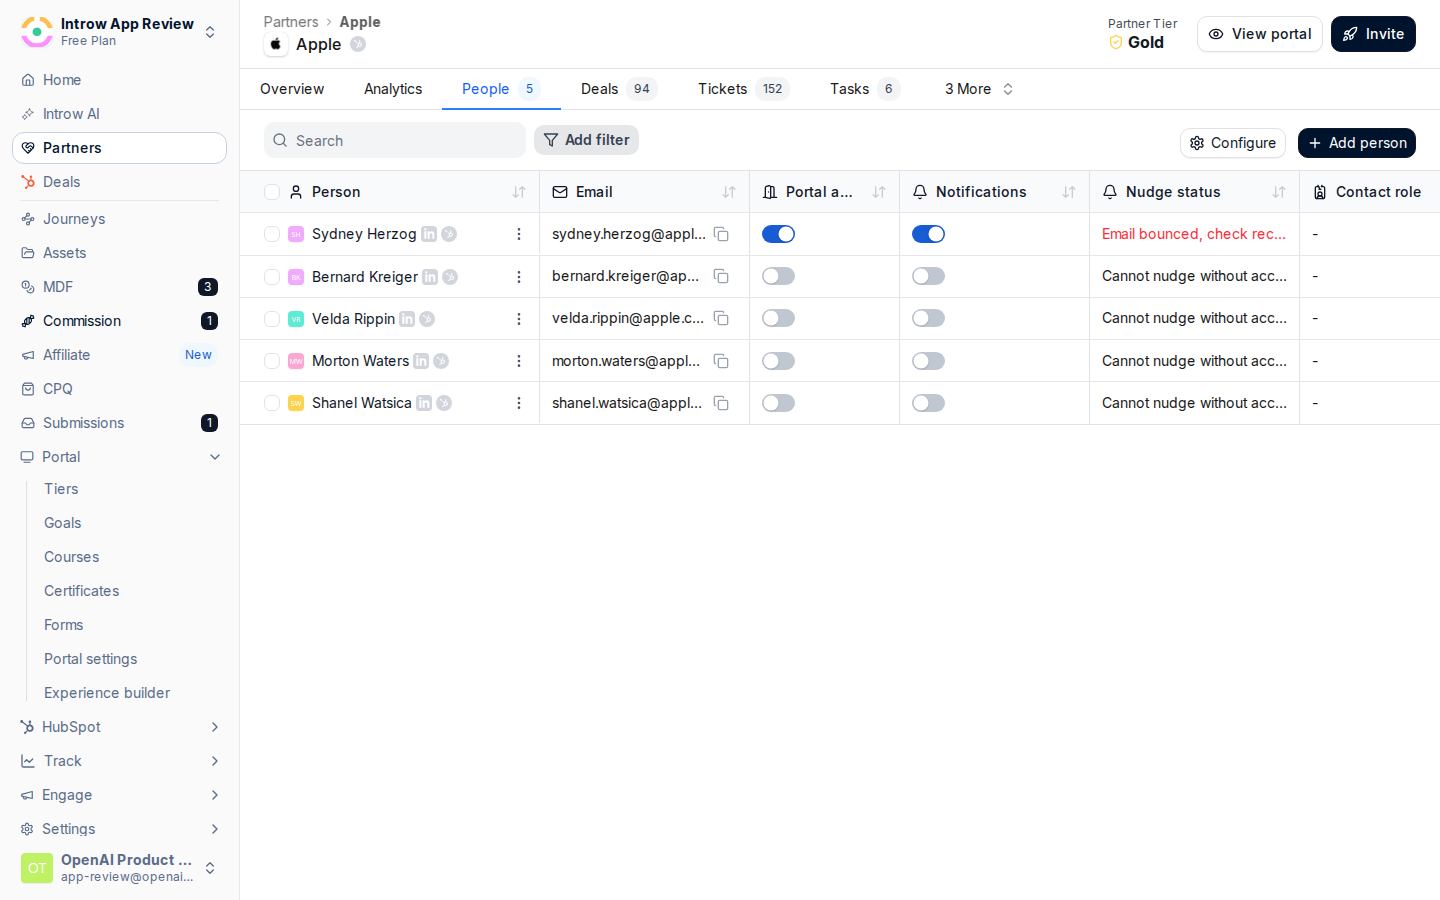 Use the add control to add a person to the partner. Enter their details so they appear on the partner and can be invited. Their role is read from your CRM contact mapping when one is configured, so the role shown reflects what the CRM holds.
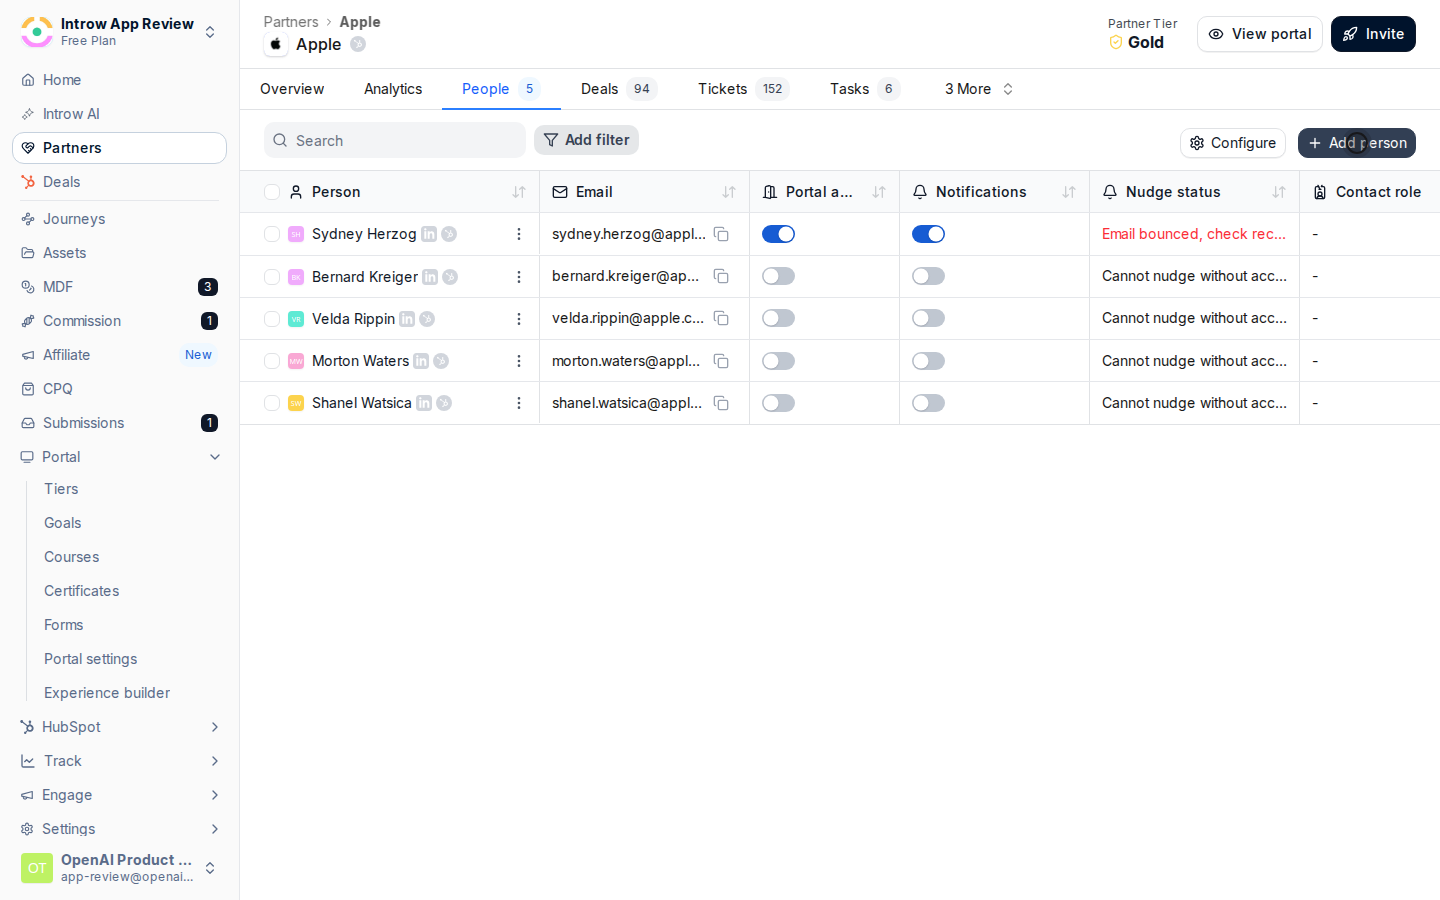 For a contact who should use the partner portal, grant access (the invite action) so they receive an invitation. Once a contact has access, you can toggle whether they receive notifications. Contacts without access do not get portal notifications.
 ### Capture context with notes
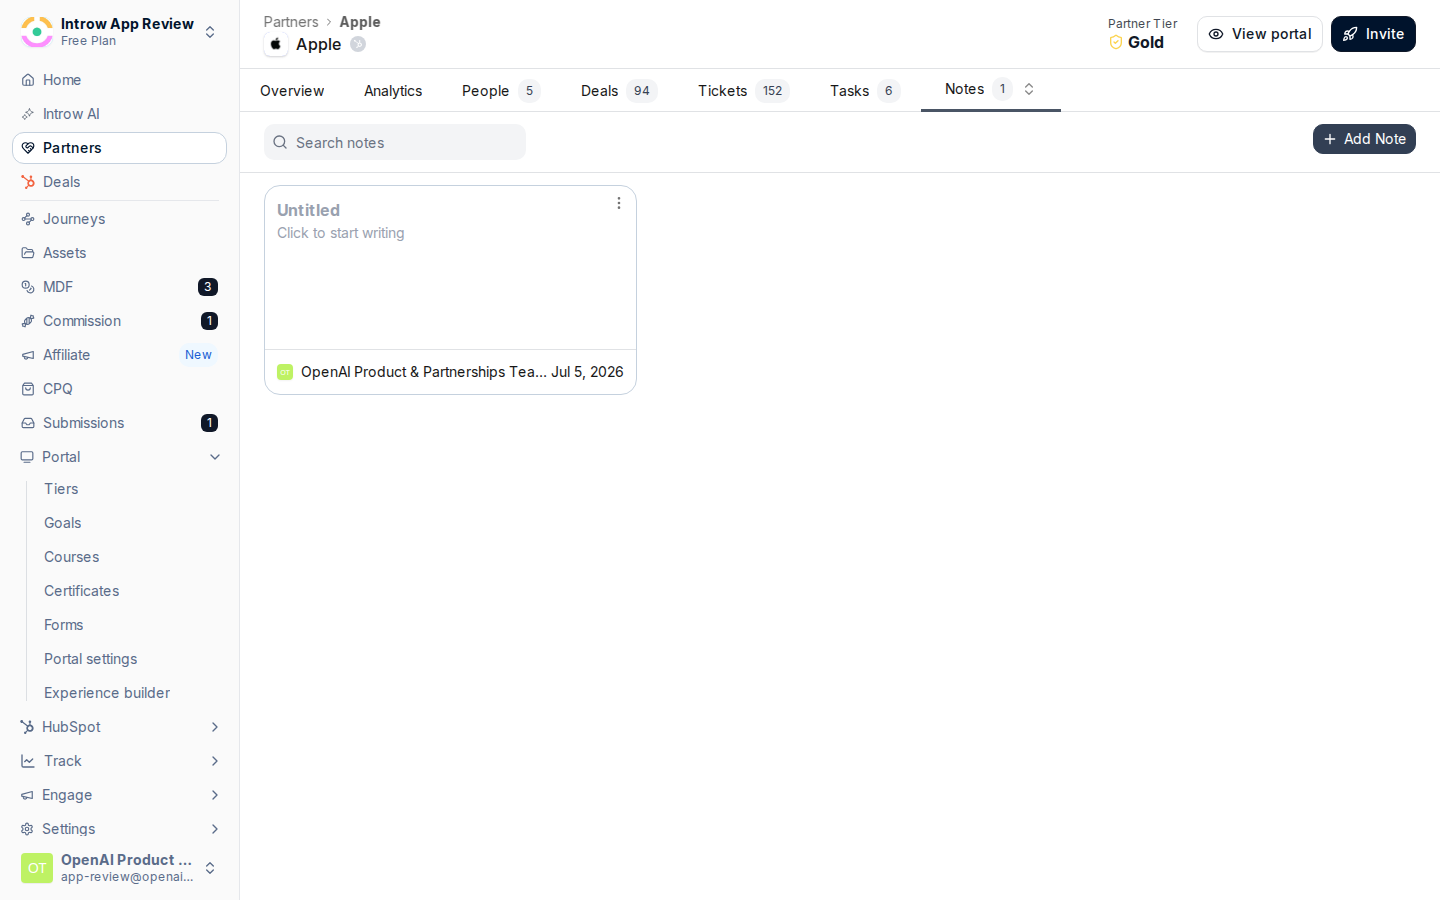
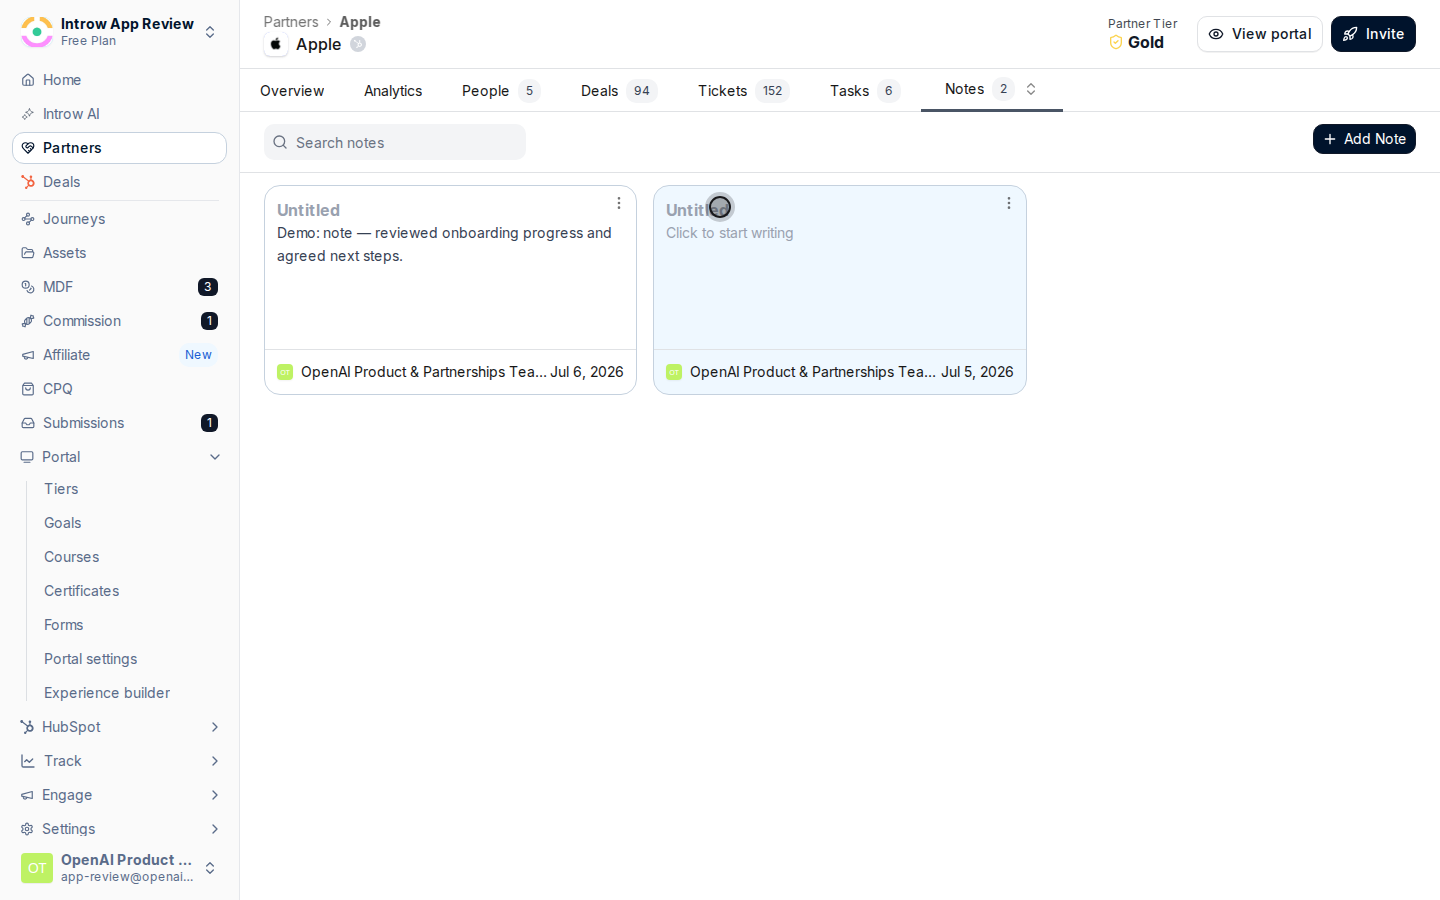
Open the partner's **Notes** area (also reachable from the **Note** action on the **Partner Details** card). Notes capture what a structured field cannot: what was agreed, what to follow up on, and the history of the relationship.
### Capture context with notes
Open the partner's **Notes** area (also reachable from the **Note** action on the **Partner Details** card). Notes capture what a structured field cannot: what was agreed, what to follow up on, and the history of the relationship.
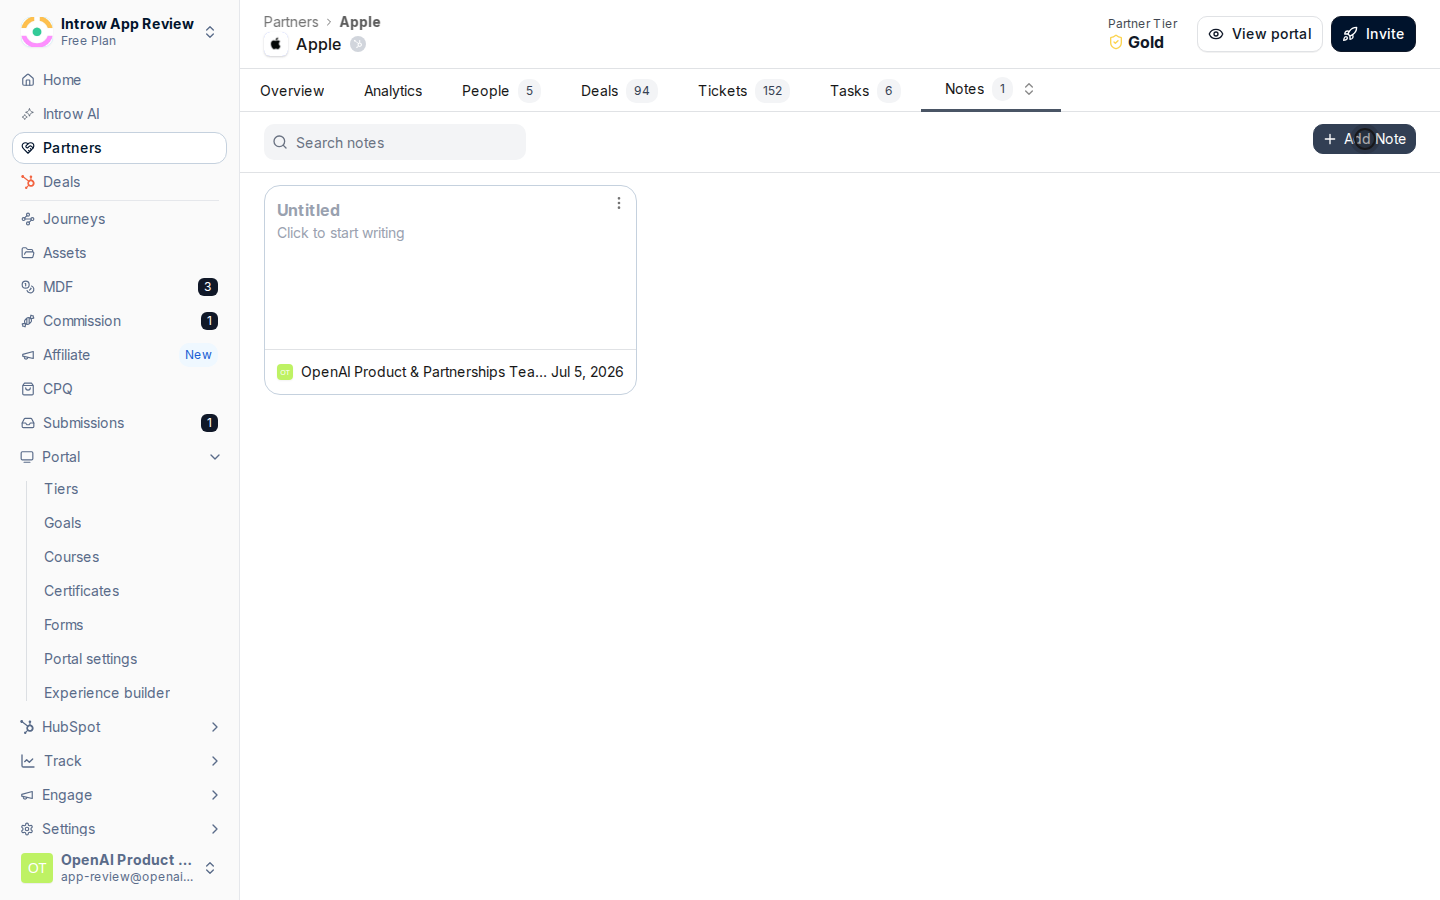 Write the note. It is saved to the partner and visible to your team, so anyone can pick up the relationship with full context. Use the **Message** action on the same card when you want to post an internal comment instead of a lasting note.
 ## Verify it worked
The **Partner Details** card shows the tier, phase, champion, currency, and language you set, and the **Portal Info** section shows the chosen experience and commission plan. The **People** tab lists the contacts with their access state, invited contacts receive their invitation, and your notes appear on the partner for the whole team to see. The partner now experiences the portal, language, and commissions you configured.
## Related
Shape the list with views, columns, and phases.
Add a partner that sync has not detected yet.
Give a contact portal access.
Full configuration options for partner records.
## Verify it worked
The **Partner Details** card shows the tier, phase, champion, currency, and language you set, and the **Portal Info** section shows the chosen experience and commission plan. The **People** tab lists the contacts with their access state, invited contacts receive their invitation, and your notes appear on the partner for the whole team to see. The partner now experiences the portal, language, and commissions you configured.
## Related
Shape the list with views, columns, and phases.
Add a partner that sync has not detected yet.
Give a contact portal access.
Full configuration options for partner records.