> ## Documentation Index
> Fetch the complete documentation index at: https://docs.introw.io/llms.txt
> Use this file to discover all available pages before exploring further.
# Set up an MDF program
> Stand up a marketing fund end to end: general details, budget allocation by segment, ROI tracking, lifecycle timelines, and a partner-facing overview.
Marketing development funds only work when the whole program is set up, not just a budget number. This guide takes you from creating a fund through allocating budget to partners, deciding how they draw on it, wiring ROI tracking and the request-to-invoice timelines, and finally surfacing the fund to partners in the portal so they can see their balance and request spend. Reach for it when you are launching a new co-marketing or MDF program and want it controlled, measurable, and self-serve from day one.
## What you'll achieve
A live marketing fund with budget allocated to the right partner segments, a clear allocation model, ROI measured from CRM data, deadlines on each lifecycle step, and a portal section where partners see their allocated, pending, approved, and available budget and can request funds without emailing you.
## Before you start
Marketing Funds appears in Introw only when the MDF module is on your plan. If the area is locked, MDF is not yet enabled.
You need write access to MDF to create and configure a fund.
Budget is allocated to partners by segment, so create the segments you want to fund first (for example a tier or a region). See [Create a dynamic segment](/features/partners/segments/guides/create-a-dynamic-segment).
## Watch it
## Steps
### Create the fund and set general details
Go to [Marketing Funds](https://app.introw.io/marketing-funds) and use **Create fund**. Introw provisions the request, claim, ROI, and invoice forms the program needs and opens the new fund in **Configure** (edit) mode, starting on the **General** tab. You finish setup before partners ever see it.
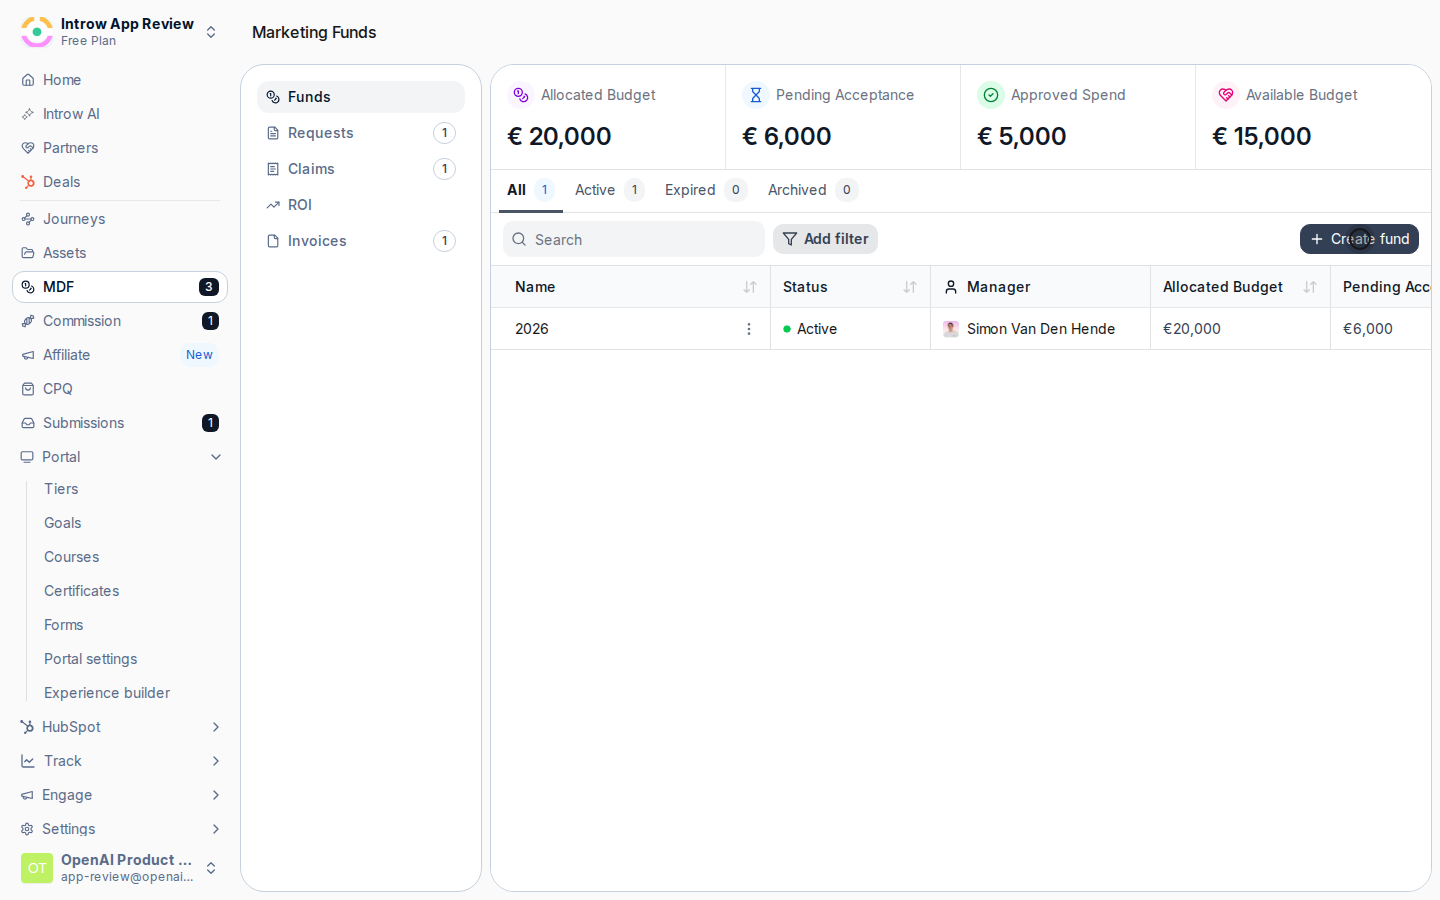 Walk each field so the fund is named, dated, and denominated correctly:
* **Name** - the fund's label, shown to your team and used to name the four lifecycle forms (for example "WebSummit 2026"). Make it specific so it is recognisable across the program and on the partner portal.
* **Description** - optional context for your team on what the fund covers. It does not change behavior; use it to record the program's intent.
* **Currency** - the currency every amount in this fund is denominated in. The picker is limited to currencies your organisation can convert, because fund totals roll up into your organisation-currency dashboards. It defaults to your organisation currency; change it only when the program runs in a different currency.
* **Period** - the date range during which spend qualifies. Only payments dated within this window count, and the fund expires automatically once the period ends. It defaults to the current year; set a past start date to include historical spend, and extend the end date if the program runs longer.
Walk each field so the fund is named, dated, and denominated correctly:
* **Name** - the fund's label, shown to your team and used to name the four lifecycle forms (for example "WebSummit 2026"). Make it specific so it is recognisable across the program and on the partner portal.
* **Description** - optional context for your team on what the fund covers. It does not change behavior; use it to record the program's intent.
* **Currency** - the currency every amount in this fund is denominated in. The picker is limited to currencies your organisation can convert, because fund totals roll up into your organisation-currency dashboards. It defaults to your organisation currency; change it only when the program runs in a different currency.
* **Period** - the date range during which spend qualifies. Only payments dated within this window count, and the fund expires automatically once the period ends. It defaults to the current year; set a past start date to include historical spend, and extend the end date if the program runs longer.
 ### Allocate the budget
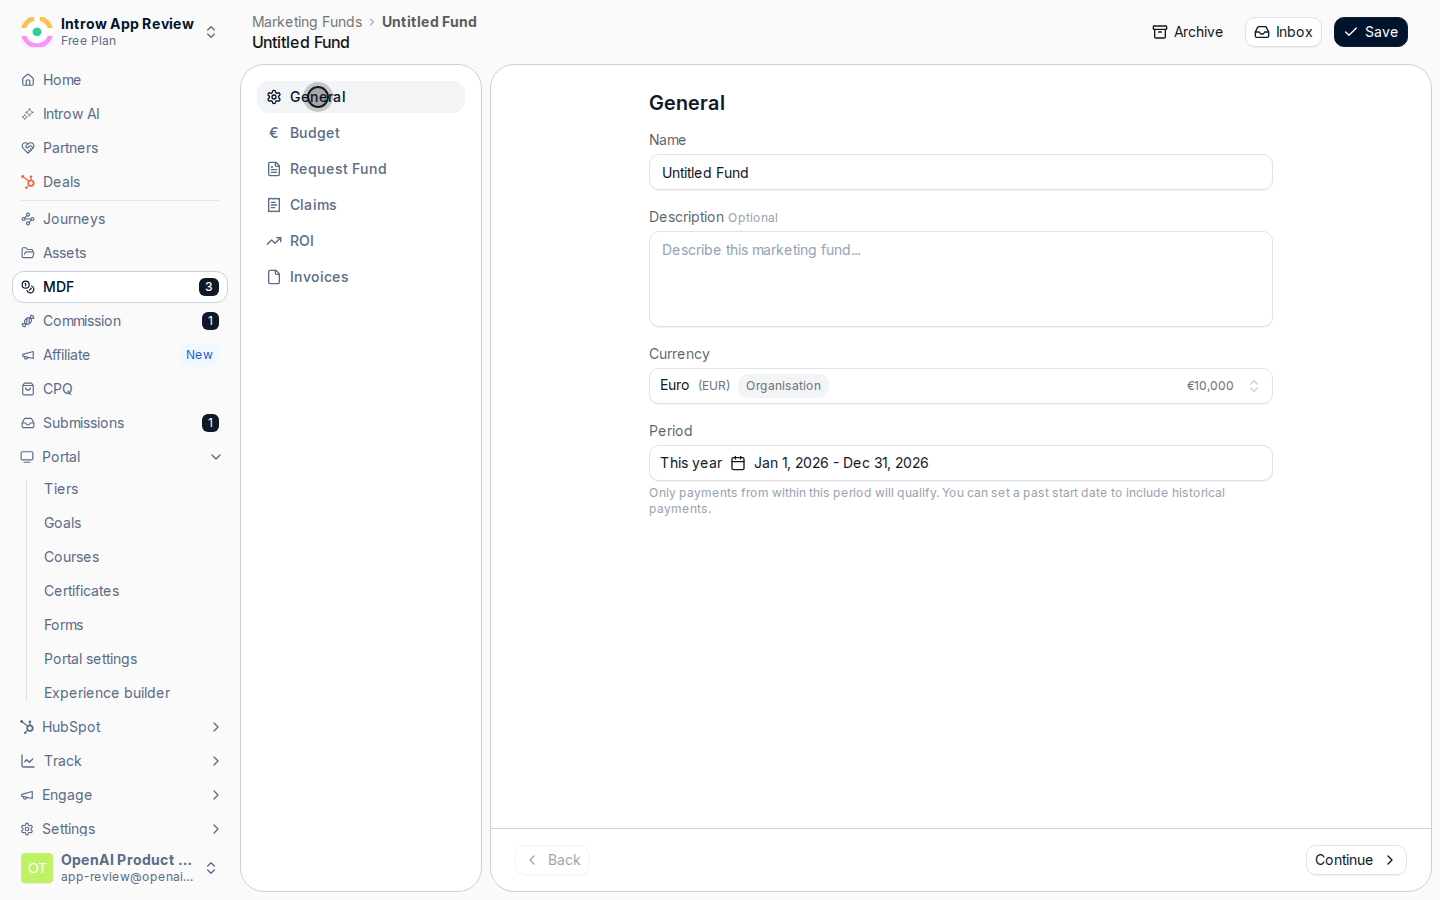
Go to the **Budget** tab and pick how partners draw on the fund. This is the decision that shapes the program, so choose deliberately:
* **Fixed allocation** - each partner in a segment gets the same set amount. The budget column reads **Budget per partner**, and the fund's total is that amount multiplied by the number of partners in the segment. Use this when every partner should get a guaranteed, equal budget.
* **Pooled** - a segment shares one combined pool that partners draw down on a first-come basis. The budget column reads **Budget pool**, and the total is the pool you enter. Use this when you want to cap overall spend and let demand decide who uses it.
### Allocate the budget
Go to the **Budget** tab and pick how partners draw on the fund. This is the decision that shapes the program, so choose deliberately:
* **Fixed allocation** - each partner in a segment gets the same set amount. The budget column reads **Budget per partner**, and the fund's total is that amount multiplied by the number of partners in the segment. Use this when every partner should get a guaranteed, equal budget.
* **Pooled** - a segment shares one combined pool that partners draw down on a first-come basis. The budget column reads **Budget pool**, and the total is the pool you enter. Use this when you want to cap overall spend and let demand decide who uses it.
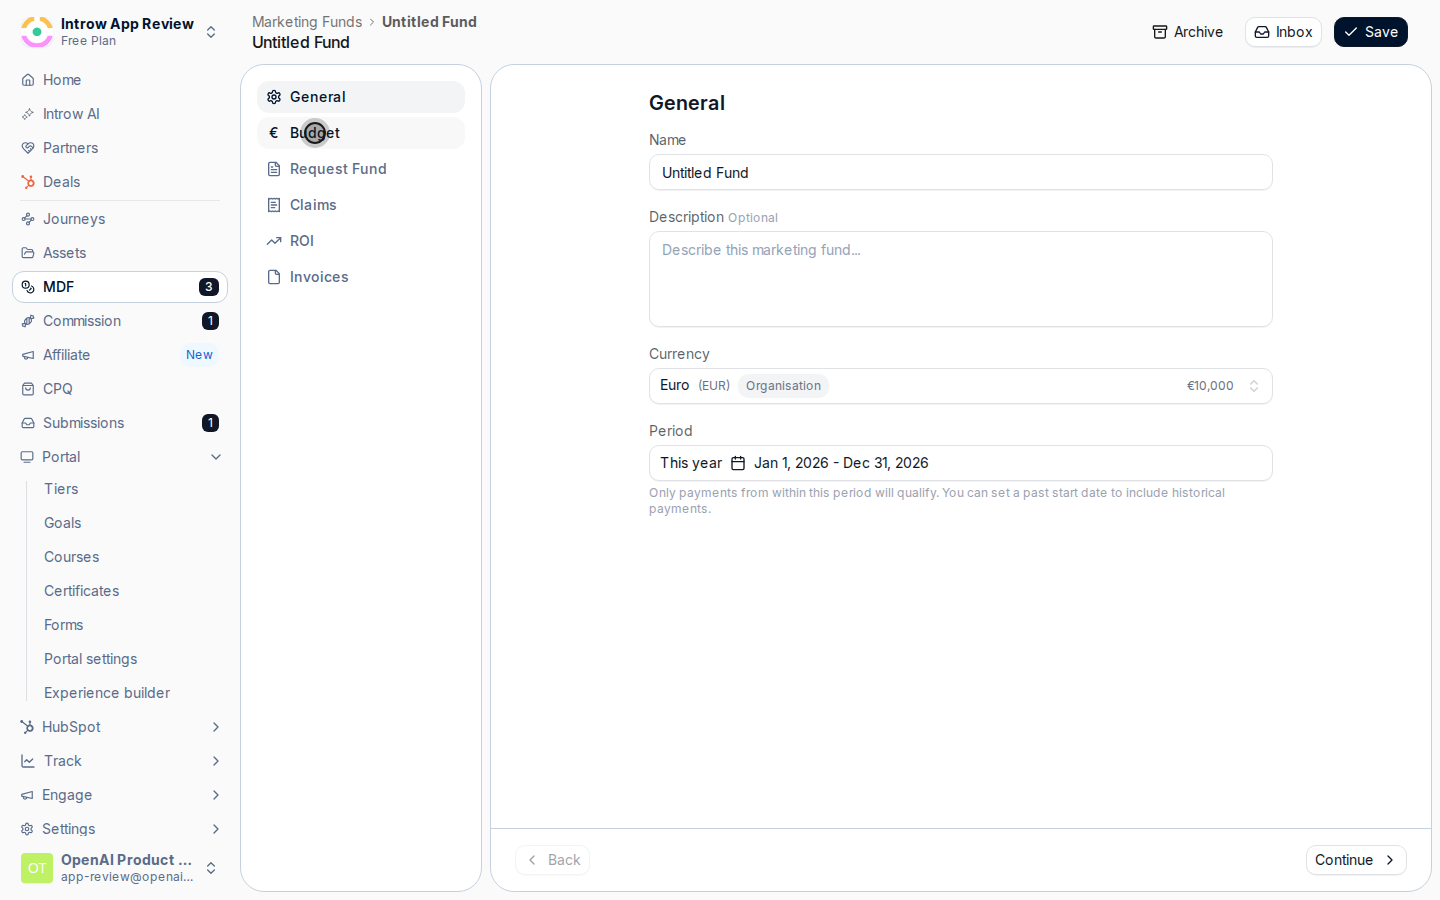 Add an allocation row for each segment that should receive budget:
* **Segment** - the partner group the budget applies to. Only partners in this segment can draw on the fund, so the segments you add decide who is funded. Use **Add segment** to add more rows; each segment can appear once.
* **Budget per partner / Budget pool** - the amount for the row, in the fund's currency. The label depends on the allocation model you chose: a per-partner amount under Fixed allocation, or a single shared pool under Pooled.
The **Total budget** row updates as you go: under Fixed allocation it is the per-partner amount times the segment's partner count; under Pooled it is the sum of the pools. Confirm it matches the budget you intend to commit.
### Configure ROI and lifecycle timelines
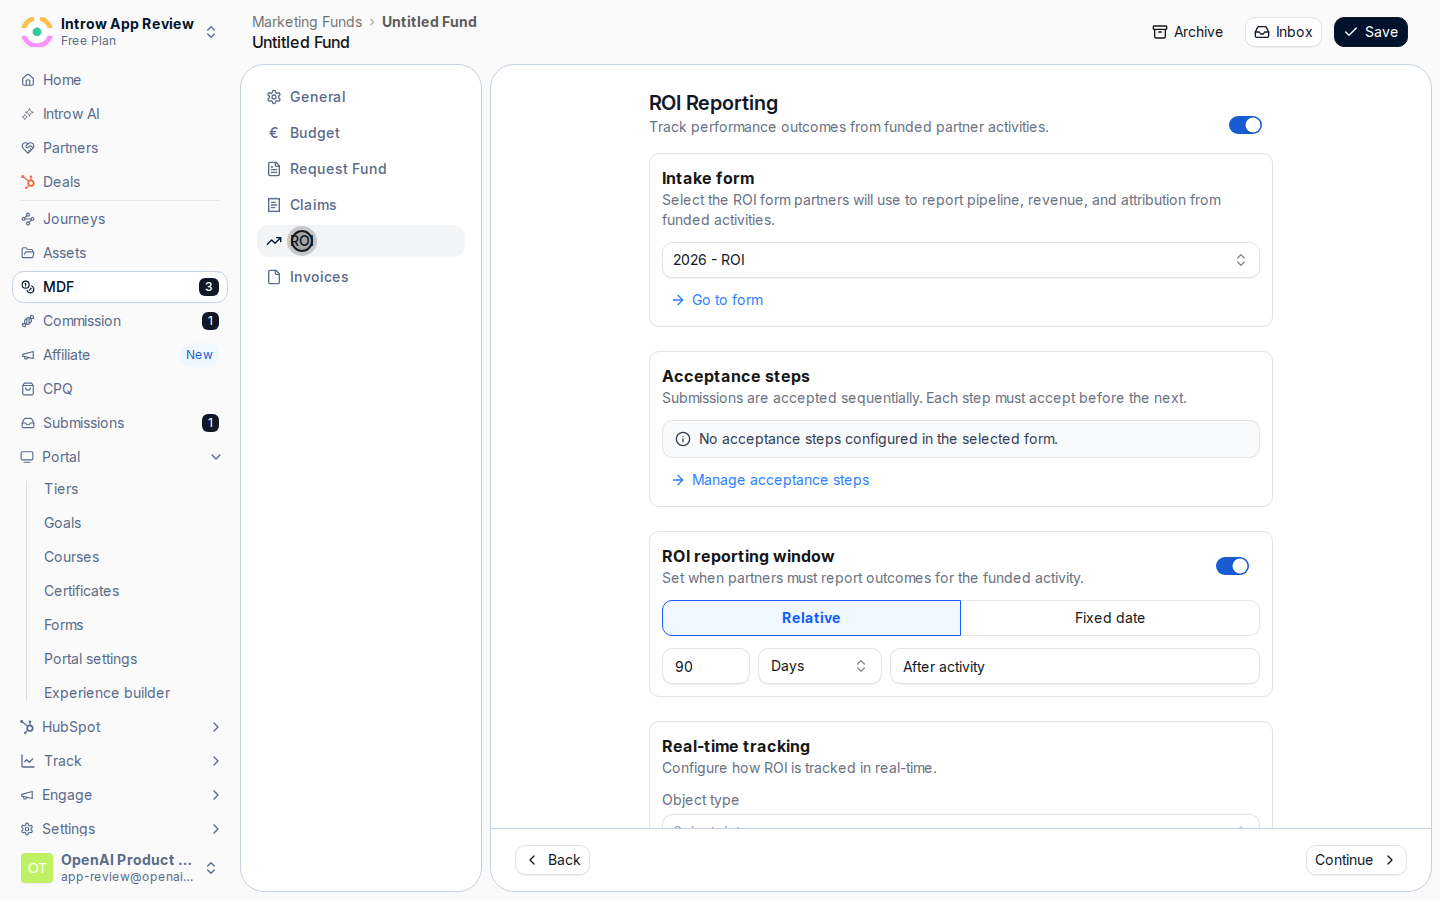
Step through the **Request Fund**, **Claims**, **ROI**, and **Invoices** tabs. Each one has an **Intake form** section where the auto-provisioned form is already selected. Open **Go to form** to adjust fields, layout, or approval steps if the defaults do not fit; otherwise leave the provisioned form in place.
Add an allocation row for each segment that should receive budget:
* **Segment** - the partner group the budget applies to. Only partners in this segment can draw on the fund, so the segments you add decide who is funded. Use **Add segment** to add more rows; each segment can appear once.
* **Budget per partner / Budget pool** - the amount for the row, in the fund's currency. The label depends on the allocation model you chose: a per-partner amount under Fixed allocation, or a single shared pool under Pooled.
The **Total budget** row updates as you go: under Fixed allocation it is the per-partner amount times the segment's partner count; under Pooled it is the sum of the pools. Confirm it matches the budget you intend to commit.
### Configure ROI and lifecycle timelines
Step through the **Request Fund**, **Claims**, **ROI**, and **Invoices** tabs. Each one has an **Intake form** section where the auto-provisioned form is already selected. Open **Go to form** to adjust fields, layout, or approval steps if the defaults do not fit; otherwise leave the provisioned form in place.
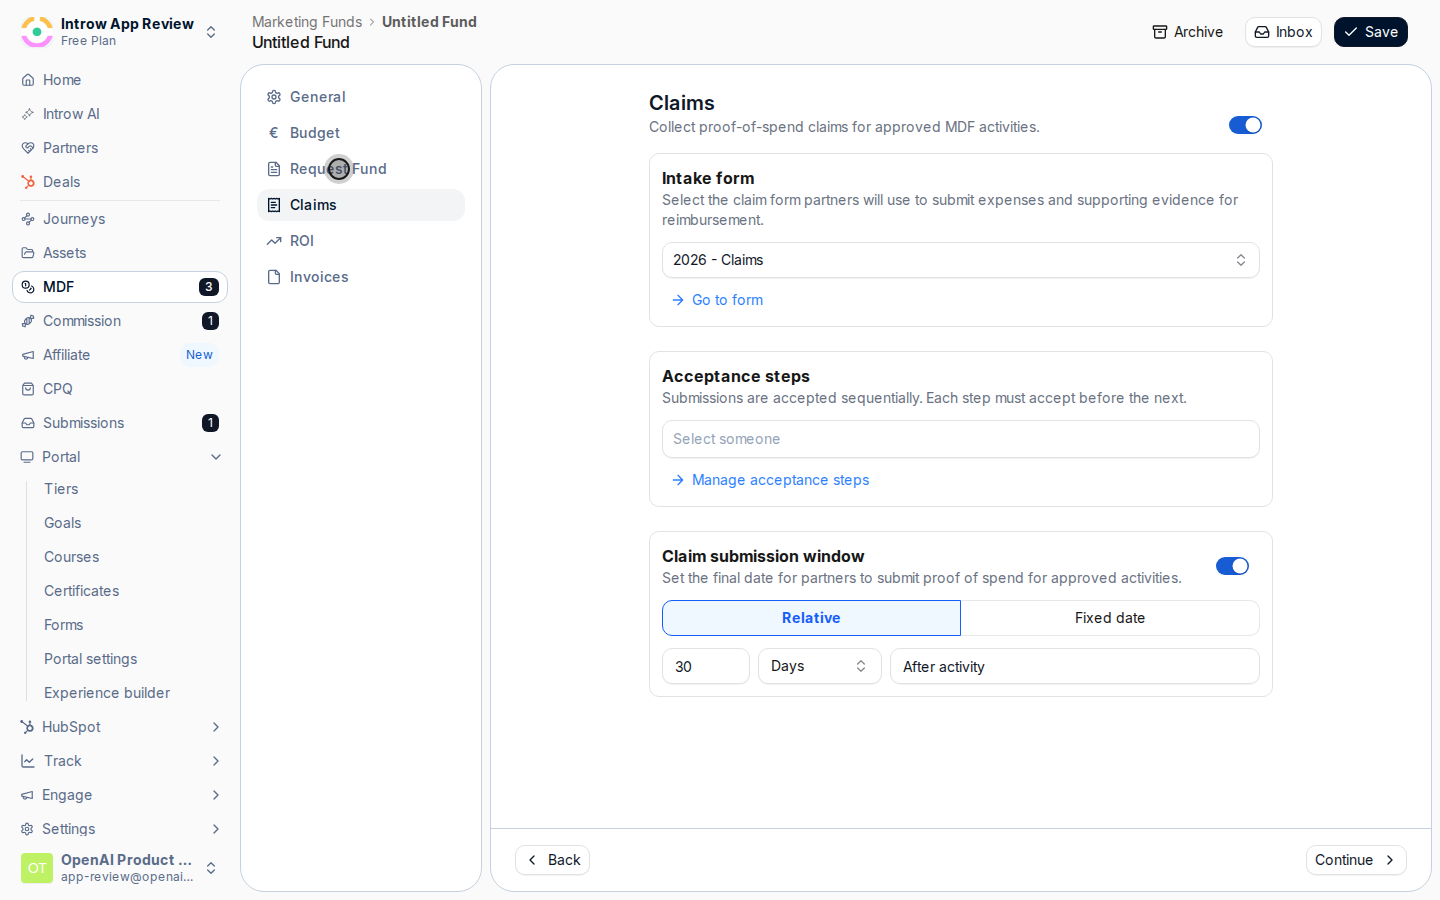 Each tab shows an **Acceptance steps** section summarising who must approve a submission before it moves on, in order. Approvals are configured on the form itself, so use **Manage acceptance steps** if you need to change approvers; the fund reflects whatever the form defines.
Every tab has a deadline you can enable so partners and your team know the expected timing. The Claims, ROI, and Invoices steps also have a switch at the top of the tab to turn the whole step off if your program does not use it.
* **Request decision timeline** (Request Fund tab) - your team's SLA to decide on a request after it is submitted. It is measured from the submission date.
* **Claim submission window** (Claims tab) - the last date partners can submit proof of spend, measured from the activity date.
* **ROI reporting window** (ROI tab) - when partners must report outcomes for the funded activity, measured from the activity date.
* **Invoice reimbursement deadline** (Invoices tab) - the final date to submit invoices needed for payout, measured from the activity date.
For each, toggle the deadline on, then choose **Relative** (a number plus Days, Weeks, Months, or Years after submission or activity) or **Fixed date** (a specific calendar date). New funds ship with sensible relative defaults (roughly four weeks to decide a request, 30 days to claim, 90 days to report ROI, and 60 days to invoice); adjust them to your program.
On the **ROI** tab, use the **Real-time tracking** section to measure return from live CRM data, on top of what partners report through the ROI form:
* **Object type** - the CRM record the fund's return is read from, such as the deal record. The selected record must be created by the ROI form's automation, or the fund flags a configuration error.
* **Filters** - optional conditions that limit which records count toward ROI, for example only closed-won records. Use them to exclude records that should not be credited to the fund.
* **Aggregation** - choose **Count** to count matching records, or **Sum of property** to total a numeric field on them. Count is the default and fits activities measured in number of deals or leads.
* **Monetary amount per object** - shown when you choose Count: the value each counted record contributes, so a count becomes a monetary return.
* **Field to sum** - shown when you choose Sum of property: the numeric or currency field to total, such as deal amount.
Each tab shows an **Acceptance steps** section summarising who must approve a submission before it moves on, in order. Approvals are configured on the form itself, so use **Manage acceptance steps** if you need to change approvers; the fund reflects whatever the form defines.
Every tab has a deadline you can enable so partners and your team know the expected timing. The Claims, ROI, and Invoices steps also have a switch at the top of the tab to turn the whole step off if your program does not use it.
* **Request decision timeline** (Request Fund tab) - your team's SLA to decide on a request after it is submitted. It is measured from the submission date.
* **Claim submission window** (Claims tab) - the last date partners can submit proof of spend, measured from the activity date.
* **ROI reporting window** (ROI tab) - when partners must report outcomes for the funded activity, measured from the activity date.
* **Invoice reimbursement deadline** (Invoices tab) - the final date to submit invoices needed for payout, measured from the activity date.
For each, toggle the deadline on, then choose **Relative** (a number plus Days, Weeks, Months, or Years after submission or activity) or **Fixed date** (a specific calendar date). New funds ship with sensible relative defaults (roughly four weeks to decide a request, 30 days to claim, 90 days to report ROI, and 60 days to invoice); adjust them to your program.
On the **ROI** tab, use the **Real-time tracking** section to measure return from live CRM data, on top of what partners report through the ROI form:
* **Object type** - the CRM record the fund's return is read from, such as the deal record. The selected record must be created by the ROI form's automation, or the fund flags a configuration error.
* **Filters** - optional conditions that limit which records count toward ROI, for example only closed-won records. Use them to exclude records that should not be credited to the fund.
* **Aggregation** - choose **Count** to count matching records, or **Sum of property** to total a numeric field on them. Count is the default and fits activities measured in number of deals or leads.
* **Monetary amount per object** - shown when you choose Count: the value each counted record contributes, so a count becomes a monetary return.
* **Field to sum** - shown when you choose Sum of property: the numeric or currency field to total, such as deal amount.
 ### Surface the fund to partners and save
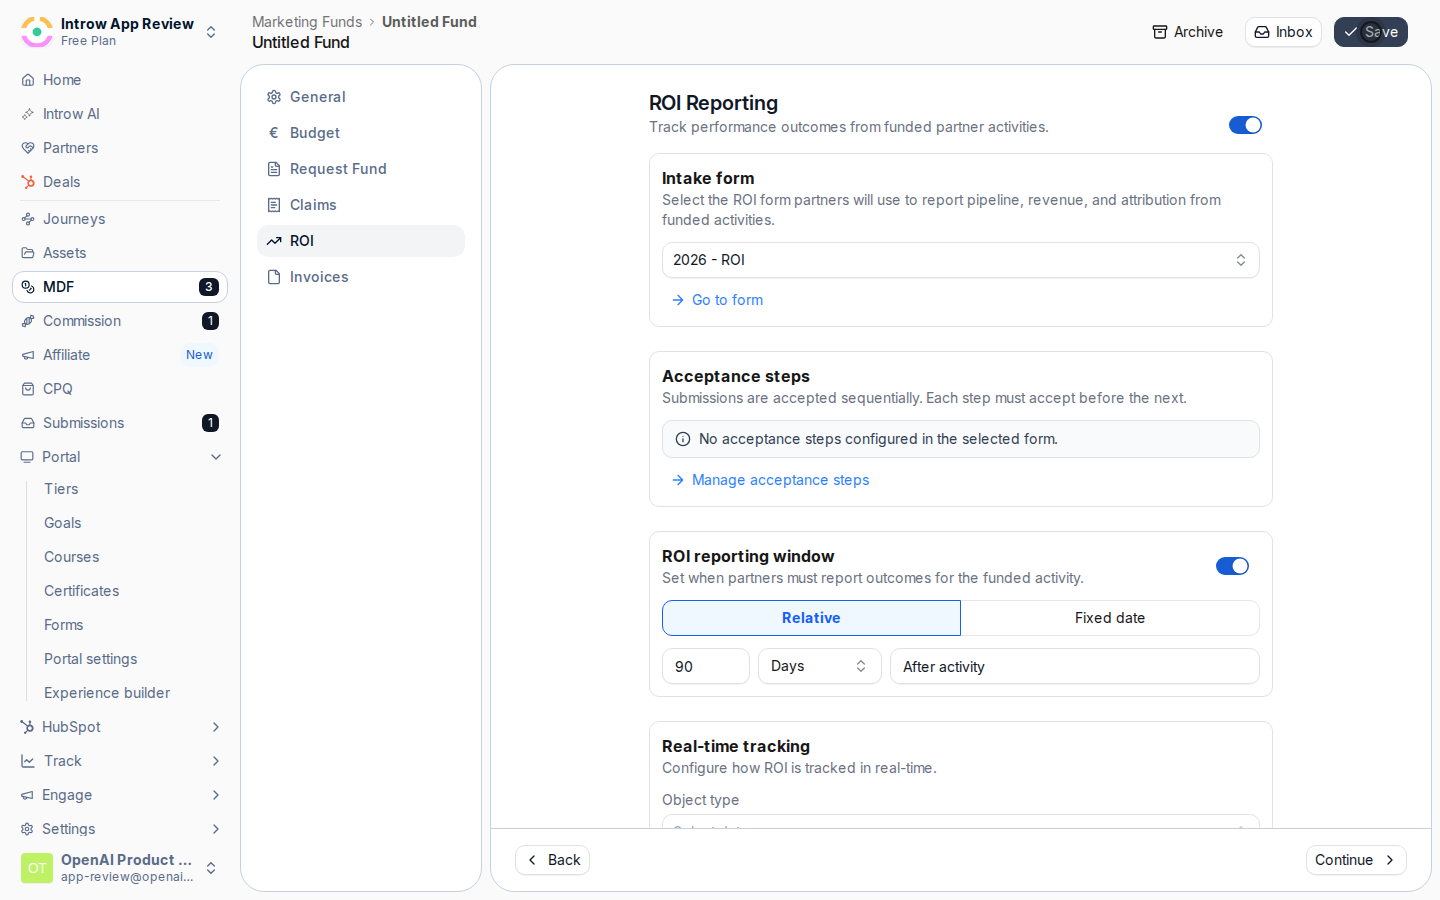
Use **Save**. The fund is created with its allocation, ROI configuration, and timelines, and partners in the allocated segments can begin requesting against it.
### Surface the fund to partners and save
Use **Save**. The fund is created with its allocation, ROI configuration, and timelines, and partners in the allocated segments can begin requesting against it.
 Go to [Experience builder](https://app.introw.io/templates) and open the experience your partners use. Open the section picker, choose the **Marketing Funds** section, and pick this fund. Introw inserts an MDF overview with a short request prompt partners can edit. The section shows each partner their allocated, pending, approved, and available budget and a way to request funds.
Publish the experience so the overview reaches partners. Nothing is visible to partners until the experience is published. See [Build and publish a portal experience](/features/portal/experiences/guides/build-and-publish-a-portal-experience).
## Verify it worked
The fund appears on [Marketing Funds](https://app.introw.io/marketing-funds) with its period, currency, and an allocated budget that matches your segment rows. Open the published portal as a partner in an allocated segment: they see their allocated, pending, approved, and available budget and a request action. As requests and deals come in, the fund's ROI reflects both partner reports and the real-time CRM tracking you configured.
## Related
Review requests, collect claims, and mark them paid.
Prove the program's return from reports and CRM data.
Define the segments you allocate budget to.
Full funds and allocation configuration options.
Go to [Experience builder](https://app.introw.io/templates) and open the experience your partners use. Open the section picker, choose the **Marketing Funds** section, and pick this fund. Introw inserts an MDF overview with a short request prompt partners can edit. The section shows each partner their allocated, pending, approved, and available budget and a way to request funds.
Publish the experience so the overview reaches partners. Nothing is visible to partners until the experience is published. See [Build and publish a portal experience](/features/portal/experiences/guides/build-and-publish-a-portal-experience).
## Verify it worked
The fund appears on [Marketing Funds](https://app.introw.io/marketing-funds) with its period, currency, and an allocated budget that matches your segment rows. Open the published portal as a partner in an allocated segment: they see their allocated, pending, approved, and available budget and a request action. As requests and deals come in, the fund's ROI reflects both partner reports and the real-time CRM tracking you configured.
## Related
Review requests, collect claims, and mark them paid.
Prove the program's return from reports and CRM data.
Define the segments you allocate budget to.
Full funds and allocation configuration options.