> ## Documentation Index
> Fetch the complete documentation index at: https://docs.introw.io/llms.txt
> Use this file to discover all available pages before exploring further.
# Set up the languages your partners see
> Add the locales your partners speak, set the fallback default, and control how each partner is served their language.
{/* Why */}
Serving partners in their own language is the difference between a portal they actually use and one they tolerate. This is the one-time setup that turns a single-language program into a multilingual one: you add the locales your partners speak, choose the fallback everyone falls back to, and decide how each partner gets matched to a language. Do it once and every partner-facing surface, from the portal to the emails they receive, starts arriving in the right language automatically.
## What you'll achieve
A partner program that runs in several languages: each active language is available across your partner-facing content, a default language catches anyone without a preference, and every partner is either matched to a language automatically or pinned to the one you choose. Partners open the portal and see it in their language without asking.
## Before you start
You need languages write access to add, remove, or set a default language.
Your plan caps how many languages can be active at once. If you are already at the cap, the **Add language** button is replaced by an upgrade prompt, so plan which locales matter most before you start.
Portal text translates automatically once a language is active. Files in the asset library are localized separately and, for automatic document translation, depend on a translation provider being configured for your workspace. Plain language activation here does not require a provider.
## Watch it
## Steps
### Add and default your languages
Go to [Languages](https://app.introw.io/settings/languages). The **Manage translations** section lists your active locales, and the **Brand glossary and protected terms** section sits below it. If you have not added any locales yet, you see an empty state prompting you to add your first language.
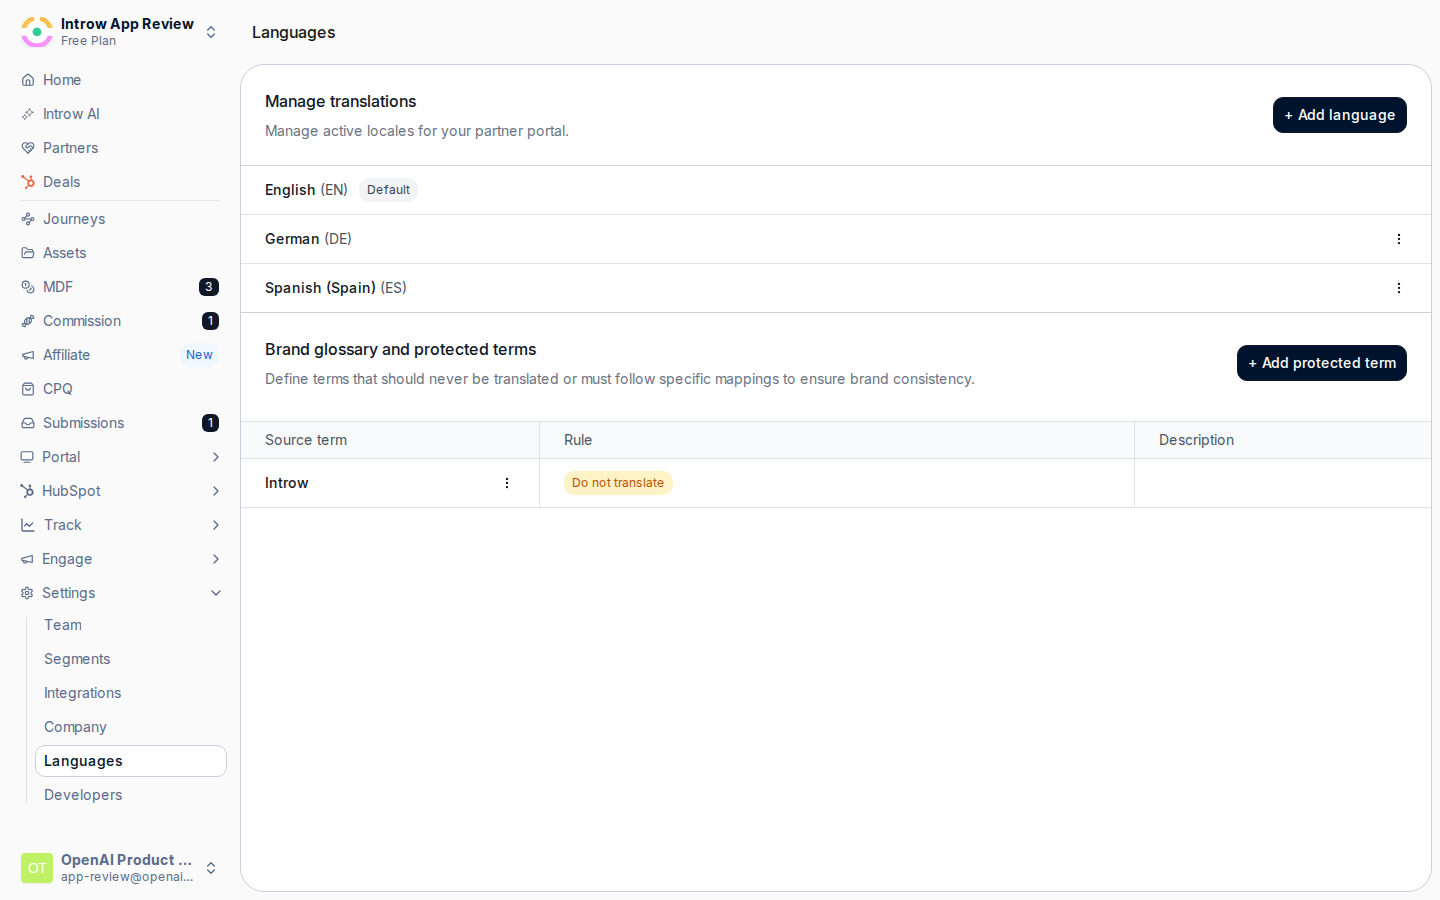 Select **Add language** to open the **Add language** dialog, pick a locale from the list of supported languages, and confirm with **Add**.
* **Language** - the locale to activate, chosen from Introw's supported languages. Each one you add becomes available across your partner-facing content, and existing content starts translating into it in the background. Add one row per market you serve (for example German, French, Spanish); only languages you have not already added appear in the picker.
* **Allowance** - the count of active languages is capped by your plan. When you reach the cap the **Add language** button becomes an upgrade prompt instead, so add the languages that cover the most partners first.
Repeat until every market your partners come from is represented.
Select **Add language** to open the **Add language** dialog, pick a locale from the list of supported languages, and confirm with **Add**.
* **Language** - the locale to activate, chosen from Introw's supported languages. Each one you add becomes available across your partner-facing content, and existing content starts translating into it in the background. Add one row per market you serve (for example German, French, Spanish); only languages you have not already added appear in the picker.
* **Allowance** - the count of active languages is capped by your plan. When you reach the cap the **Add language** button becomes an upgrade prompt instead, so add the languages that cover the most partners first.
Repeat until every market your partners come from is represented.
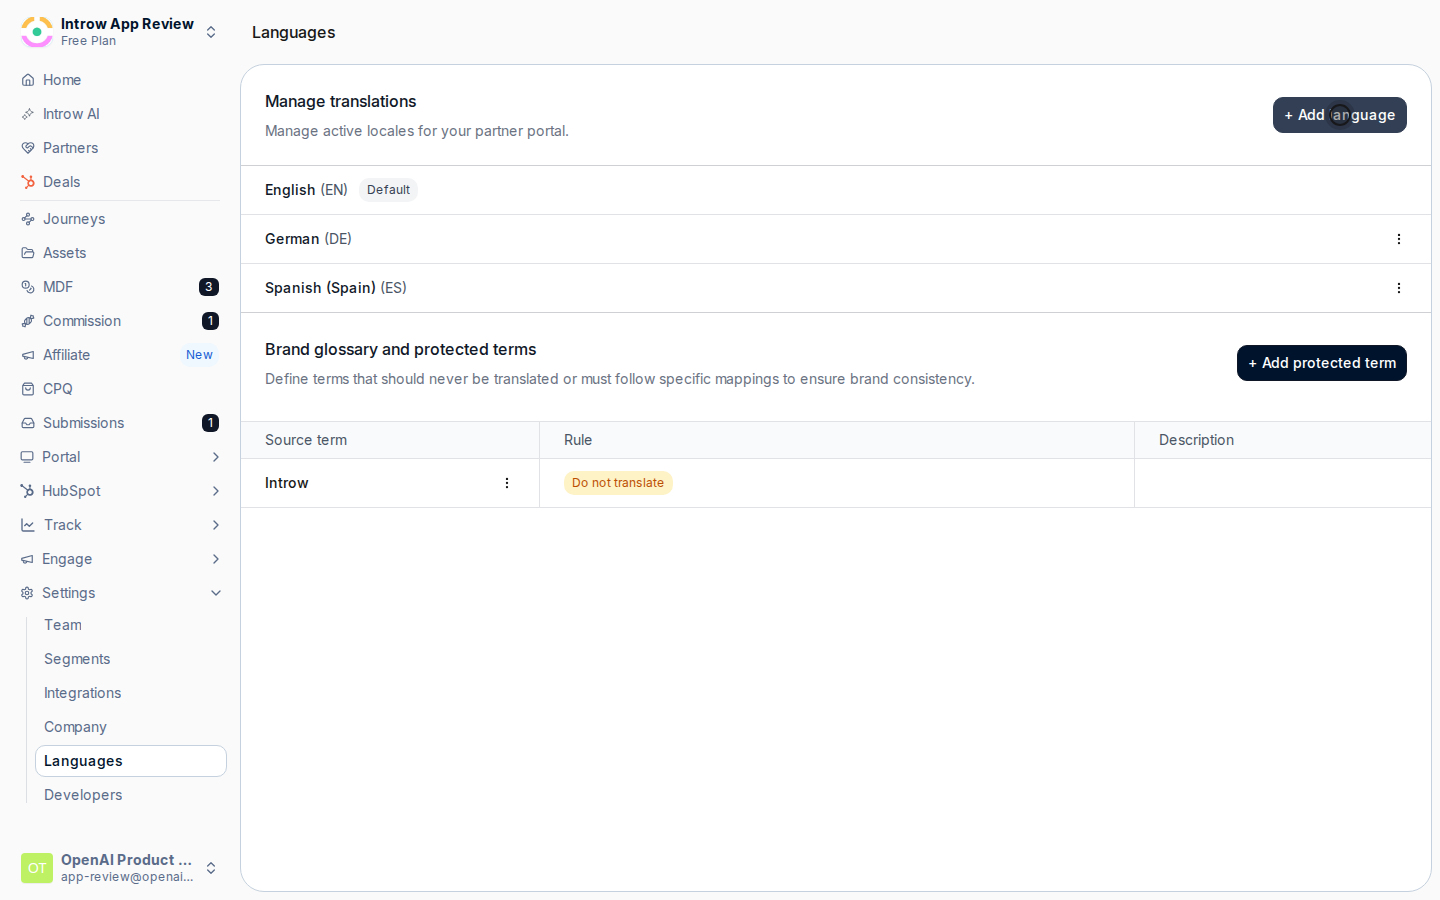 On the language you want as the program-wide fallback, open its row menu (the three-dot menu) and choose **Set as default**. The **Default** pill moves to that language.
* **What it is** - the language a partner sees when they have no language of their own set, and the one partners fall back to if their language is later removed.
* **Why it matters** - it is the safety net for your entire program, so it should be the language the largest share of your partners, or your own team, reads most comfortably.
* **How to set it** - pick the single language that best covers partners without a stated preference. The default cannot be deleted while it holds that role; set a new default first if you need to remove the current one.
On the language you want as the program-wide fallback, open its row menu (the three-dot menu) and choose **Set as default**. The **Default** pill moves to that language.
* **What it is** - the language a partner sees when they have no language of their own set, and the one partners fall back to if their language is later removed.
* **Why it matters** - it is the safety net for your entire program, so it should be the language the largest share of your partners, or your own team, reads most comfortably.
* **How to set it** - pick the single language that best covers partners without a stated preference. The default cannot be deleted while it holds that role; set a new default first if you need to remove the current one.
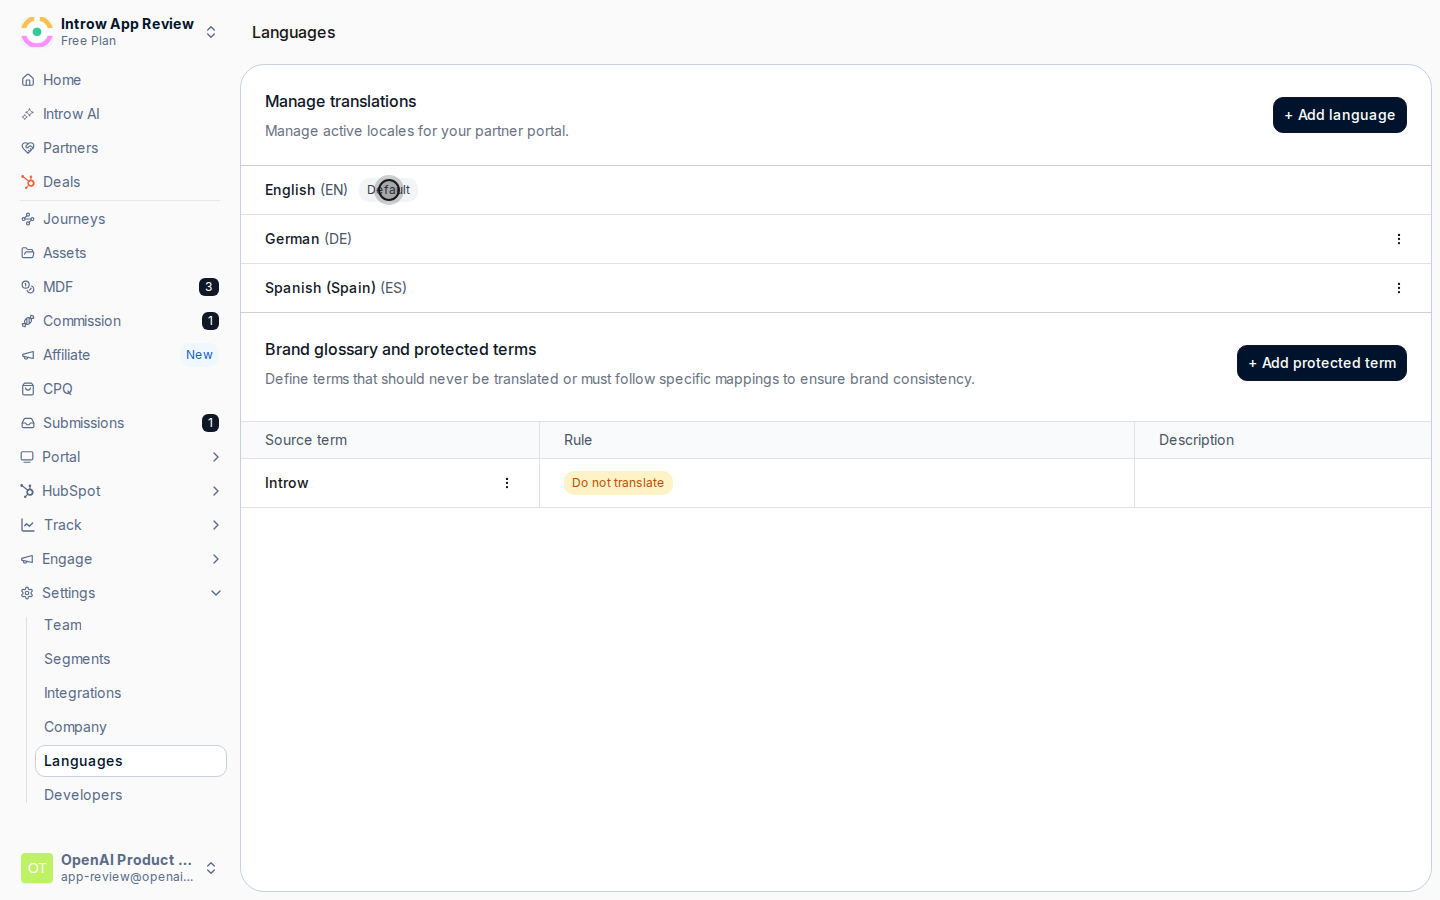 To retire a locale, open its row menu and choose **Delete**. A confirmation warns that any partner currently experiencing the portal in that language will switch to your default. Removing a language stops new content from being translated into it.
### Keep the company default in sync
Open the **General** tab of **Company settings**. The **Language** field sets your organisation's default language for internal settings and reports, and it stays in step with the default you chose under **Manage translations**.
* **Language** - the organisation-level default used for internal-facing settings and reporting. Keep it aligned with the program default you set on the **Languages** screen so internal numbers and the partner fallback read the same way. A **Manage language settings** link here jumps straight back to the **Languages** screen.
### Decide how each partner is served
Open a partner from [Partners](https://app.introw.io/partners) and use the **Language** field on the **Partner Details** card to pin that partner to a locale.
* **What it is** - the language this partner's contacts see by default across the portal and notifications. The list offers your active languages, and when no language is set the partner falls back to your organisation default.
* **Why it matters** - it lets you override the fallback for a partner whose team works in a specific language, without changing anything program-wide.
* **How to set it** - choose the partner's preferred locale, or leave it unset to let them use the default. Set it when you know a partner's working language up front (for example a regional reseller).
Individual partner contacts can switch their own language from the account menu in the portal. Their choice applies to what they personally see, layered on top of the partner-level language you set. You do not need to configure anything for this - it is available to partners automatically once you have more than one active language.
## Verify it worked
Each language you added appears in the **Manage translations** list with the **Default** pill on your chosen fallback. Open the portal (or preview it) and switch languages to confirm partner-facing content arrives translated. A partner with a language set on their record sees the portal in that language on their next visit, and partners without one see your default.
## Related
Control which portals get translated.
Protect product and brand terms across languages.
Localize files in the asset library.
Full configuration options.
To retire a locale, open its row menu and choose **Delete**. A confirmation warns that any partner currently experiencing the portal in that language will switch to your default. Removing a language stops new content from being translated into it.
### Keep the company default in sync
Open the **General** tab of **Company settings**. The **Language** field sets your organisation's default language for internal settings and reports, and it stays in step with the default you chose under **Manage translations**.
* **Language** - the organisation-level default used for internal-facing settings and reporting. Keep it aligned with the program default you set on the **Languages** screen so internal numbers and the partner fallback read the same way. A **Manage language settings** link here jumps straight back to the **Languages** screen.
### Decide how each partner is served
Open a partner from [Partners](https://app.introw.io/partners) and use the **Language** field on the **Partner Details** card to pin that partner to a locale.
* **What it is** - the language this partner's contacts see by default across the portal and notifications. The list offers your active languages, and when no language is set the partner falls back to your organisation default.
* **Why it matters** - it lets you override the fallback for a partner whose team works in a specific language, without changing anything program-wide.
* **How to set it** - choose the partner's preferred locale, or leave it unset to let them use the default. Set it when you know a partner's working language up front (for example a regional reseller).
Individual partner contacts can switch their own language from the account menu in the portal. Their choice applies to what they personally see, layered on top of the partner-level language you set. You do not need to configure anything for this - it is available to partners automatically once you have more than one active language.
## Verify it worked
Each language you added appears in the **Manage translations** list with the **Default** pill on your chosen fallback. Open the portal (or preview it) and switch languages to confirm partner-facing content arrives translated. A partner with a language set on their record sees the portal in that language on their next visit, and partners without one see your default.
## Related
Control which portals get translated.
Protect product and brand terms across languages.
Localize files in the asset library.
Full configuration options.