> ## Documentation Index
> Fetch the complete documentation index at: https://docs.introw.io/llms.txt
> Use this file to discover all available pages before exploring further.
# Connect Salesforce as your source of truth
> Connect a Salesforce org, choose how partners are stored, filter which records sync, and link opportunities to partners for accurate attribution.
Connecting Salesforce makes your org the single source of truth for the partner program: accounts, opportunities, and contacts sync into Introw, and tiers, managers, and attribution sync back. This guide covers the whole flow, choosing production or sandbox, installing the managed package, and completing the setup wizard (how partners are stored, which records sync, and how opportunities link to partners), so the connection actually delivers accurate partner attribution rather than just authorizing.
## What you'll achieve
A live Salesforce connection where the right accounts appear as partners in Introw, new matching records sync automatically, and opportunities are attributed to the partner who influenced them, so revenue reporting and commissions run on real CRM data. You will also know how to keep the managed package up to date.
## Before you start
You need permission to authorize a connected app and install a managed package in the Salesforce org you are connecting.
Know whether you are connecting your live production org or a sandbox. Sandbox connects to a test environment and never affects production data; production connects to your live records.
You need permission to connect integrations in Introw, and only one CRM can be connected at a time, so disconnect any existing CRM first.
## Watch it
## Steps
### Connect the org
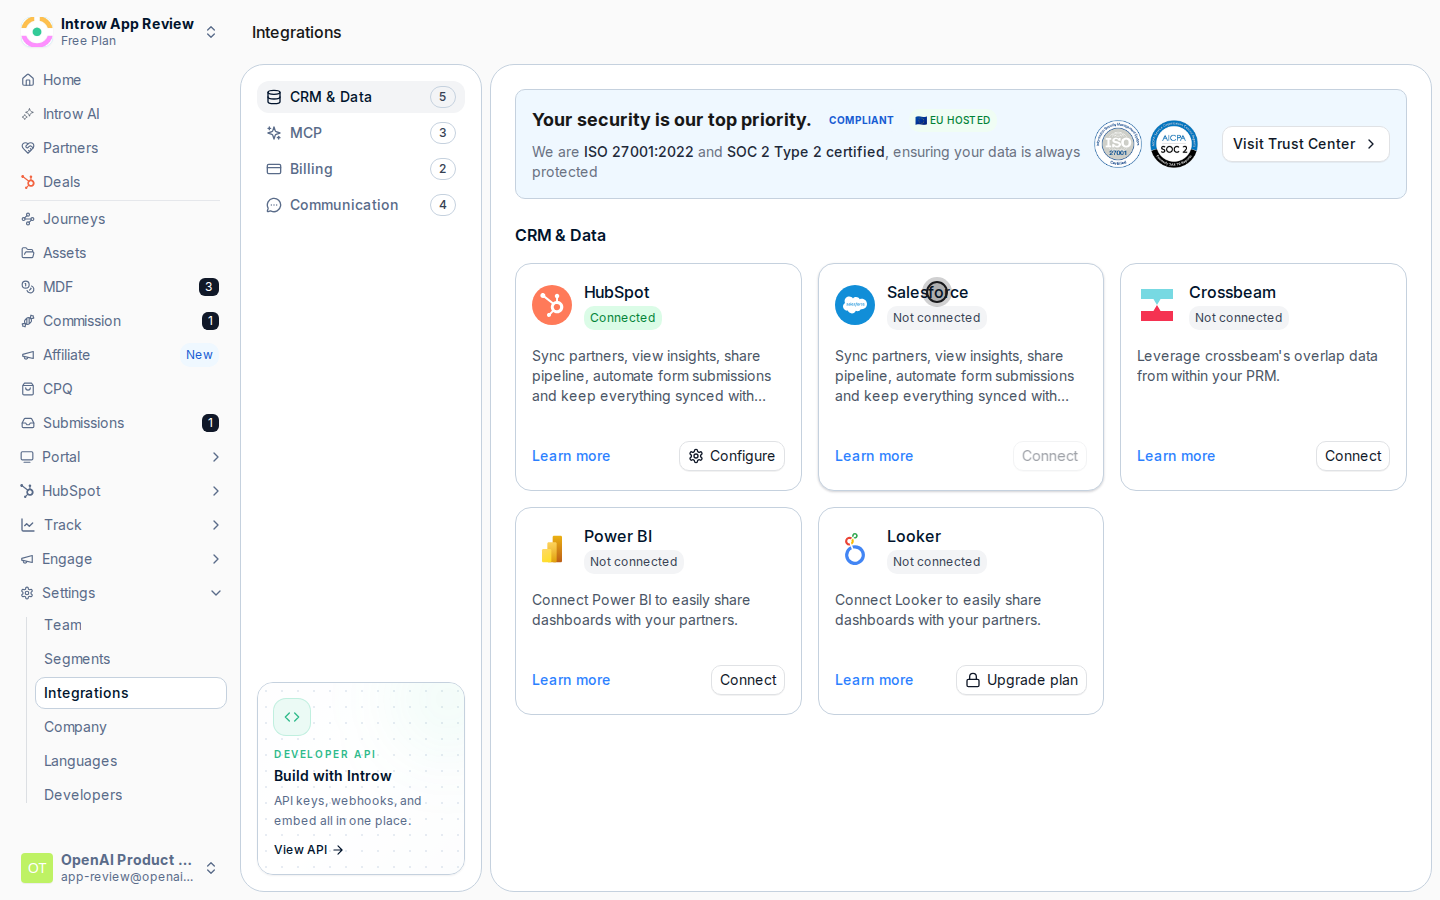
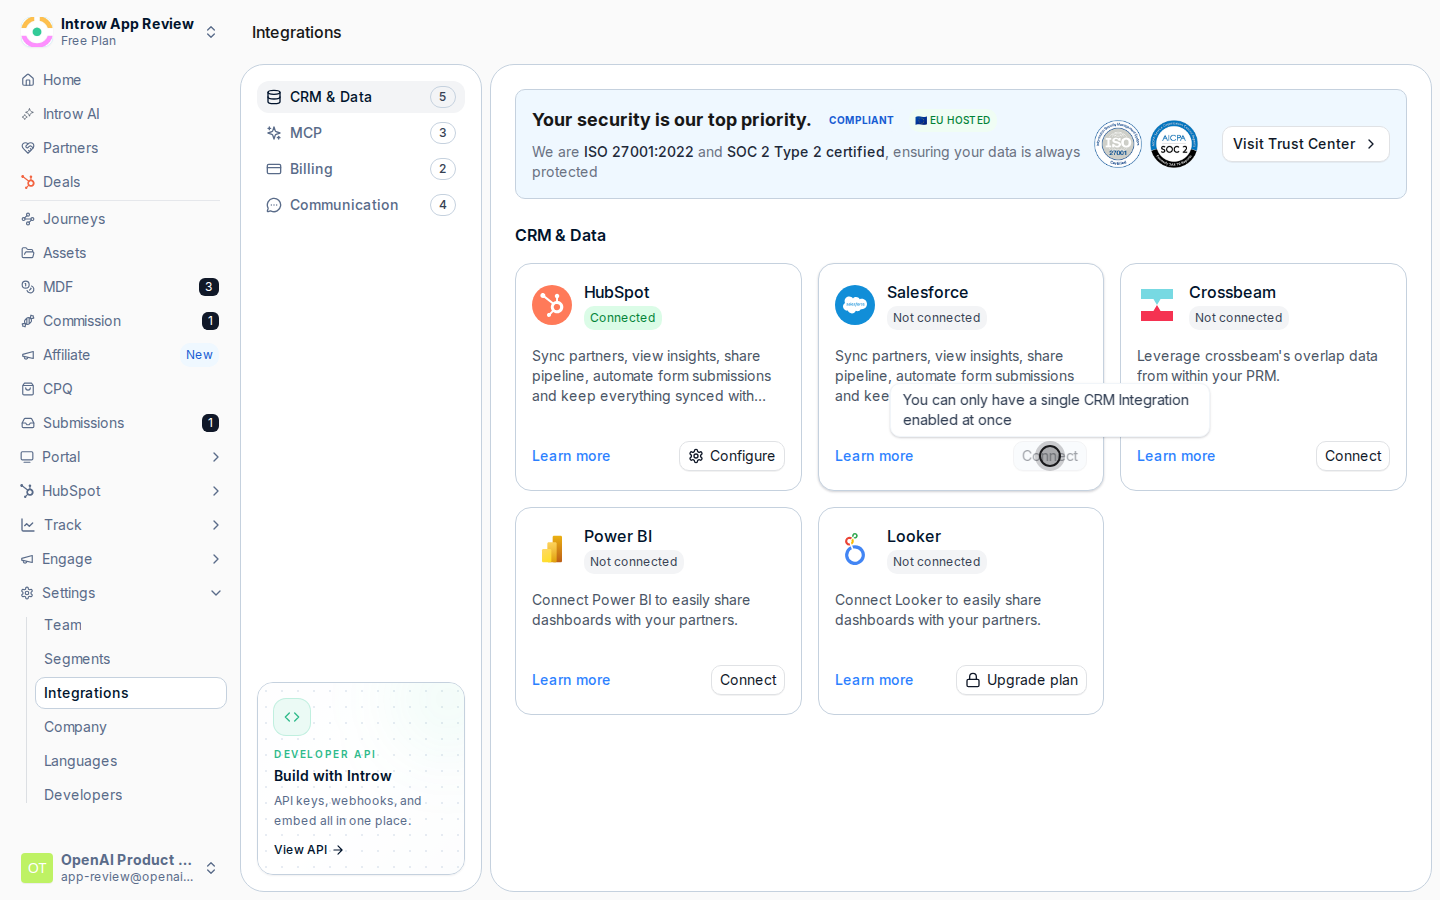
Go to [Integrations](https://app.introw.io/settings/integrations?category=crm) and stay on the **CRM & Data** category. If the Salesforce tile is greyed out, another CRM is already connected; disconnect it first.
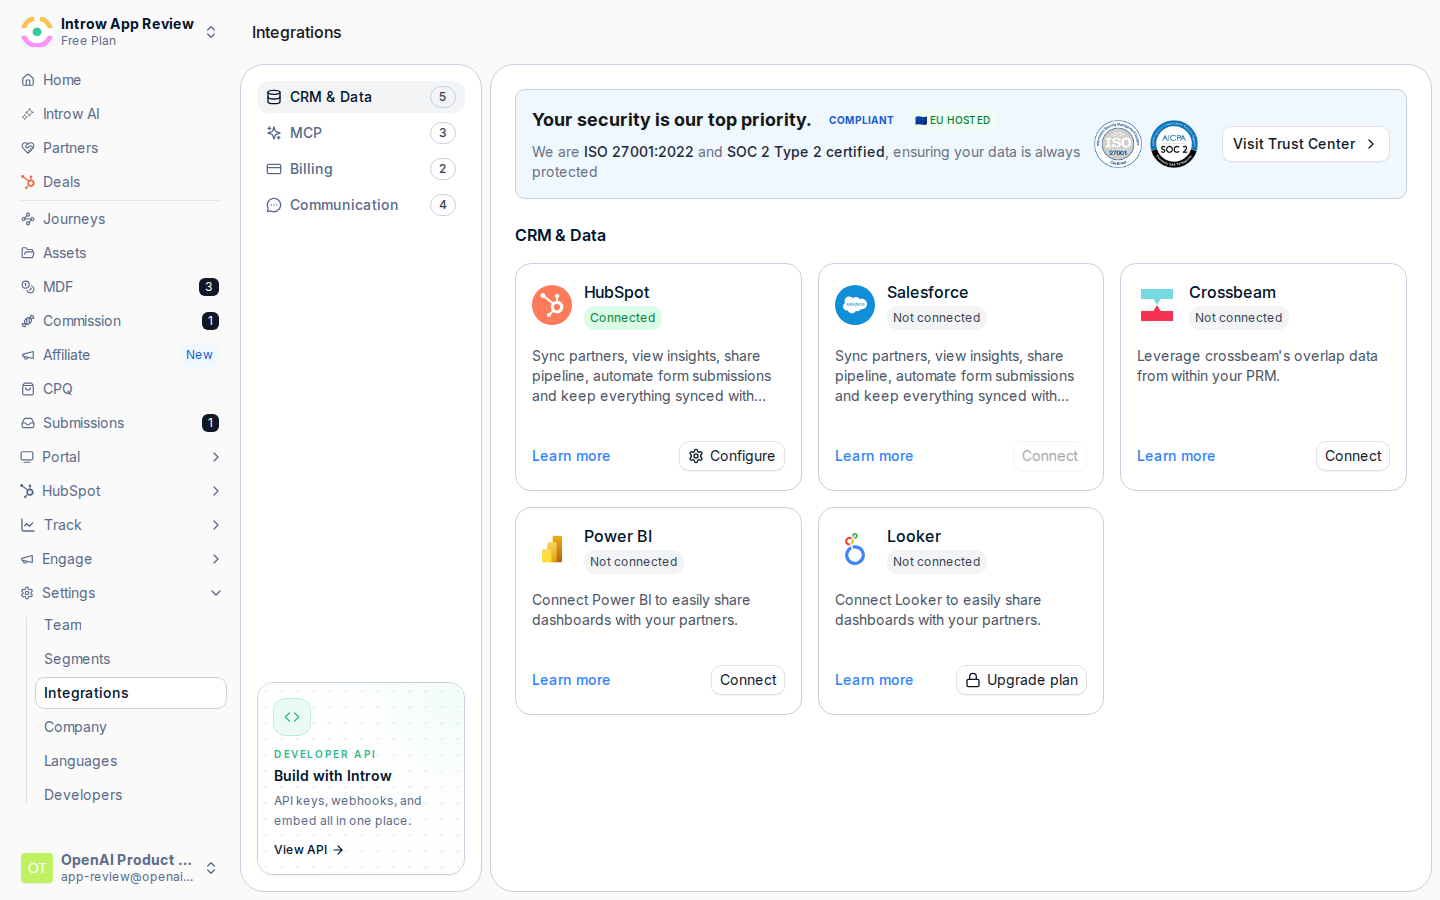 On the **Salesforce** tile select **Connect**. The **Connect Salesforce** dialog asks which environment to use:
* **Use Sandbox Environment** - toggle this on to connect a sandbox or developer org (a test environment), or leave it off to connect production. The dialog confirms the choice: sandbox data never affects production, while production reflects your actual CRM records. The connect button reads **Connect Sandbox** or **Connect Production** to match.
On the **Salesforce** tile select **Connect**. The **Connect Salesforce** dialog asks which environment to use:
* **Use Sandbox Environment** - toggle this on to connect a sandbox or developer org (a test environment), or leave it off to connect production. The dialog confirms the choice: sandbox data never affects production, while production reflects your actual CRM records. The connect button reads **Connect Sandbox** or **Connect Production** to match.
 Select the connect button, sign in to Salesforce, and approve access. If prompted, **install the managed package** into the org - this is what lets Introw read and write the partner data and power the in-CRM embed. After approval, Introw shows Salesforce as **Connected** and opens the setup wizard.
 ### Tell Introw how partners are stored
The wizard opens on **How do you store partners in your CRM?**. This tells Introw which object is a partner so it syncs the right records and attributes opportunities correctly.
* **Partner object** - the object that represents a partner. For Salesforce the default is **Account**; you can also choose **Partner** or a custom object if you manage partners separately. Choose the object you actually mark partners on so Introw never treats ordinary customer accounts as partners.
Introw asks you to confirm with **Please confirm the following info is correct** and shows your selection as "\[object] objects". Select **Yes, that is correct**, then **Next**.
### Find the partners that should sync
The wizard moves to **Find partners in your CRM**, where you scope exactly which records import as partners.
* **Filters** - narrow the partner object by a CRM property (for example a partner-type or record-type field). Add one or more filters so only matching records become partners; the count at the top shows how many were found.
* **Selection** - bring in **all** matching records or hand-pick **specific** ones using the select-all banner or individual rows.
When all records behind a filter are selected, enable **Automatically sync new partners** in the confirmation step so new accounts that later match the filter become partners automatically. Without a filter, automatic sync stays off and you import a fixed set.
Select **Continue with \[N] partner(s)** and confirm. Introw imports the partners; larger selections can take up to a minute. If you exceed the partner maximum, tighten the filter first.
### Link objects to partners (attribution)
The wizard moves to **Which objects do you link with partners?** (the **Object Linking** screen), where opportunities and other records get credited to the partner who influenced them. Select **Add object** to add your first mapping.
For each object choose **Which object do you link with partners?** and then **How do you attribute partners to \[object] objects?**:
* **Object** - the object to attribute, such as **Opportunity**, **Contact**, or **Account**. Configure **Opportunity** at minimum: it is what reporting and commissions run on, and the wizard treats it as the completion step.
* **Custom properties** - link records to a partner through an existing field on the object. Choose this when partners are recorded on a field or picklist you already maintain.
* **Relation table** - link records through a relation object between the opportunity and the partner account or custom object (for example an Opportunity Partner relation). Choose this when partners are tracked in a junction object rather than a single field.
Set **What name do you want to use for this attribution?** so the link reads clearly to your team and partners, then select **Add \[object] attribution**. Repeat **Add object** for any other records you want credited.
Once an Opportunity mapping exists, select **Finish**. The integration is now fully configured.
### Keep the connection healthy
On the connected Salesforce detail page the header shows the live state: green **Connected by \[name]** when healthy, amber **Syncing** during a sync, or red **Connection has been interrupted** when it needs attention. If interrupted, select **Reconnect**.
When a newer managed package is available, the header shows **Install package** or **Install update**. Select it to open the Salesforce install flow (it respects your production or sandbox login) so the org has the latest objects and the embed keeps working.
## Verify it worked
Salesforce shows as **Connected** on the Integrations page, your filtered accounts appear as partners, and a partner-influenced opportunity shows attributed to the right partner. New accounts matching your filter sync in automatically (if you enabled automatic sync), and tiers and managers you set in Introw flow back to Salesforce.
## Related
Go deeper on opportunity attribution by field, picklist, lookup, or relation table.
Add the Introw component to Salesforce record pages.
Fix a sync that shows a needs-attention status.
Full configuration options.
### Tell Introw how partners are stored
The wizard opens on **How do you store partners in your CRM?**. This tells Introw which object is a partner so it syncs the right records and attributes opportunities correctly.
* **Partner object** - the object that represents a partner. For Salesforce the default is **Account**; you can also choose **Partner** or a custom object if you manage partners separately. Choose the object you actually mark partners on so Introw never treats ordinary customer accounts as partners.
Introw asks you to confirm with **Please confirm the following info is correct** and shows your selection as "\[object] objects". Select **Yes, that is correct**, then **Next**.
### Find the partners that should sync
The wizard moves to **Find partners in your CRM**, where you scope exactly which records import as partners.
* **Filters** - narrow the partner object by a CRM property (for example a partner-type or record-type field). Add one or more filters so only matching records become partners; the count at the top shows how many were found.
* **Selection** - bring in **all** matching records or hand-pick **specific** ones using the select-all banner or individual rows.
When all records behind a filter are selected, enable **Automatically sync new partners** in the confirmation step so new accounts that later match the filter become partners automatically. Without a filter, automatic sync stays off and you import a fixed set.
Select **Continue with \[N] partner(s)** and confirm. Introw imports the partners; larger selections can take up to a minute. If you exceed the partner maximum, tighten the filter first.
### Link objects to partners (attribution)
The wizard moves to **Which objects do you link with partners?** (the **Object Linking** screen), where opportunities and other records get credited to the partner who influenced them. Select **Add object** to add your first mapping.
For each object choose **Which object do you link with partners?** and then **How do you attribute partners to \[object] objects?**:
* **Object** - the object to attribute, such as **Opportunity**, **Contact**, or **Account**. Configure **Opportunity** at minimum: it is what reporting and commissions run on, and the wizard treats it as the completion step.
* **Custom properties** - link records to a partner through an existing field on the object. Choose this when partners are recorded on a field or picklist you already maintain.
* **Relation table** - link records through a relation object between the opportunity and the partner account or custom object (for example an Opportunity Partner relation). Choose this when partners are tracked in a junction object rather than a single field.
Set **What name do you want to use for this attribution?** so the link reads clearly to your team and partners, then select **Add \[object] attribution**. Repeat **Add object** for any other records you want credited.
Once an Opportunity mapping exists, select **Finish**. The integration is now fully configured.
### Keep the connection healthy
On the connected Salesforce detail page the header shows the live state: green **Connected by \[name]** when healthy, amber **Syncing** during a sync, or red **Connection has been interrupted** when it needs attention. If interrupted, select **Reconnect**.
When a newer managed package is available, the header shows **Install package** or **Install update**. Select it to open the Salesforce install flow (it respects your production or sandbox login) so the org has the latest objects and the embed keeps working.
## Verify it worked
Salesforce shows as **Connected** on the Integrations page, your filtered accounts appear as partners, and a partner-influenced opportunity shows attributed to the right partner. New accounts matching your filter sync in automatically (if you enabled automatic sync), and tiers and managers you set in Introw flow back to Salesforce.
## Related
Go deeper on opportunity attribution by field, picklist, lookup, or relation table.
Add the Introw component to Salesforce record pages.
Fix a sync that shows a needs-attention status.
Full configuration options.