> ## Documentation Index
> Fetch the complete documentation index at: https://docs.introw.io/llms.txt
> Use this file to discover all available pages before exploring further.
# Create and auto-issue a certificate
> Design a branded, time-bound certificate template, then attach it to a course so it is awarded automatically on completion.
> For enablement teams standing up a credential partners will be proud to display and that issues itself.
A certificate is more than a completion receipt: it is a credential partners display to win trust with their own customers, and a signal you use to decide who is qualified to sell or deliver. That only works if it looks the part, means something, and arrives the moment a partner earns it. This guide builds a branded, time-bound template and then attaches it to a course so it is awarded automatically, with no manual issuance step.
## What you'll achieve
A reusable certificate template - branded with a name, description, colors or background image, and issuer, with a validity period that controls when it expires - attached to a course so any learner who completes (and passes, if a score is set) is certified automatically.
## Before you start
You need a team role with write access to Certificates, and to Courses for the auto-issue step.
To wire up auto-issue, have the course you want to certify already built. If you also want to gate certification on a score, plan to set a minimum passing score (see [Assess learners with a quiz](../../quizzes/guides/assess-learners-with-a-quiz)).
## Watch it
## Steps
### Create the template
Go to [Certificates](https://app.introw.io/certificates) and select **Create certificate**. This is the reusable design you attach to courses and award, not a one-off.
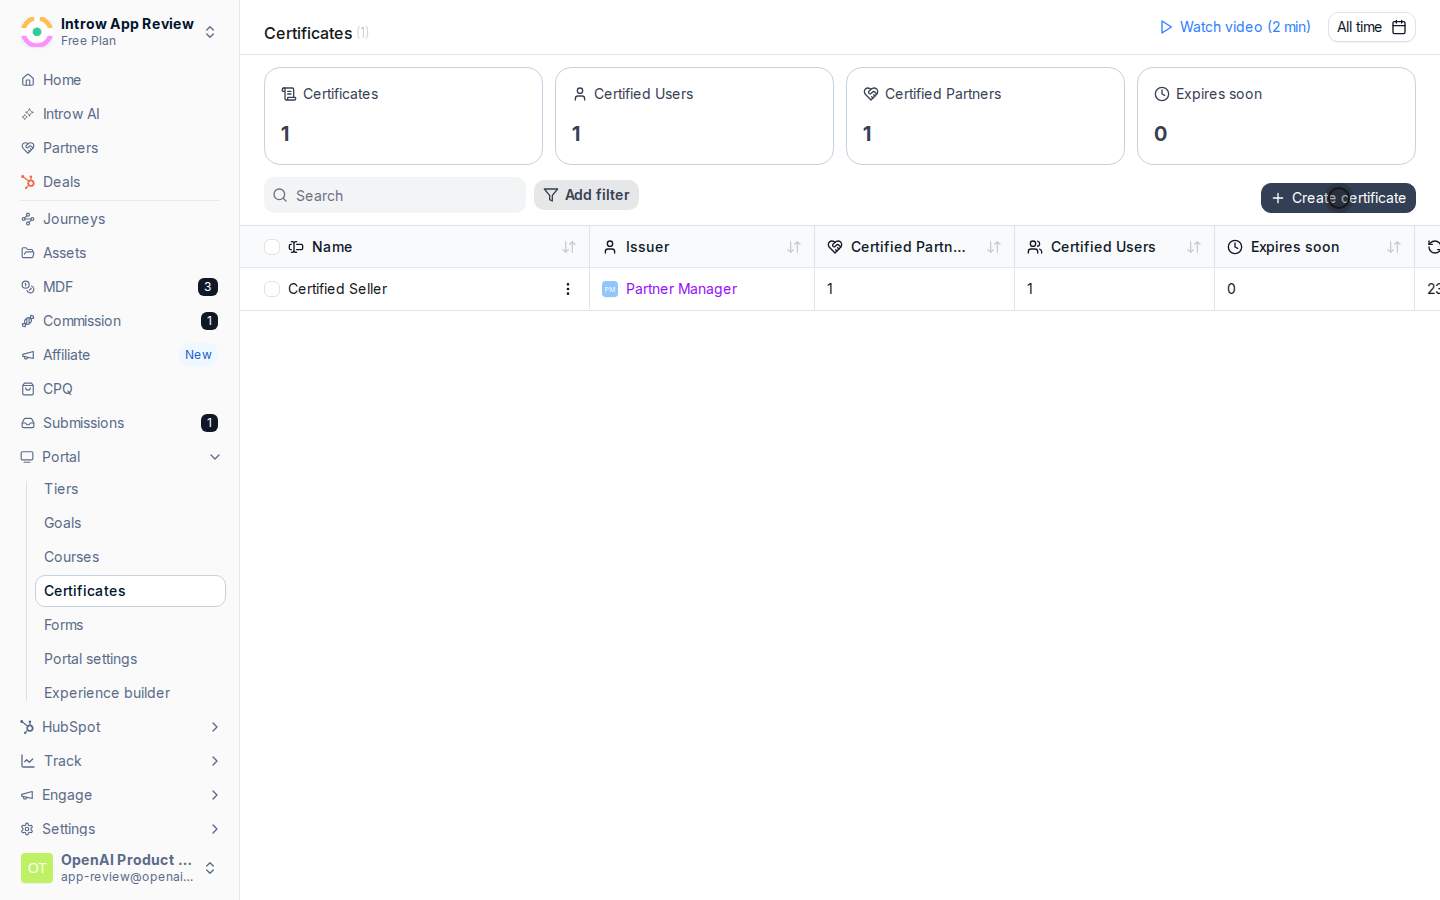 Fill in the create dialog:
* **Name** - the credential title shown on the certificate and in your list (for example, "Certified Reseller"). Make it specific so partners and your team can tell credentials apart.
* **Validity** - how long the credential stays valid: a number plus a period (**Days**, **Weeks**, **Months**, or **Years**), or choose **Unlimited** so it never expires. Pick a real window when certification should be refreshed periodically, so a lapsed partner shows up as needing a refresh; choose Unlimited only for one-time acknowledgments.
* **Issued by** - the issuer name shown on the credential. Default this to your company or program name so the certificate reads as official.
Create the certificate to open its detail page.
Fill in the create dialog:
* **Name** - the credential title shown on the certificate and in your list (for example, "Certified Reseller"). Make it specific so partners and your team can tell credentials apart.
* **Validity** - how long the credential stays valid: a number plus a period (**Days**, **Weeks**, **Months**, or **Years**), or choose **Unlimited** so it never expires. Pick a real window when certification should be refreshed periodically, so a lapsed partner shows up as needing a refresh; choose Unlimited only for one-time acknowledgments.
* **Issued by** - the issuer name shown on the credential. Default this to your company or program name so the certificate reads as official.
Create the certificate to open its detail page.
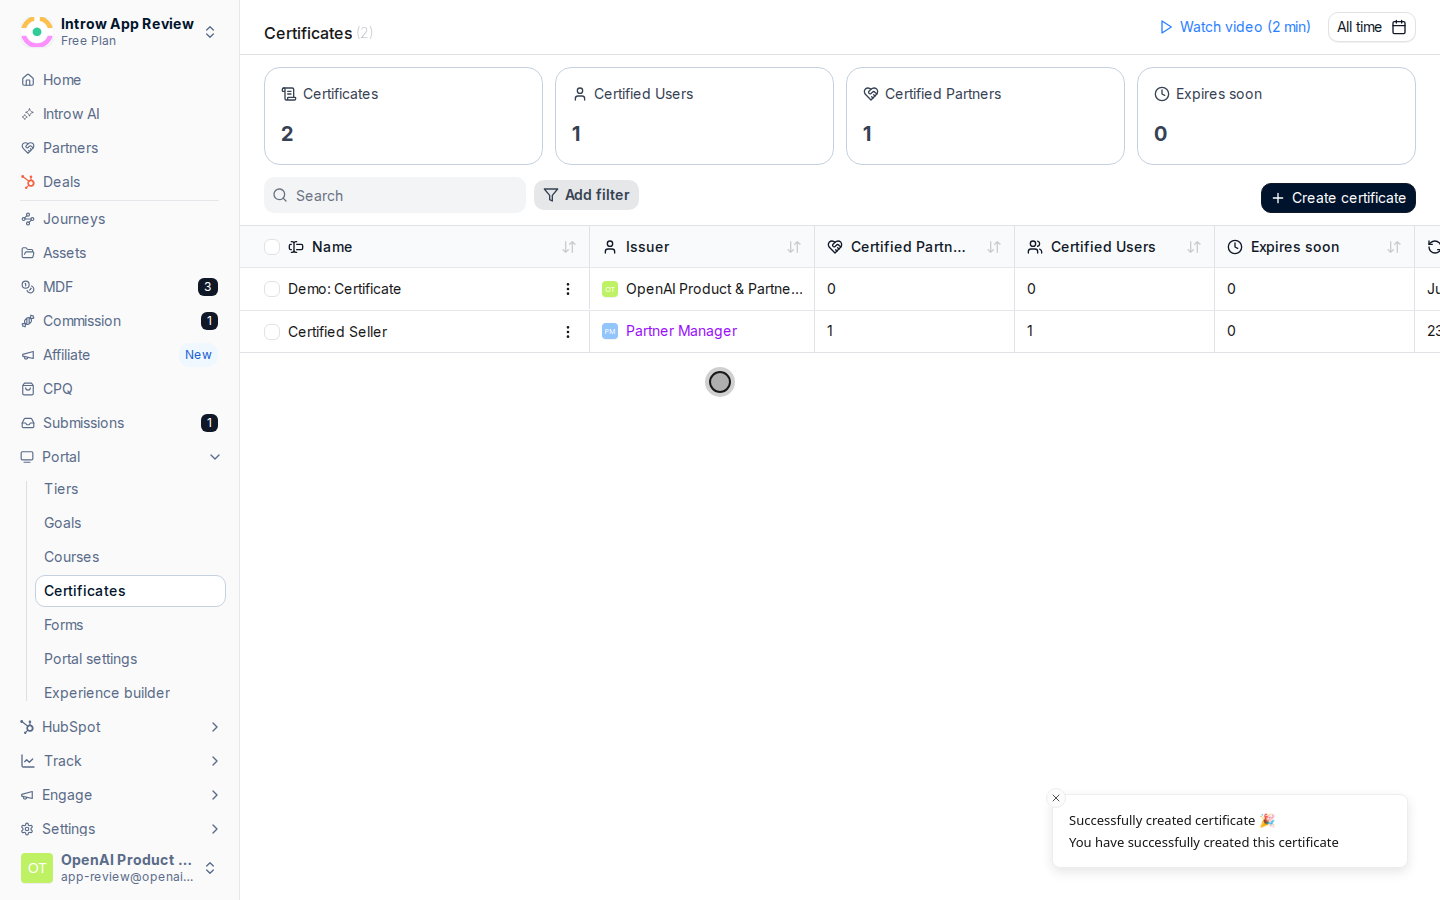 On the certificate's detail page, refine how it looks. The preview updates as you edit:
* **Description** - a short line describing what the credential represents. This appears on the verifiable certificate page partners share.
* **Background image** - upload artwork to use as the certificate background. Use this for a fully designed credential; when an image is set, the **Background color** picker is hidden because the image defines the background.
* **Text color** - the color of the text rendered on the certificate; set it to stay readable against your background image or color.
* **Background color** - shown only when no background image is set; choose a color that matches your brand.
On the certificate's detail page, refine how it looks. The preview updates as you edit:
* **Description** - a short line describing what the credential represents. This appears on the verifiable certificate page partners share.
* **Background image** - upload artwork to use as the certificate background. Use this for a fully designed credential; when an image is set, the **Background color** picker is hidden because the image defines the background.
* **Text color** - the color of the text rendered on the certificate; set it to stay readable against your background image or color.
* **Background color** - shown only when no background image is set; choose a color that matches your brand.
 ### Auto-issue it on course completion
Open the course you want to certify, select **Configure**, and go to the **Certificate** tab. This is where you link a credential so completion issues it automatically.
Choose the template you just built (or generate one with AI if you skipped the design step). Attaching it means every learner who completes this course is issued this credential, no manual step required.
If certification should require proof of competency, set a **Minimum score to pass** on the **Advanced** tab. With a score set, the certificate issues only to learners who complete and pass; without one, completion alone certifies them. See [Assess learners with a quiz](../../quizzes/guides/assess-learners-with-a-quiz).
Select **Save Changes**. From now on, any qualifying completion issues the certificate automatically, gives the partner a verifiable certificate page, and syncs the issuance to your CRM.
## Verify it worked
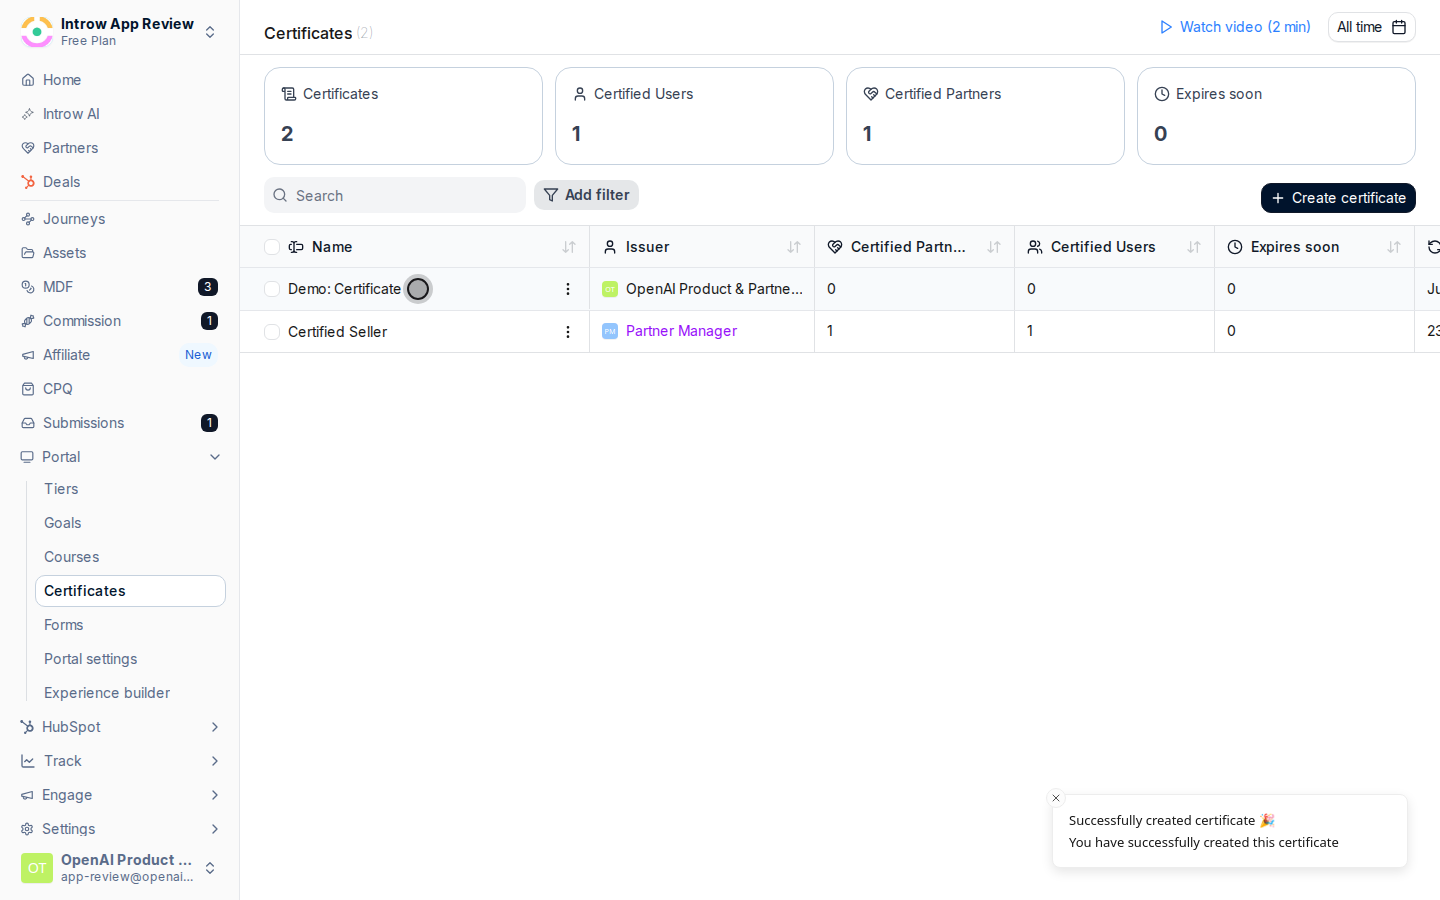
The certificate appears in your certificate list and is selectable when configuring a course. After attaching it, a learner who completes the course (and meets the passing score, if set) receives the credential, gets a verifiable certificate page, and the issuance syncs to the CRM.
## Related
Skip the design step and let AI draft it.
Award a credential to individuals or a segment.
Remove a credential when it no longer applies.
Certificate model, validity, and issuance.
### Auto-issue it on course completion
Open the course you want to certify, select **Configure**, and go to the **Certificate** tab. This is where you link a credential so completion issues it automatically.
Choose the template you just built (or generate one with AI if you skipped the design step). Attaching it means every learner who completes this course is issued this credential, no manual step required.
If certification should require proof of competency, set a **Minimum score to pass** on the **Advanced** tab. With a score set, the certificate issues only to learners who complete and pass; without one, completion alone certifies them. See [Assess learners with a quiz](../../quizzes/guides/assess-learners-with-a-quiz).
Select **Save Changes**. From now on, any qualifying completion issues the certificate automatically, gives the partner a verifiable certificate page, and syncs the issuance to your CRM.
## Verify it worked
The certificate appears in your certificate list and is selectable when configuring a course. After attaching it, a learner who completes the course (and meets the passing score, if set) receives the credential, gets a verifiable certificate page, and the issuance syncs to the CRM.
## Related
Skip the design step and let AI draft it.
Award a credential to individuals or a segment.
Remove a credential when it no longer applies.
Certificate model, validity, and issuance.