> ## Documentation Index
> Fetch the complete documentation index at: https://docs.introw.io/llms.txt
> Use this file to discover all available pages before exploring further.
# Build the asset library
> Add content, organize it into folders and categories, set who can see each asset, and give AI the context to answer on it.
> For partner marketing and partner ops standing up the content library partners actually use.
A content library only delivers value when partners can find the right asset and only the people who should see it can. This guide covers the whole setup: adding content, structuring it into folders and categories, setting visibility per asset, and giving AI the context to answer partner questions from your content. Do it once and every downstream surface, hubs, experiences, and share links, draws from a clean, governed library.
## What you'll achieve
A structured library where assets live in clear folders, are tagged for filtering, carry the right access level, and are ready to surface anywhere in the portal. Public collateral stays open, sensitive material is limited to the portal or specific segments, and AI can answer partner questions accurately from the content you added.
## Before you start
You need write access to assets to add and manage content.
If you plan to restrict any asset to specific partners, create those segments first so they are ready to apply. See [Create a dynamic segment](/features/partners/segments/guides/create-a-dynamic-segment).
## Watch it
## Steps
### Add and organize content
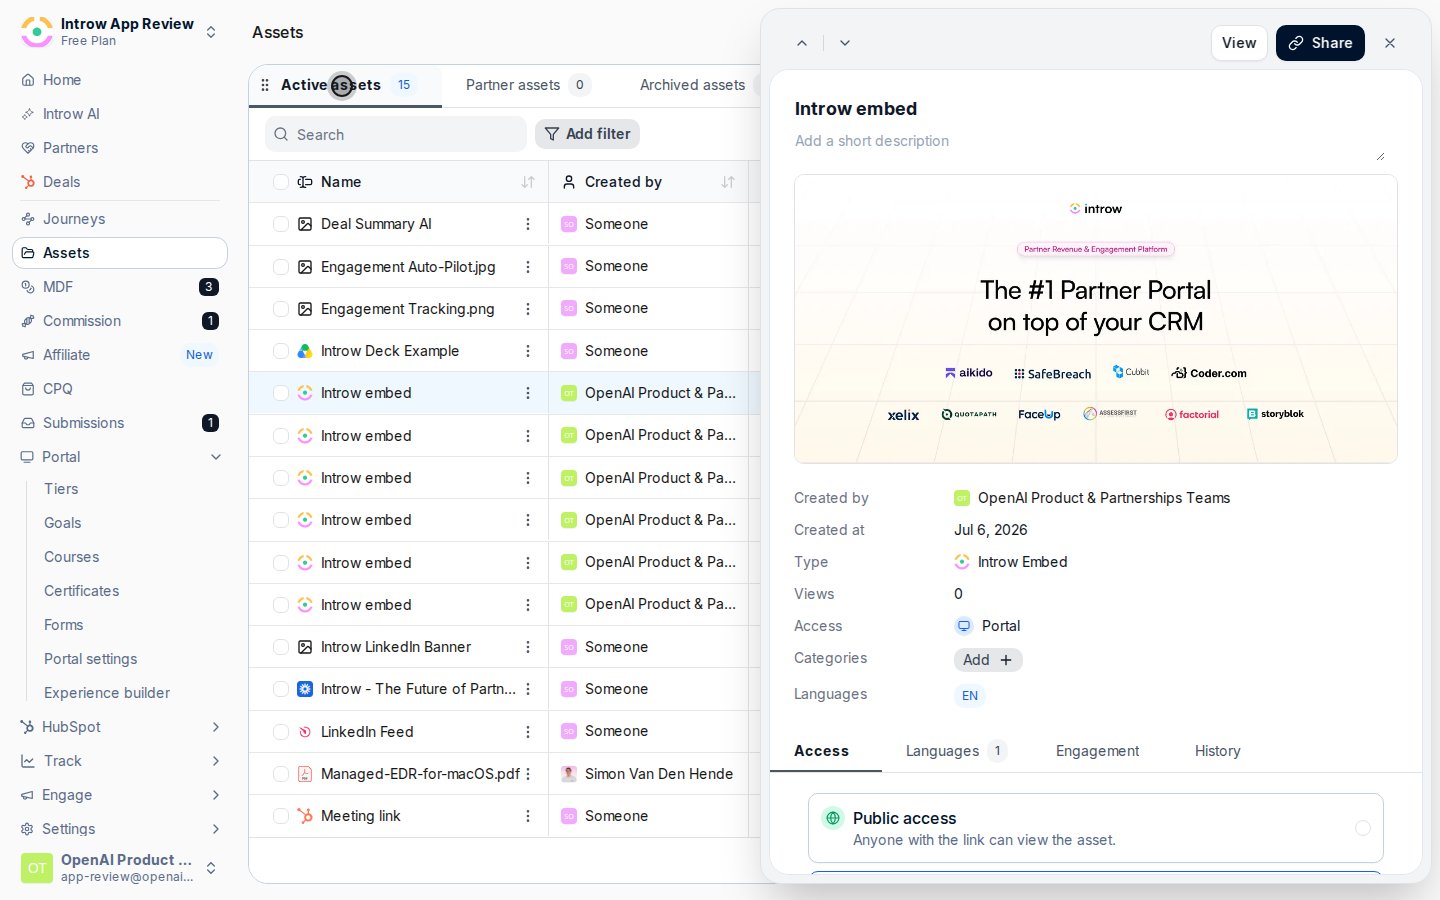
Go to [Assets](https://app.introw.io/assets/library), the home of your content library.
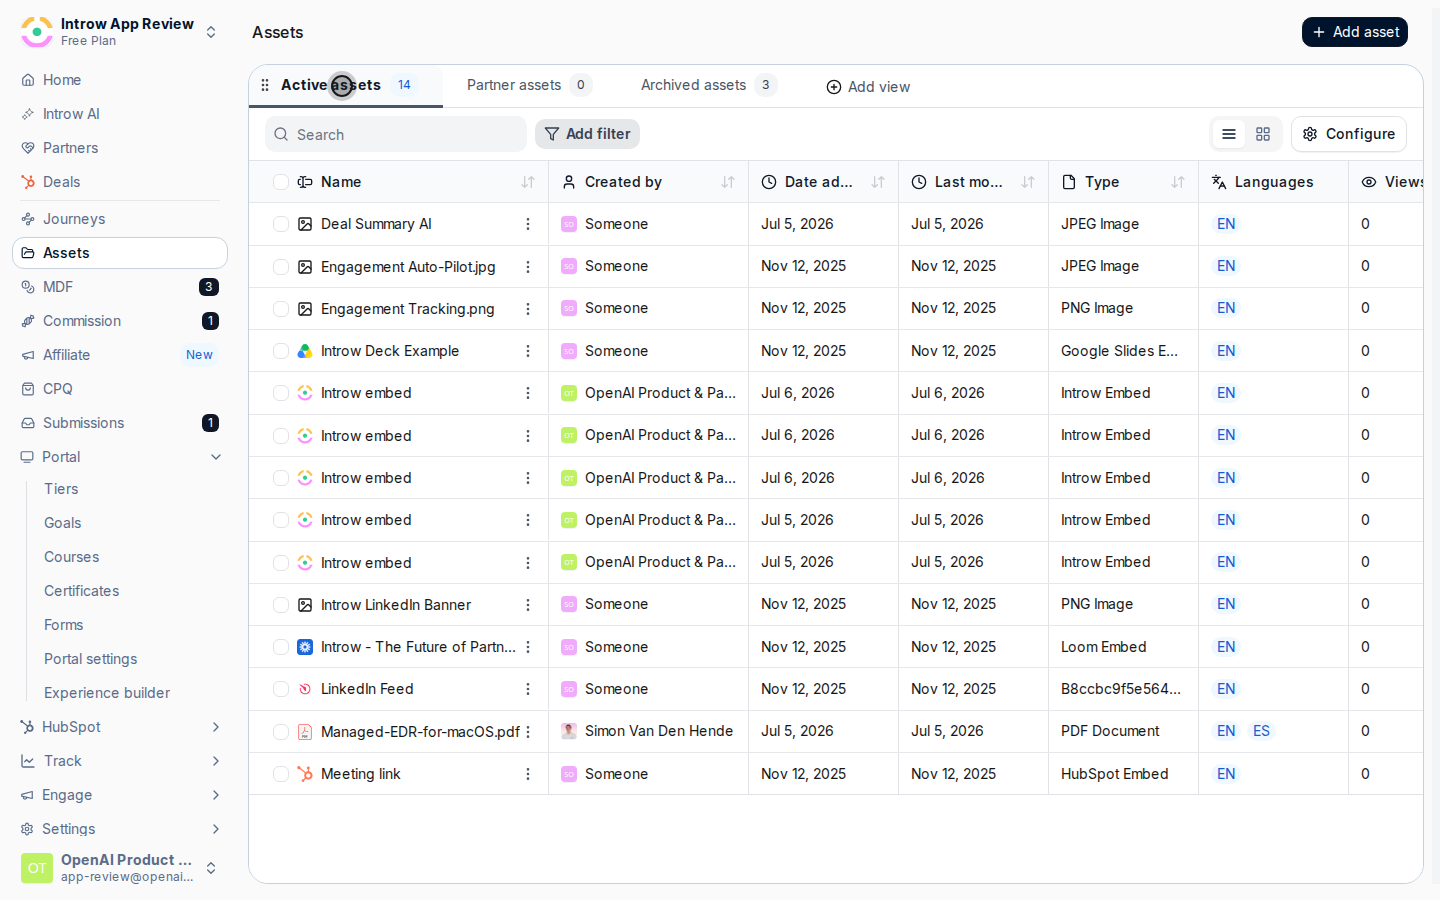
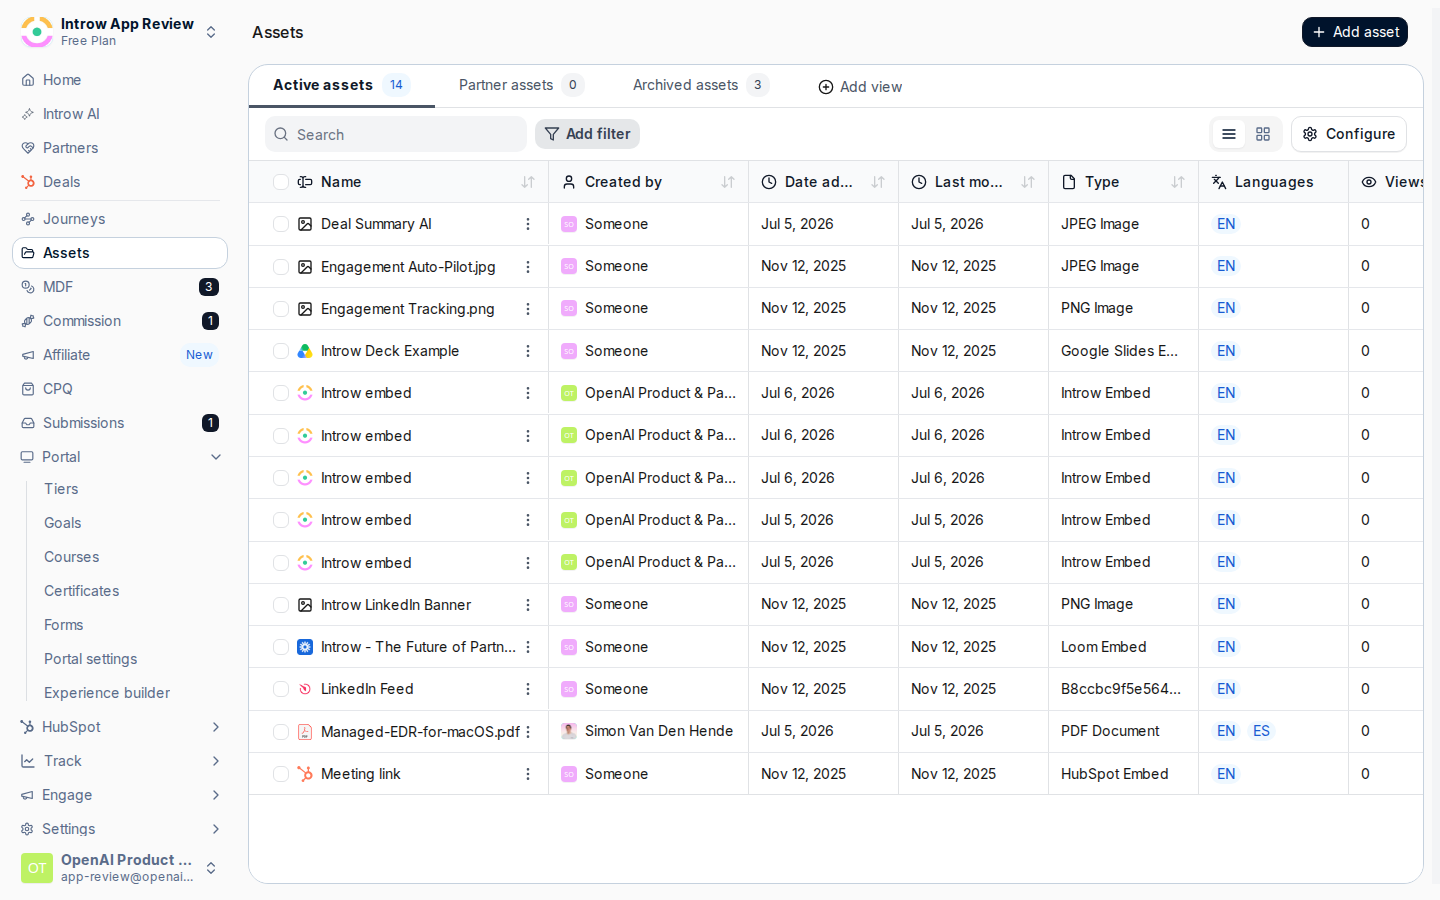 Build a folder structure before bulk-loading content, so assets land in the right place. Name folders the way partners search, for example by product, use case, or stage. Folders can be nested, and they are what hubs include or exclude later, so a clean structure pays off across the portal.
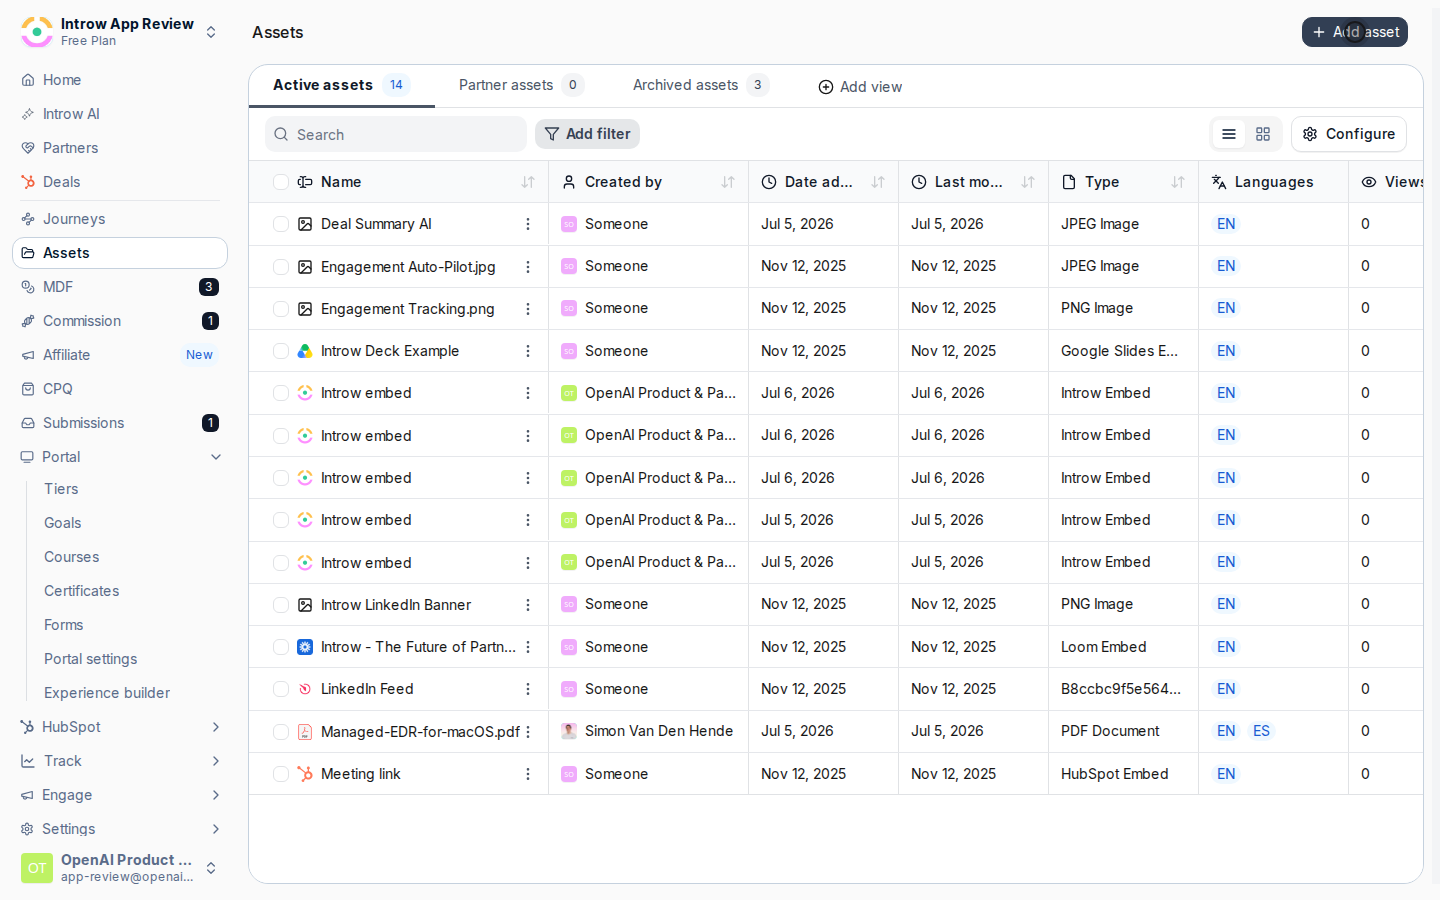
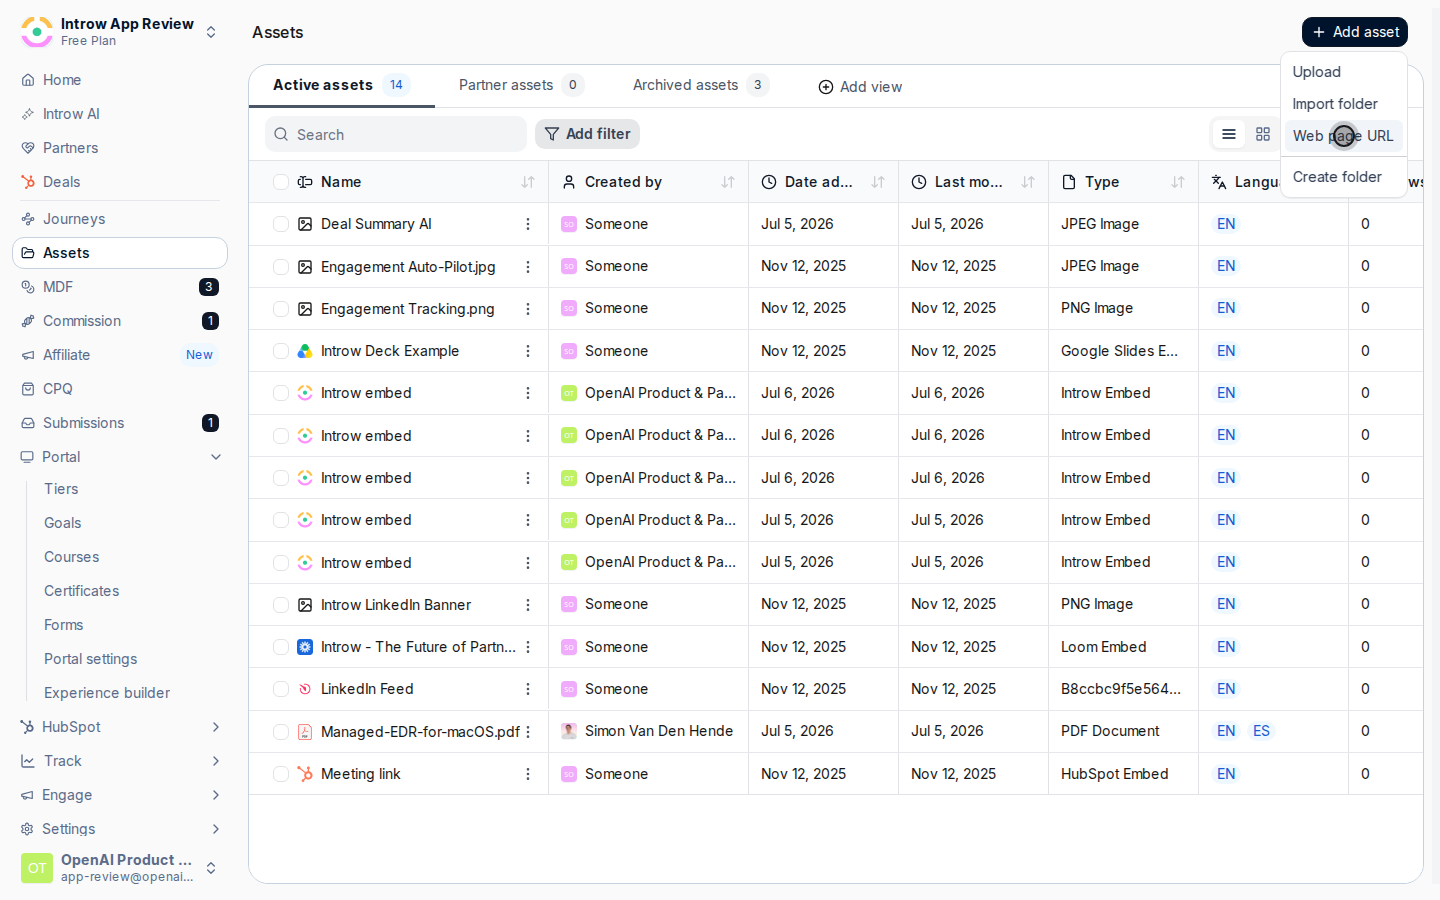
 Use the add menu to bring content in. Choose the type that fits the source:
* **Upload a file** - add a document, slide deck, image, or PDF stored as a file. Use this for collateral you own and want hosted in Introw.
* **Import a folder** - bring in a whole folder tree at once, from a chosen folder or a ZIP. Optionally keep it syncing from its source so the library stays current as the source changes; turn syncing on when the content is maintained elsewhere.
* **Add a web page URL** - add a link or an embed for hosted content such as a video or a Google document. Introw recognises common providers and embeds them inline rather than linking out.
Use the add menu to bring content in. Choose the type that fits the source:
* **Upload a file** - add a document, slide deck, image, or PDF stored as a file. Use this for collateral you own and want hosted in Introw.
* **Import a folder** - bring in a whole folder tree at once, from a chosen folder or a ZIP. Optionally keep it syncing from its source so the library stays current as the source changes; turn syncing on when the content is maintained elsewhere.
* **Add a web page URL** - add a link or an embed for hosted content such as a video or a Google document. Introw recognises common providers and embeds them inline rather than linking out.
 Add categories to assets so they can be filtered across the library and inside Asset Hub embeds. Categories act as shared, filterable tags, so use a consistent, small set rather than free-form labels on every asset.
 ### Set who can see each asset
Open an asset and go to its **Access** tab. Access is set per asset, so you can keep public collateral open while locking sensitive material down.
### Set who can see each asset
Open an asset and go to its **Access** tab. Access is set per asset, so you can keep public collateral open while locking sensitive material down.
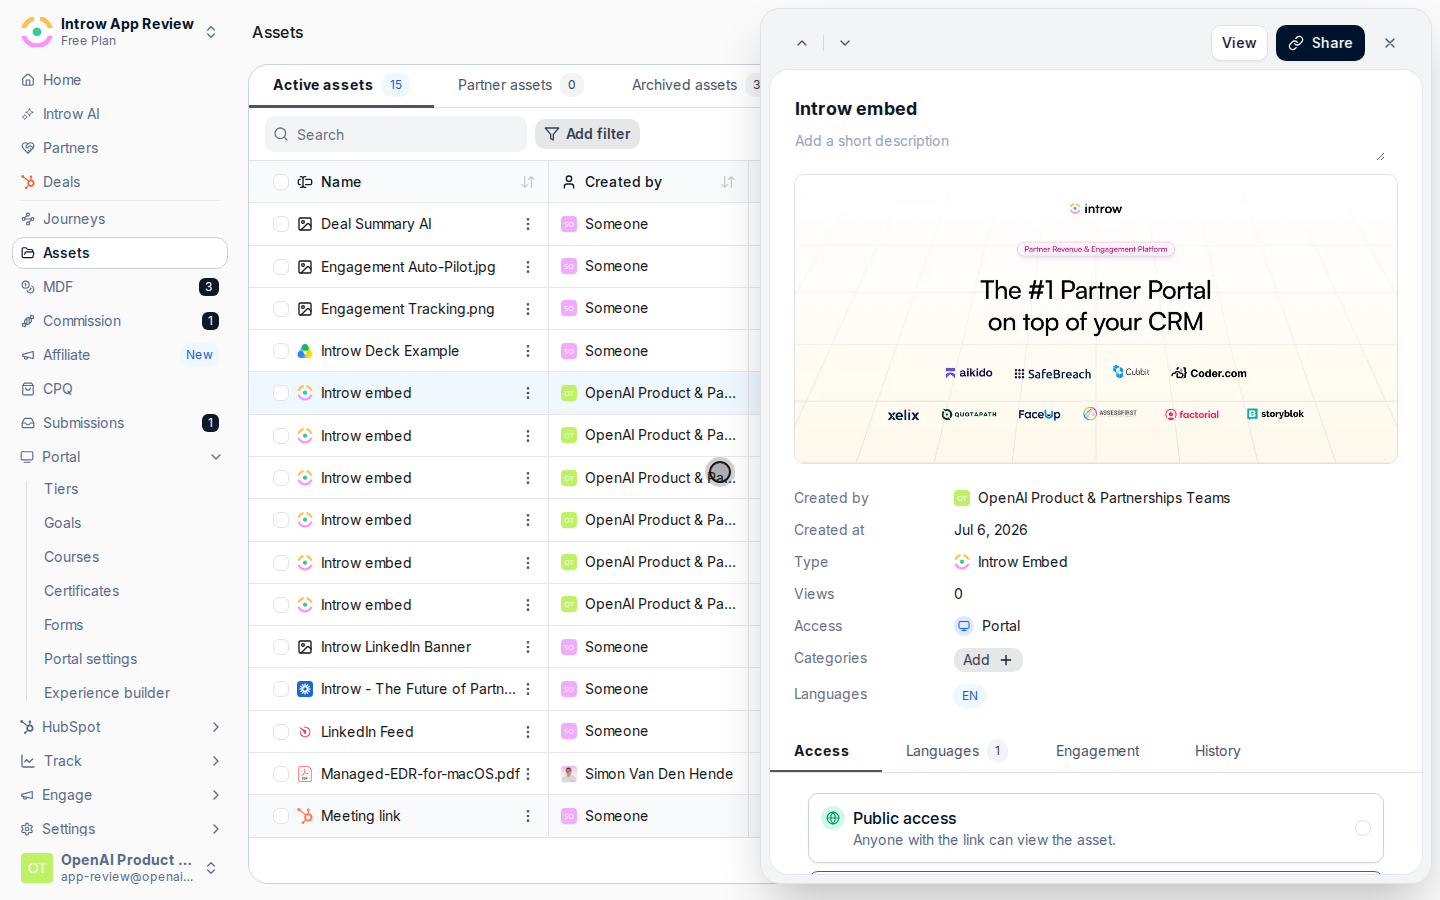 Pick the level that matches the sensitivity of the asset:
* **Public access** - anyone with the link can view the asset. Use for openly shareable collateral such as brochures.
* **Portal access** - only partner users with portal access can view it. Use for standard enablement meant for your partners but not the public.
* **Restricted access** - only a subset of partner users can view it. Choose this for sensitive material, then add the segments that should have access in the **Segments** selector. Restricted access depends on accurate segments, so confirm them before relying on it.
Pick the level that matches the sensitivity of the asset:
* **Public access** - anyone with the link can view the asset. Use for openly shareable collateral such as brochures.
* **Portal access** - only partner users with portal access can view it. Use for standard enablement meant for your partners but not the public.
* **Restricted access** - only a subset of partner users can view it. Choose this for sensitive material, then add the segments that should have access in the **Segments** selector. Restricted access depends on accurate segments, so confirm them before relying on it.
 ### Give AI the context to answer
Open an asset and go to its **AI** tab. What you add here helps AI features answer partner questions accurately from this asset.
Provide the background AI needs so its answers are grounded in your content:
* **Context description** - a plain-text or Markdown note describing what the asset is and when it applies. Use it to give AI background the file itself does not spell out, so answers are accurate.
* **Supporting files** - upload PDF, TXT, or MD files that are indexed alongside the asset to improve AI answers about it. Add reference material that complements the main asset.
## Verify it worked
Assets appear in their folders and can be filtered by category. Each asset's **Access** tab reflects the level you set, and a restricted asset is visible only to partners in the chosen segments. With AI context added, AI features can answer partner questions using that content. The library is now ready to surface in hubs, experiences, and share links.
## Related
Send a trackable link to a single asset.
Add language variants for a global partner base.
Surface library assets in a partner portal.
Full asset library configuration options.
### Give AI the context to answer
Open an asset and go to its **AI** tab. What you add here helps AI features answer partner questions accurately from this asset.
Provide the background AI needs so its answers are grounded in your content:
* **Context description** - a plain-text or Markdown note describing what the asset is and when it applies. Use it to give AI background the file itself does not spell out, so answers are accurate.
* **Supporting files** - upload PDF, TXT, or MD files that are indexed alongside the asset to improve AI answers about it. Add reference material that complements the main asset.
## Verify it worked
Assets appear in their folders and can be filtered by category. Each asset's **Access** tab reflects the level you set, and a restricted asset is visible only to partners in the chosen segments. With AI context added, AI features can answer partner questions using that content. The library is now ready to surface in hubs, experiences, and share links.
## Related
Send a trackable link to a single asset.
Add language variants for a global partner base.
Surface library assets in a partner portal.
Full asset library configuration options.