> ## Documentation Index
> Fetch the complete documentation index at: https://docs.introw.io/llms.txt
> Use this file to discover all available pages before exploring further.
# Invite a team member
> Add a colleague to your team in the right role, understand paying vs CRM-only seats, and manage their status from invited through active.
Getting a new teammate into Introw with the right access is the first step to having them contribute safely. Inviting them into a role means they land with exactly the permissions that role grants, no more and no less, from day one. This guide also covers the difference between paying and CRM-only seats and how to follow an invite from sent to active.
## What you'll achieve
A colleague is invited into the correct role and receives an email invitation. They appear on the Users list as Pending and move to Active once they accept, holding the permissions of the role you chose.
## Before you start
Have the right role ready, or create one first. The role you pick controls their access and their seat type. See [Create an internal role](./create-an-internal-role).
Internal users on a paying role count against your plan's seat allowance. If you have reached the limit, the invite dialog tells you and offers to upgrade. CRM-only roles (available when HubSpot is connected) do not consume a paying seat, so you can keep adding CRM users even when the paid seats are full.
## Watch it
## Steps
Go to the **Users** tab of [Team](https://app.introw.io/settings/team), where your team is listed with each person's status, role, and invite date.
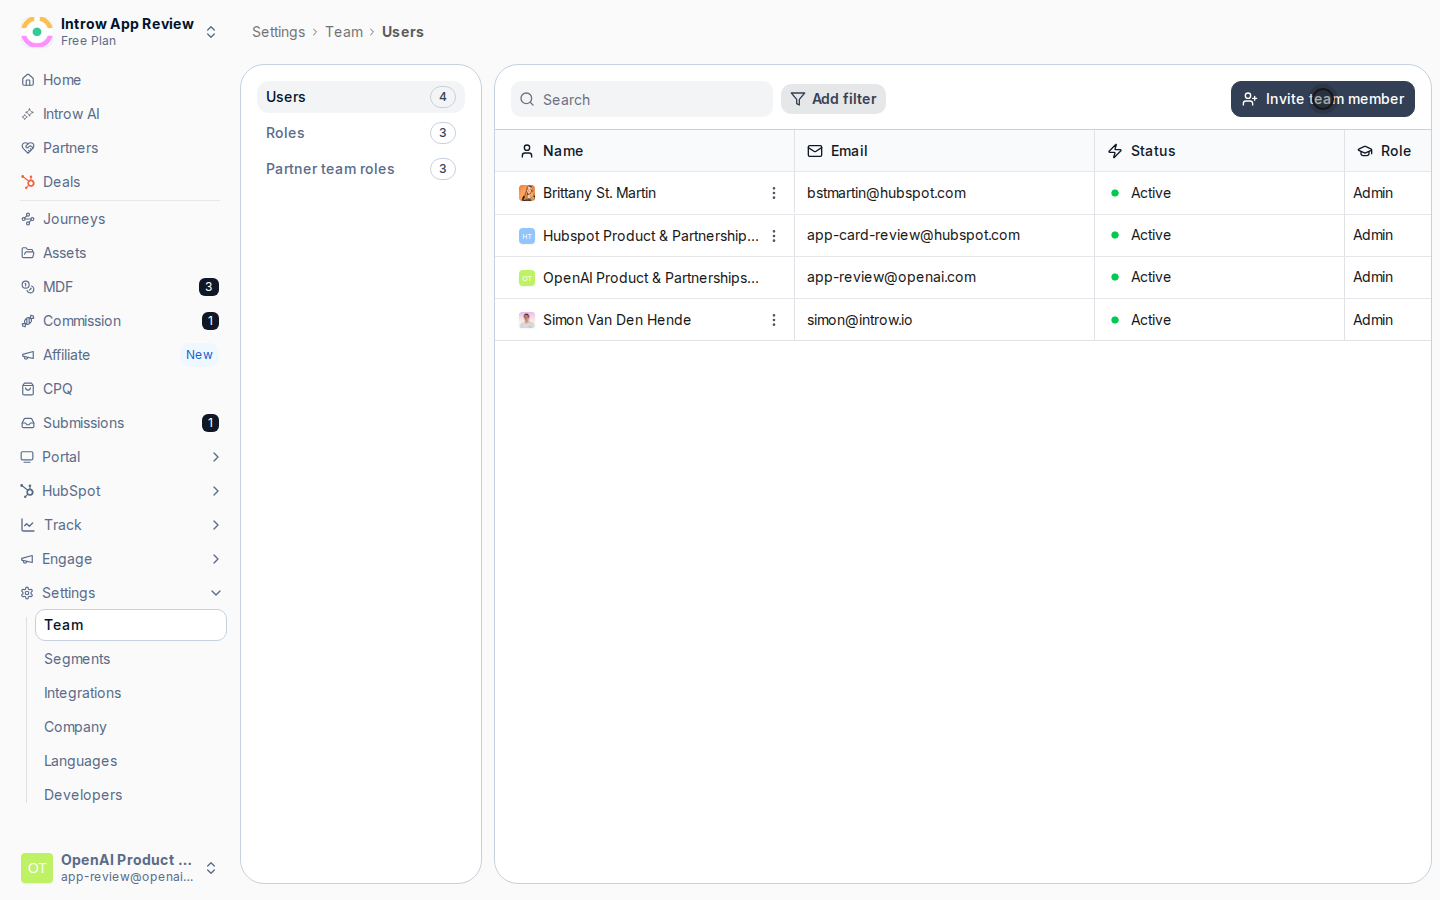
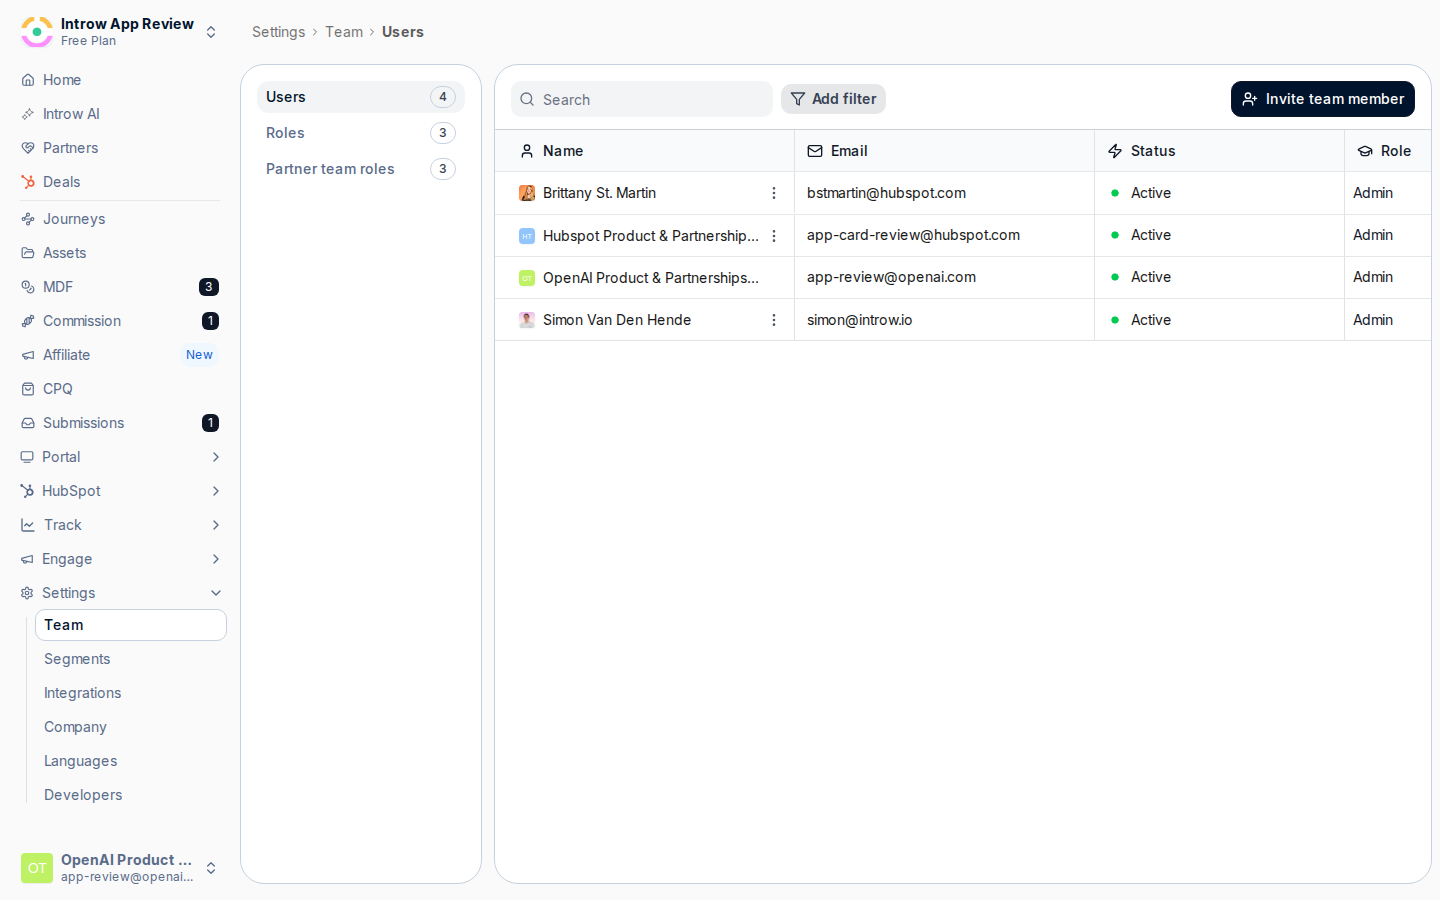 Select **Invite team member** and enter the person's **Email**. If you are at your seat limit, the dialog shows a notice here; you can still proceed with a CRM-only role when HubSpot is connected.
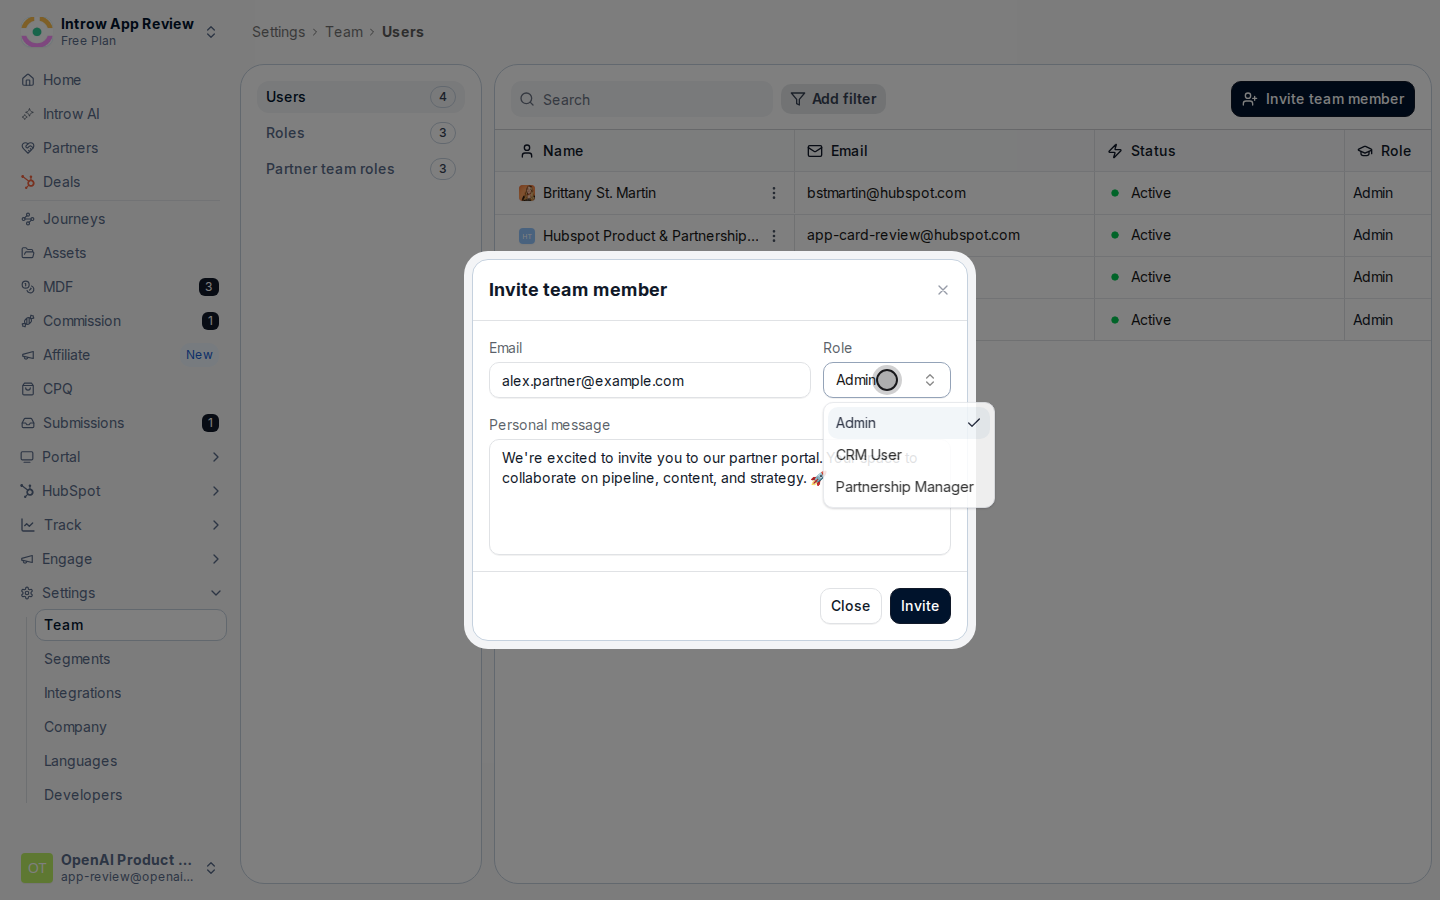
 Pick the **Role** for this person. The role decides what they can do and whether they use a paying seat or a CRM-only seat. If you select a CRM-only role, the dialog reminds you those users only have access to the CRM module and never enter Introw directly.
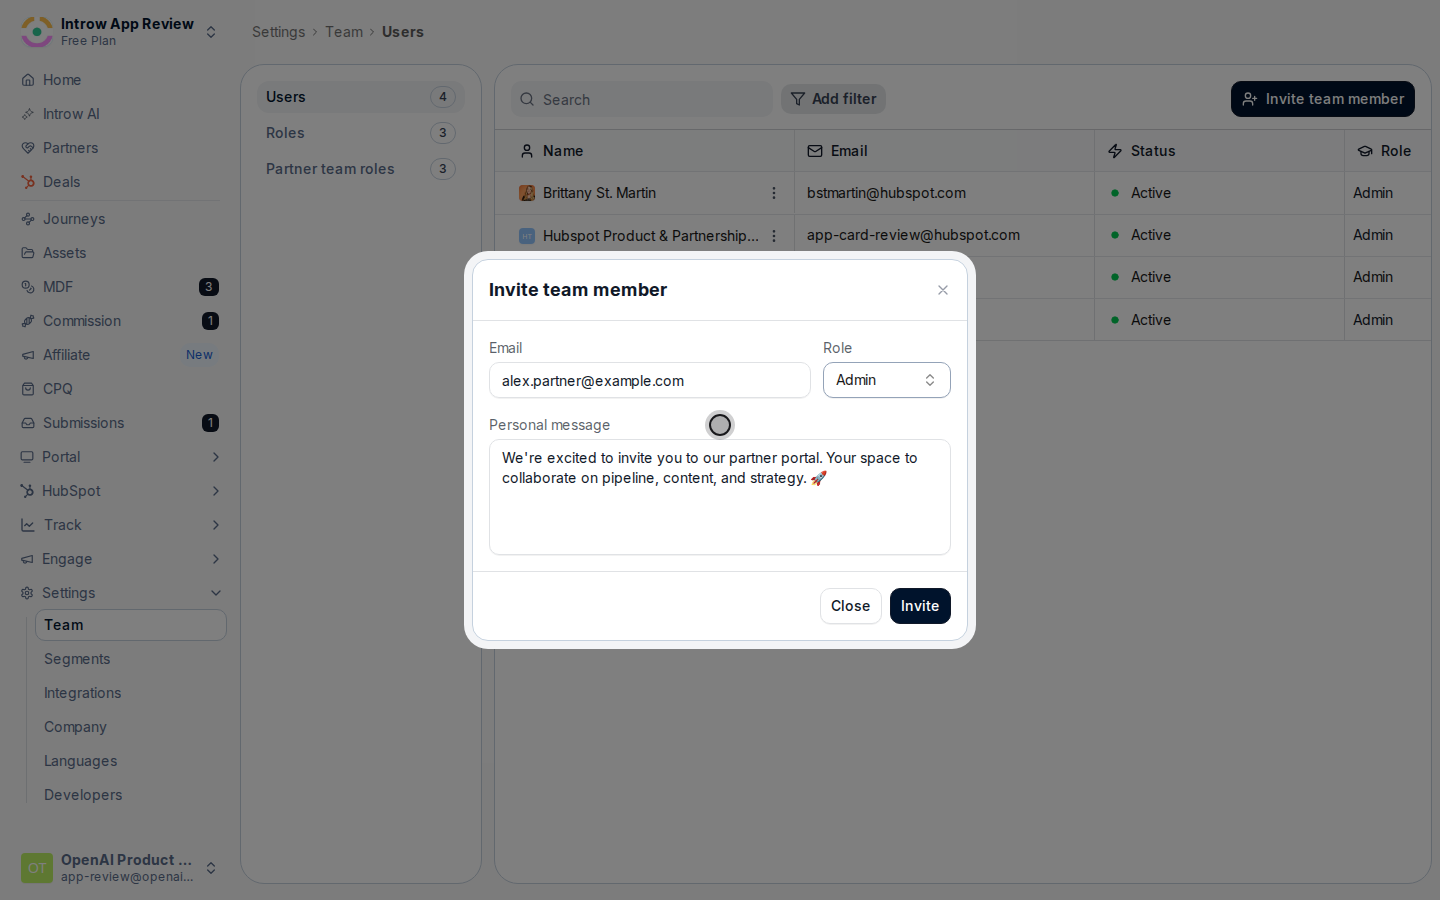
 Optionally edit the **Personal message** that goes out with the invitation, then select **Invite**. The person receives an email invitation and appears on the Users list as **Pending** until they accept.
 Use the status filter on the **Users** tab to track people: **Active** (signed in), **Pending** (invited, not yet accepted), **Requested** (someone from your email domain asked to join and is waiting for you to accept or decline), and **Deactivated**. From a person's row you can change their role, resend the invitation, or deactivate them.
## Verify it worked
The person shows on the **Users** tab, first as **Pending**, then as **Active** once they accept and sign in. Their row reflects the role you assigned, and a CRM-only user does not reduce your remaining paying seats.
## Related
Build the role first, and scope it if needed.
Assign people to the partners they manage.
Full configuration options.
Use the status filter on the **Users** tab to track people: **Active** (signed in), **Pending** (invited, not yet accepted), **Requested** (someone from your email domain asked to join and is waiting for you to accept or decline), and **Deactivated**. From a person's row you can change their role, resend the invitation, or deactivate them.
## Verify it worked
The person shows on the **Users** tab, first as **Pending**, then as **Active** once they accept and sign in. Their row reflects the role you assigned, and a CRM-only user does not reduce your remaining paying seats.
## Related
Build the role first, and scope it if needed.
Assign people to the partners they manage.
Full configuration options.