> ## Documentation Index
> Fetch the complete documentation index at: https://docs.introw.io/llms.txt
> Use this file to discover all available pages before exploring further.
# Set up internal SSO for your team
> Connect your identity provider, map SAML attributes to user fields, set a default role, and switch your team to single sign-on.
Internal SSO lets your team sign in to Introw through your own identity provider, so access is granted and revoked alongside the rest of your stack. This guide takes you all the way from registering Introw as a service provider in your identity provider, through mapping the SAML attributes that populate each user, to switching your team over to single sign-on. Reach for it when onboarding and offboarding should run through your identity workflow instead of being a separate task in Introw.
## What you'll achieve
Your team signs in to Introw through your identity provider. New people who authenticate through SSO arrive with their name and email populated from your directory and land on a default role you choose, and once SSO is required your team can only sign in through the provider.
## Before you start
Single sign-on is a paid add-on and must be enabled for your organisation. If the Internal SSO page shows an upgrade prompt instead of the configuration, it is not yet on your plan.
You need the Single sign-on permission on your role to open and edit the Internal SSO page.
You need admin access to create and manage a SAML application in your identity provider (for example Okta, Microsoft Entra ID, or Google Workspace).
Decide which role new SSO users should land on and make sure it exists, since you will select it during attribute mapping. See [Create an internal role](/features/access/team-management/guides/create-an-internal-role).
## Watch it
## Steps
### Connect your identity provider
Go to [Internal SSO](https://app.introw.io/settings/developers/sso). The page is split into the service provider details you give your identity provider on the left, and the attribute mapping on the right.
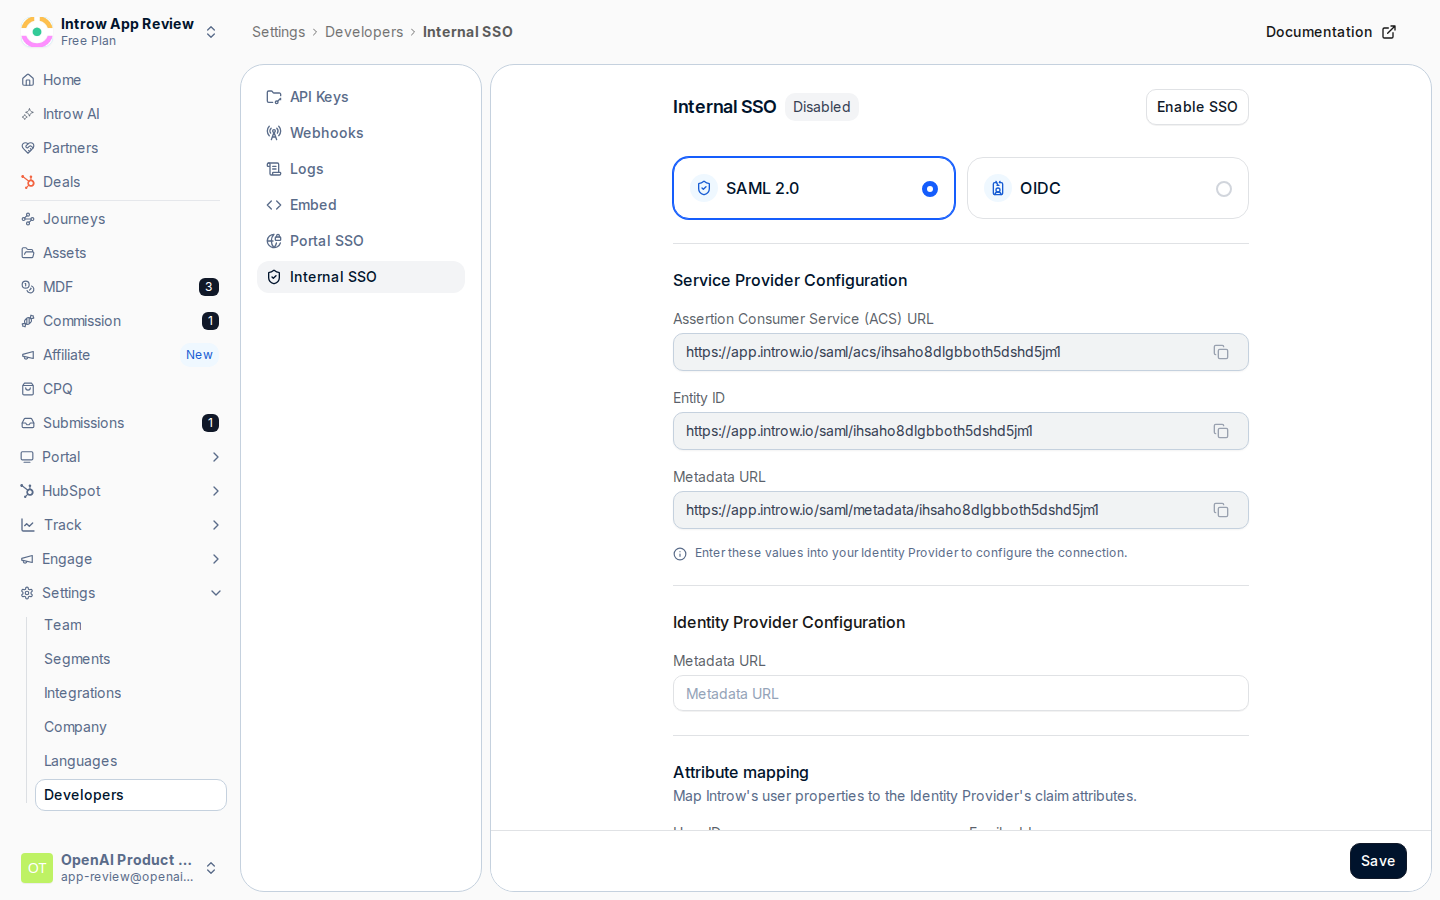 Create a new SAML application in your identity provider and copy in the three values shown under **Service Provider Configuration**. Each has a copy button next to it.
* **Assertion Consumer Service (ACS) URL** - where your provider sends the SAML response after a user authenticates. Paste it into your provider's ACS / Single sign-on URL / Reply URL field.
* **Entity ID** - the identifier your provider uses to recognise Introw as the service provider. Paste it into the Audience / Entity ID field.
* **Metadata URL** - Introw's service provider metadata, if your provider prefers to import the service provider configuration from a URL rather than entering the two fields above by hand.
Create a new SAML application in your identity provider and copy in the three values shown under **Service Provider Configuration**. Each has a copy button next to it.
* **Assertion Consumer Service (ACS) URL** - where your provider sends the SAML response after a user authenticates. Paste it into your provider's ACS / Single sign-on URL / Reply URL field.
* **Entity ID** - the identifier your provider uses to recognise Introw as the service provider. Paste it into the Audience / Entity ID field.
* **Metadata URL** - Introw's service provider metadata, if your provider prefers to import the service provider configuration from a URL rather than entering the two fields above by hand.
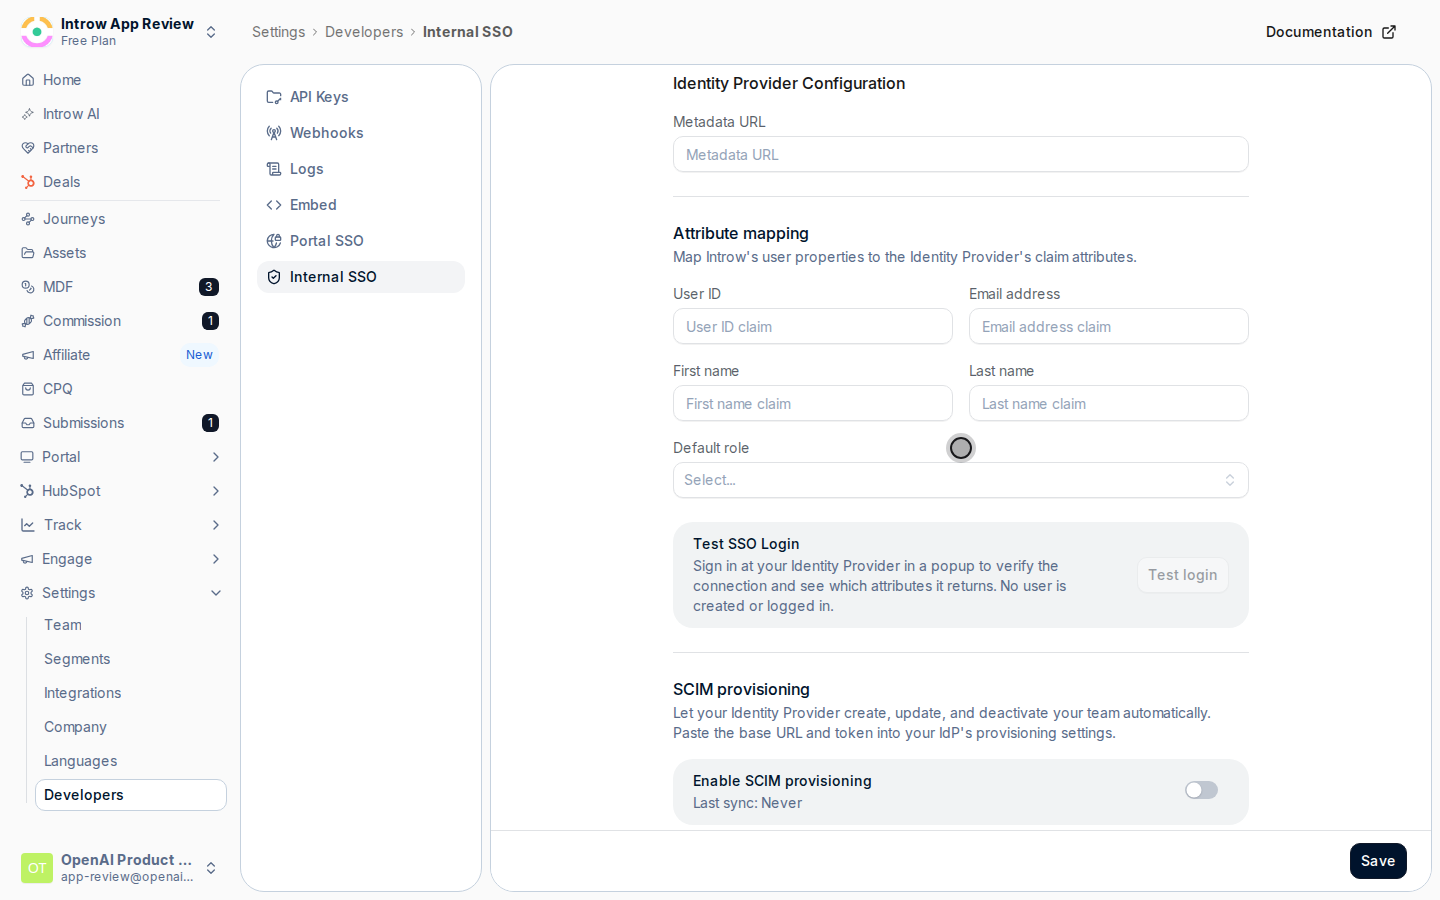
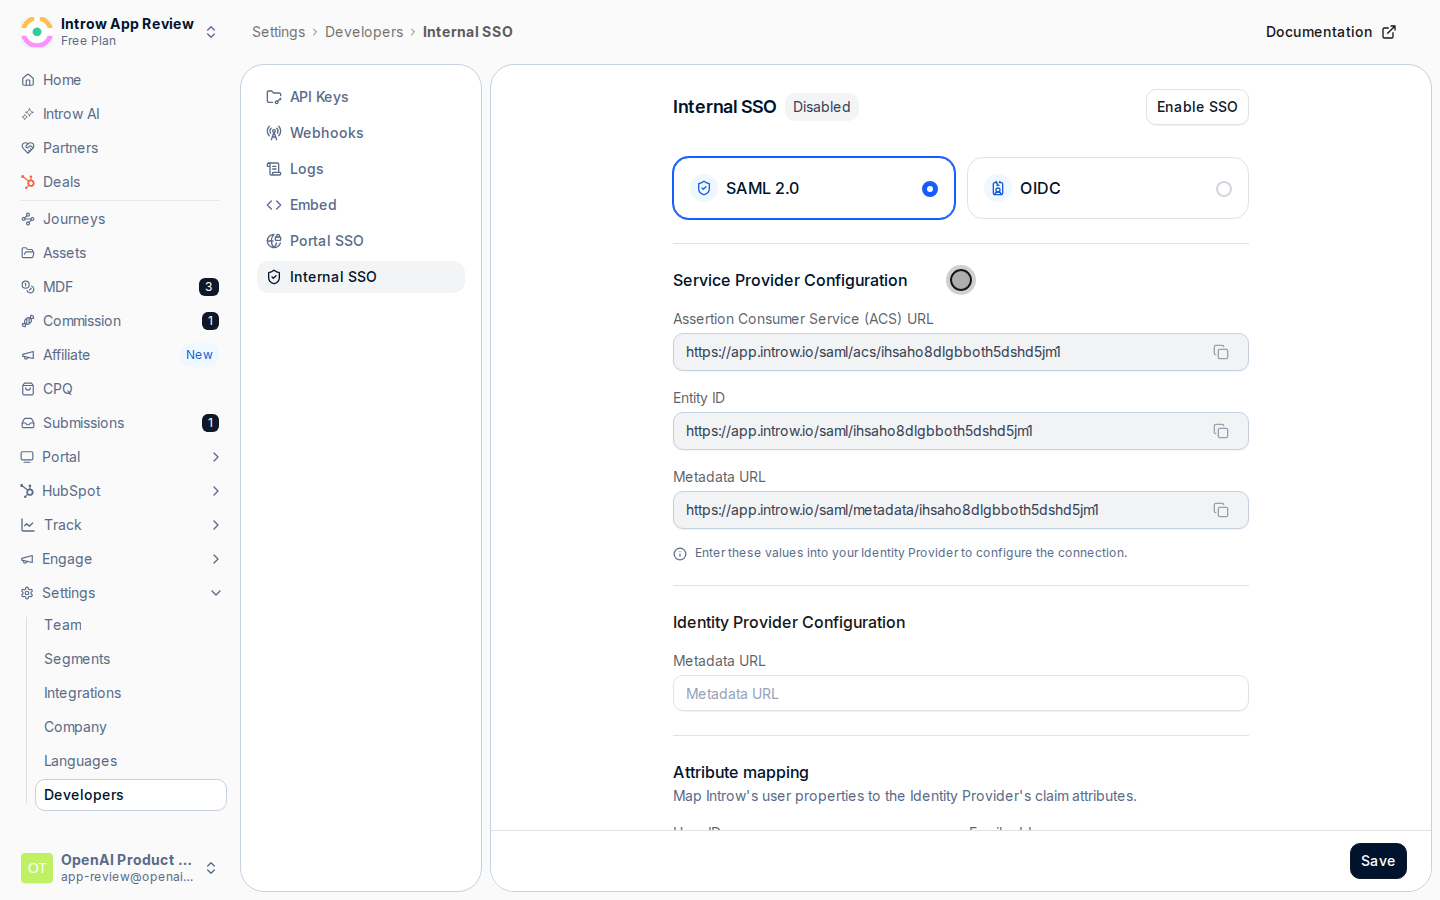 Back in Introw, under **Identity Provider Configuration**, paste your identity provider's **Metadata URL** and select **Save**.
Introw fetches that URL and validates it is real SAML identity provider metadata, so the address must be reachable and return the provider's metadata document. If the link cannot be fetched or is not valid metadata, Introw shows an error and nothing is saved - fix the URL in your provider and save again.
Back in Introw, under **Identity Provider Configuration**, paste your identity provider's **Metadata URL** and select **Save**.
Introw fetches that URL and validates it is real SAML identity provider metadata, so the address must be reachable and return the provider's metadata document. If the link cannot be fetched or is not valid metadata, Introw shows an error and nothing is saved - fix the URL in your provider and save again.
 ### Map attributes and a default role
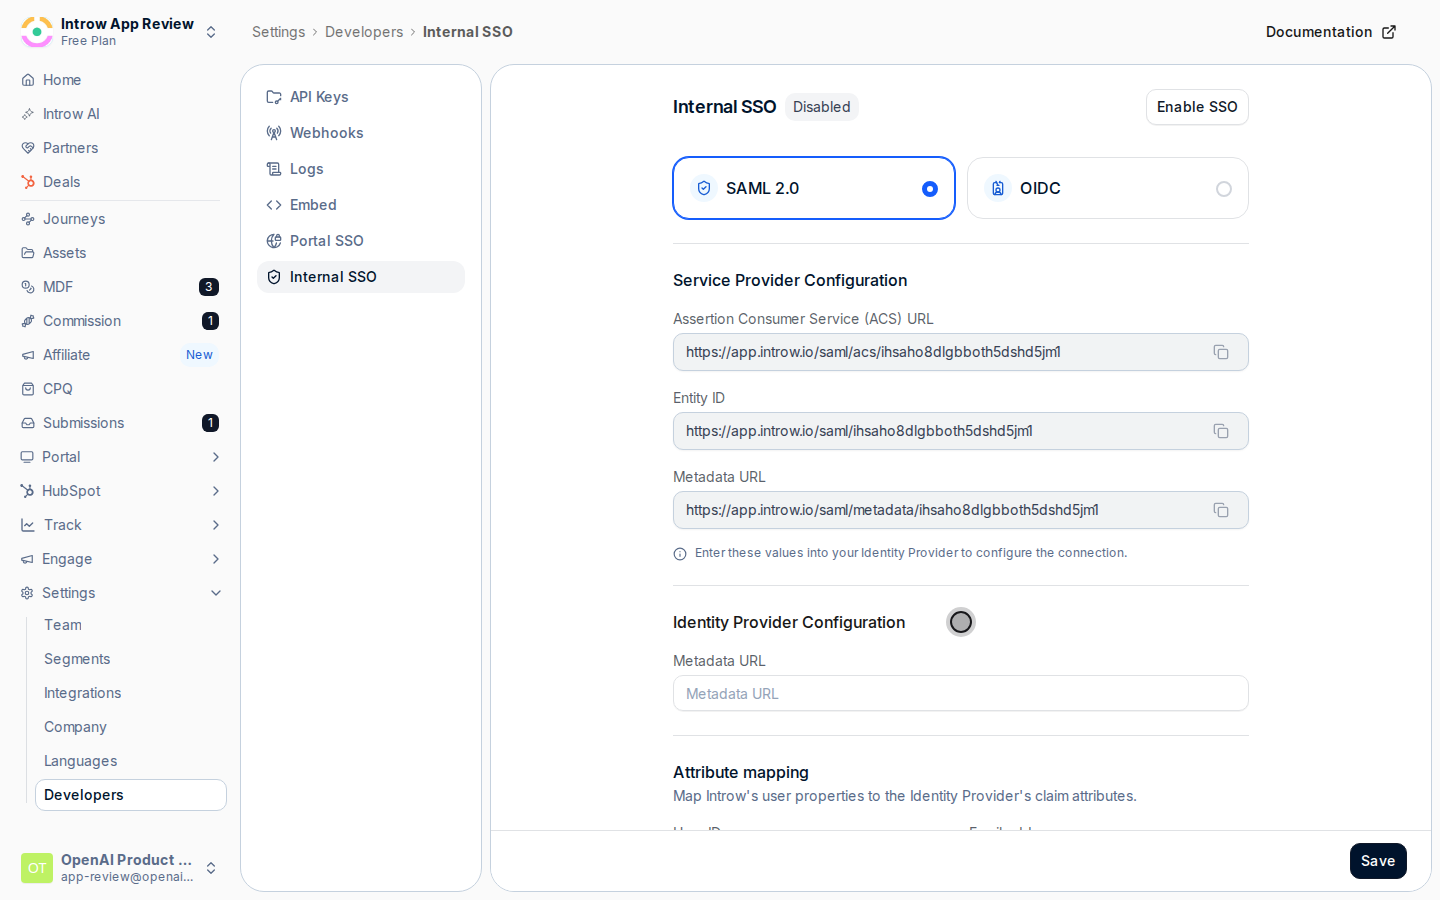
On the right under **Attribute Mapping**, enter the name of the SAML attribute (claim) your provider sends for each field, so people arrive with the correct identity instead of a blank or mismatched account. Use the exact claim names from your provider.
* **User ID** - the stable, unique identifier for the user from your provider. This is what ties a sign-in to the right Introw user, so map it to a value that never changes (not an email that might be renamed).
* **Email address** - the claim holding the user's email; it is how the account is matched and addressed.
* **First name** - the claim holding the given name, used for display.
* **Last name** - the claim holding the family name, used for display.
### Map attributes and a default role
On the right under **Attribute Mapping**, enter the name of the SAML attribute (claim) your provider sends for each field, so people arrive with the correct identity instead of a blank or mismatched account. Use the exact claim names from your provider.
* **User ID** - the stable, unique identifier for the user from your provider. This is what ties a sign-in to the right Introw user, so map it to a value that never changes (not an email that might be renamed).
* **Email address** - the claim holding the user's email; it is how the account is matched and addressed.
* **First name** - the claim holding the given name, used for display.
* **Last name** - the claim holding the family name, used for display.
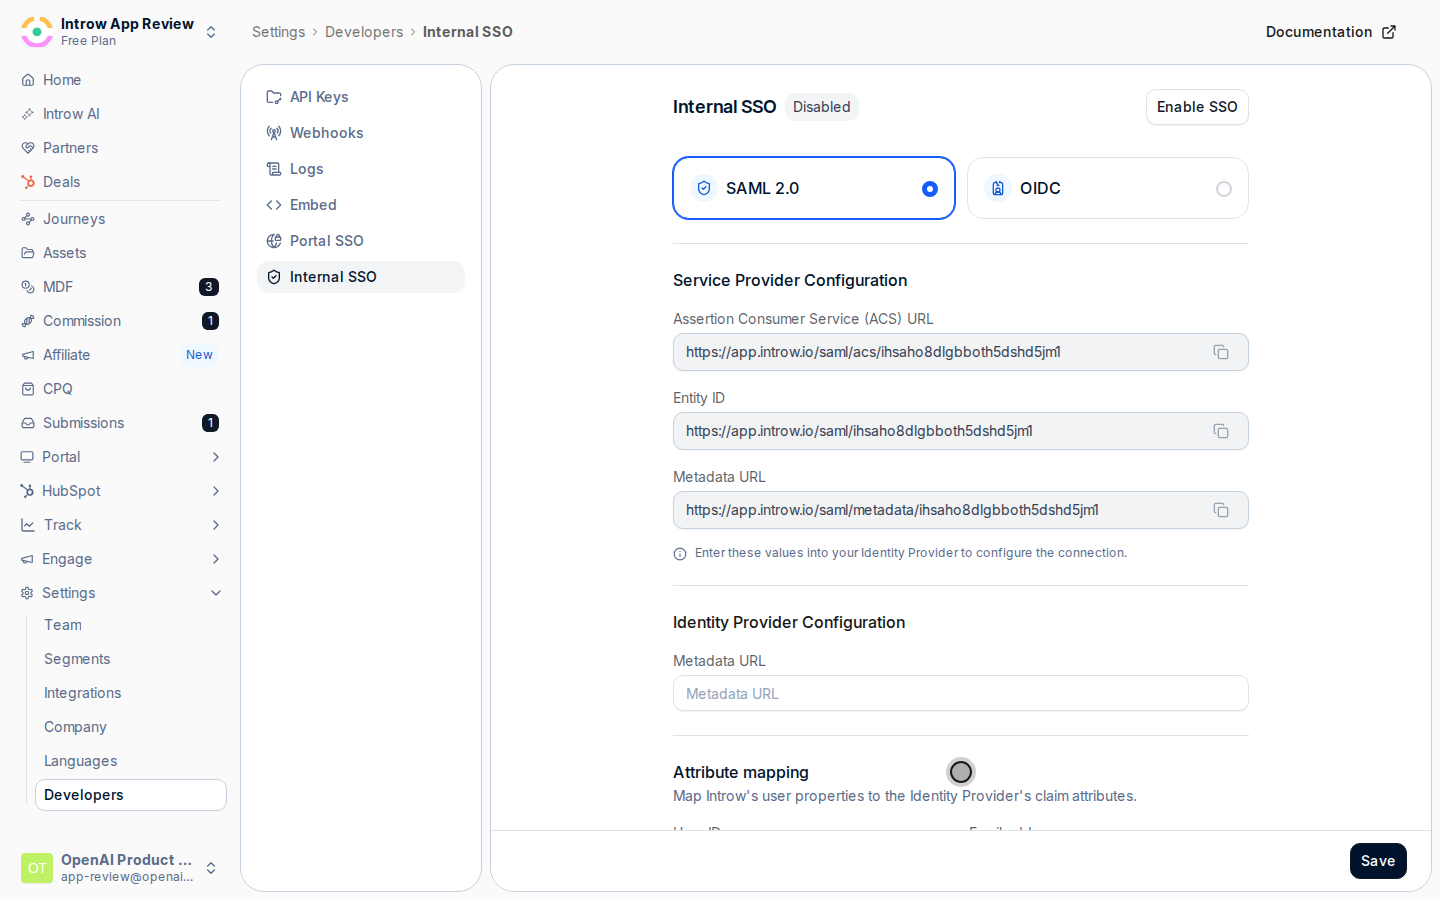 Still under **Attribute Mapping**, choose a **Default role**. This is the role a new user receives the first time they sign in through SSO, so it should grant the least access that still lets someone get started (for example a partner manager role rather than admin). Select **Save** to store the mapping and the default role.
 ### Switch your team to SSO
Enabling internal SSO requires every team member to sign in through your identity provider, so confirm the connection is right first: the provider's metadata must be saved and valid, the application must be assigned to the people who need Introw, and the attribute claims must match what your provider actually sends. There is no email or social fallback once SSO is required, so a wrong mapping or an unassigned user locks people out.
Once the metadata is saved, the **Enable SSO** checkbox appears under the identity provider metadata. Select it, then confirm in the dialog. The dialog states that this requires your team members to use SSO to sign in to Introw. To go back to letting people use any authentication method, clear the same checkbox and confirm.
## Verify it worked
A team member signs in to Introw through your identity provider and lands in the workspace. A brand-new user who authenticates through SSO appears with the name and email from your directory and holds the default role you selected. After enabling, password and social sign-in are no longer offered to your team.
## Related
Do the same for partners signing in to the portal.
Build the default role SSO users land on.
Full configuration options.
### Switch your team to SSO
Enabling internal SSO requires every team member to sign in through your identity provider, so confirm the connection is right first: the provider's metadata must be saved and valid, the application must be assigned to the people who need Introw, and the attribute claims must match what your provider actually sends. There is no email or social fallback once SSO is required, so a wrong mapping or an unassigned user locks people out.
Once the metadata is saved, the **Enable SSO** checkbox appears under the identity provider metadata. Select it, then confirm in the dialog. The dialog states that this requires your team members to use SSO to sign in to Introw. To go back to letting people use any authentication method, clear the same checkbox and confirm.
## Verify it worked
A team member signs in to Introw through your identity provider and lands in the workspace. A brand-new user who authenticates through SSO appears with the name and email from your directory and holds the default role you selected. After enabling, password and social sign-in are no longer offered to your team.
## Related
Do the same for partners signing in to the portal.
Build the default role SSO users land on.
Full configuration options.